bagel recipe mastery is finally within your reach. Over my 40 years as Chef Luna, I have seen home cooks and professional bakers alike struggle to achieve that elusive, perfectly blistered crust and incredibly satisfying, dense chew that defines a true New York-style classic. You might have scoured the internet looking for the perfect weekend baking project, and I am here to tell you that your search ends right now.
Through decades of testing flour hydration, yeast fermentation, and boiling techniques, I have engineered the absolute best homemade bagels recipe you will ever bring into your kitchen. It is time to ditch the store-bought, lifeless circles of bread and elevate your culinary repertoire with a technique that will leave your family and friends completely speechless.
Table of Contents
Why You Will Love This bagel recipe
There is an undeniable magic that happens when simple ingredients flour, water, yeast, and salt transform into a golden, crackling masterpiece. You will absolutely fall in love with this process for several reasons:
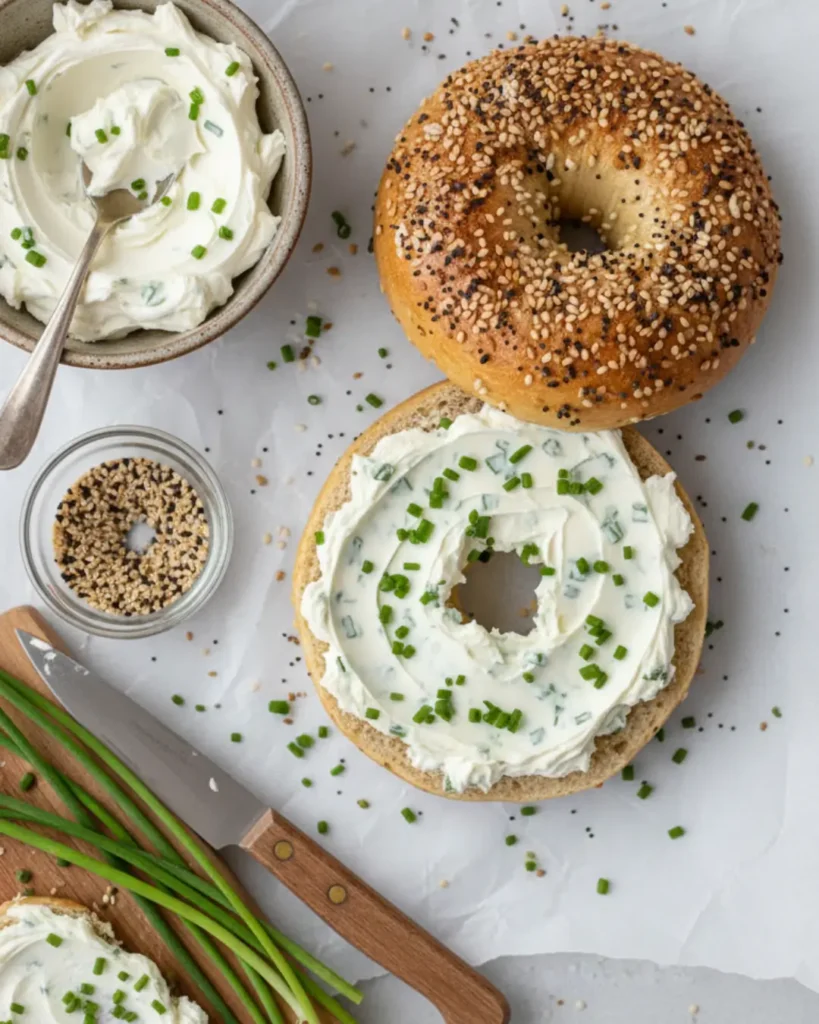
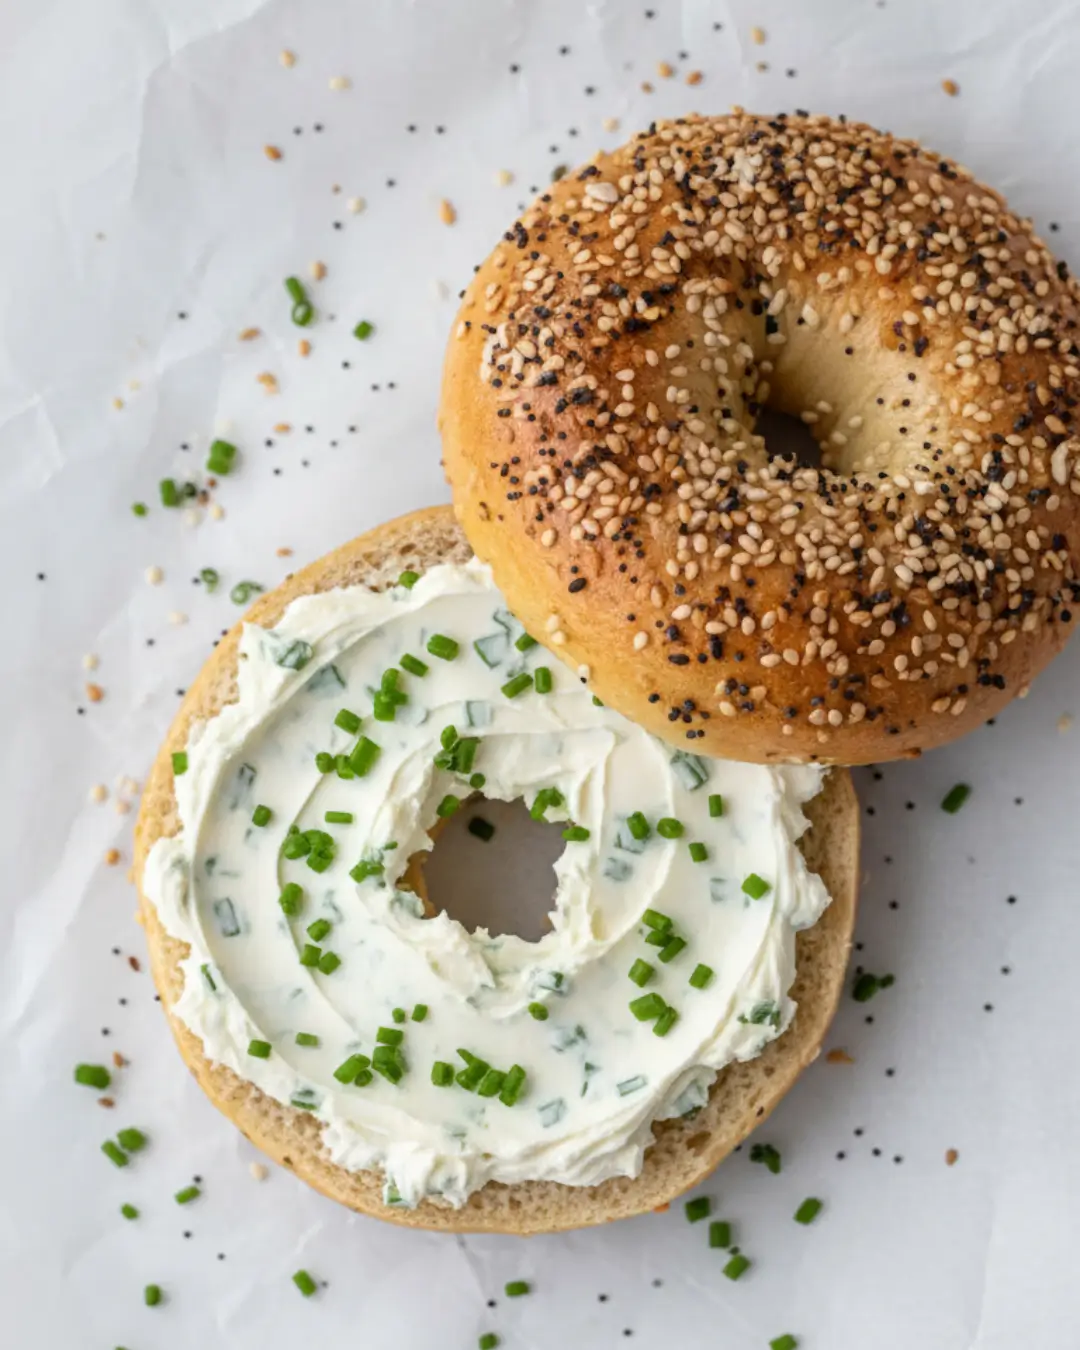
- Unmatched Texture and Flavor: The crust shatters perfectly upon the first bite, revealing a dense, chewy interior that holds up beautifully to heavy spreads of cream cheese or stacked deli meats.
- Surprisingly Simple Foundation: While many bakers are intimidated by yeast, this method breaks down the science into foolproof steps. Whether you eventually branch out into a greek yogurt bagel recipe for a quick fix or explore a trendy cottage cheese bagels recipe for a lighter twist, mastering this foundational dough is essential.
- Highly Customizable: Once you understand the base mechanics of this dough, the variations are endless. I’ve used this exact base knowledge to develop everything from a complex sourdough discard bagel recipe to a macro-friendly high protein bagel recipe.
- The Pride of Creation: Out of all the bagel recipes I have taught in my culinary masterclasses, this one yields the most immediate “wow” factor.
Perfect for Hosting and Parties
When you are entertaining, nothing says luxury quite like a sprawling, homemade brunch board. Imagine presenting a beautiful, rustic wooden plank loaded with smoked salmon, capers, thinly sliced red onions, whipped dill cream cheese, and a towering basket of your freshly baked creations. Your guests will assume you made a morning run to an artisanal bakery. Instead, you get to proudly announce that this homemade bagels recipe came entirely from your own oven. It is an interactive, deeply comforting way to feed a crowd that scales effortlessly whether you are hosting a small family breakfast or a massive holiday brunch.
Ingredients You Need
To achieve professional-level results, the quality and type of your ingredients are non-negotiable. Here is what you need to gather:
- Bread Flour (4 1/2 cups): Do not substitute with all-purpose flour. Bread flour has a higher protein content (usually 12-14%), which is strictly required to develop the strong gluten network that gives the dough its signature chew. This is essentially what makes any standard dough mimic a high protein bagel recipe in structure.
- Warm Water (1 1/2 cups): Aim for exactly 105°F to 110°F. If the water is too cold, the yeast will sleep; if it is too hot, you will kill the yeast instantly.
- Instant Yeast (2 1/4 teaspoons or 1 packet): For a reliable, steady rise.
- Barley Malt Syrup (2 tablespoons for dough, 2 tablespoons for boiling): This is the secret weapon of the 40-year chef. It provides that distinct, slightly earthy sweetness and helps achieve the dark, glossy crust. If you absolutely cannot find it, dark brown sugar or molasses can work in a pinch, but malt syrup is the gold standard.
- Fine Sea Salt (2 teaspoons): For flavor enhancement and yeast regulation.
- Your Favorite Toppings: Everything bagel seasoning, sesame seeds, poppy seeds, or coarse sea salt.
How to Make bagel recipe
Step 1: Activate and Mix In the bowl of a stand mixer fitted with a dough hook, whisk together the warm water, instant yeast, and 2 tablespoons of barley malt syrup. Let it sit for 5 minutes until slightly frothy. This proves your yeast is alive and ready to work. Add the bread flour and salt.
Step 2: The Crucial Knead Turn the mixer to low speed and mix until the dough comes together into a shaggy ball. Once formed, increase the speed to medium-low and knead for a full 10 minutes. The dough should be exceptionally stiff and slightly tacky, but not sticky. If you are doing this by hand, prepare for a workout you will need about 15 minutes of vigorous kneading.
Step 3: The First Proof Lightly oil a large glass bowl. Form the dough into a smooth, tight ball, place it in the bowl, and roll it around to coat it in the oil. Cover tightly with plastic wrap or a damp kitchen towel. Let it rise in a warm, draft-free spot for 1 to 1.5 hours, or until doubled in size.
Step 4: Dividing and Shaping Punch the dough down to expel the air. Turn it out onto an unfloured work surface. Divide the dough equally into 8 pieces (use a kitchen scale for perfection, aiming for about 4 ounces each). Form each piece into a tight, smooth ball. Now, for the shaping: dip your index finger in flour and poke it straight through the center of the ball. Gently twirl the dough around your fingers to stretch the hole until it is about 2 inches wide (it will shrink as it rests and bakes). Place the shaped dough onto a parchment-lined baking sheet.
Step 5: The Overnight Retard (Optional but Highly Recommended) Cover the baking sheet tightly with plastic wrap and place it in the refrigerator overnight. This slow, cold fermentation develops incredible, complex flavor—a technique often used in a sourdough discard bagel recipe to maximize the tangy profile.
Step 6: The Boiling Bath Preheat your oven to 425°F (220°C). Bring a large, wide pot of water to a rolling boil. Add the remaining 2 tablespoons of barley malt syrup to the water. Drop 3 to 4 rings into the boiling water at a time. Boil for 1 minute on the first side, flip using a slotted spoon, and boil for 1 minute on the second side. (For a chewier crust, boil for up to 2 minutes per side). Transfer back to the parchment-lined baking sheet.
Step 7: Topping and Baking While they are still wet and sticky from the boil, generously sprinkle on your desired toppings. Bake in the preheated oven for 20-25 minutes, rotating the pan halfway through, until they are a deep, rich golden brown. Transfer to a wire rack to cool completely before slicing.
Expert Tips for Success
As a chef who has trained countless kitchen staff, I have seen every bread-making error under the sun. Follow these strict guidelines to ensure flawless execution:
- The Float Test: Before you boil your entire batch, drop one shaped dough ring into a bowl of cold water. If it floats to the top, your dough is perfectly proofed and ready to boil. If it sinks, it needs more time to rise.
- Do Not Skip the Boil: Boiling is what gelatinizes the starches on the exterior of the dough, creating a barrier that prevents the interior from rising too much in the oven. This is what guarantees a dense, chewy crumb rather than a fluffy, bread-like texture.
- Respect the Slicing Time: It is incredibly tempting to cut into hot bread, but doing so releases trapped steam, resulting in a gummy, wet interior. You must let them cool for at least 30 minutes to let the crumb set properly.
- The Water Bath Alkalinity: If you want an extraordinarily blistered crust, add 1 tablespoon of baked baking soda to your boiling water alongside the malt syrup. This increases the alkalinity, promoting faster browning in the oven.
Frequently Asked Questions
How long does bagel recipe stay fresh?
Because authentic recipes do not contain the commercial preservatives found in grocery store brands, they are truly best consumed within 24 hours of baking. After the first day, they will begin to stale. You can keep them at room temperature in a brown paper bag for up to two days. Do not refrigerate them, as the cold air rapidly accelerates the staling process.
Can I make this ahead of time?
Absolutely. In fact, cold retardation is a chef’s best friend. After you shape the rings (Step 4), you can cover the baking sheet tightly with plastic wrap and leave them in the refrigerator for up to 48 hours. When you are ready to eat, you can pull them straight from the fridge and drop them directly into the boiling water bath. Furthermore, fully baked rings freeze beautifully. Slice them before freezing, store them in a heavy-duty freezer bag, and pop them straight into the toaster from frozen.
Conclusion
Creating the perfect bagel recipe at home is a transformative culinary experience that connects you directly to the timeless traditions of artisan baking. By respecting the process, using the right flour, and never skipping the boiling step, you have unlocked the secret to bakery-quality results right in your own kitchen. Whether you stick to this classic method or branch out to test a fun greek yogurt bagel recipe, the foundations you’ve learned today will serve you forever. I would love to hear how this turned out in your kitchen! Please leave a 5-star rating, drop a comment below with your favorite toppings, and tag me in your photos online.
Disclaimer:
Nutritional values provided are estimates and may vary based on exact ingredients used. Always practice proper food handling and kitchen safety. Chef Luna assumes no liability for dietary reactions, foodborne illness, or culinary results.
bagel recipe
Ingredients
Method
- Whisk together warm water, yeast, and 2 tablespoons of barley malt syrup. Let sit 5 minutes until frothy.
- Add bread flour and salt. Knead in a stand mixer on medium-low for 10 minutes until a stiff, smooth dough forms.
- Place dough in an oiled bowl, cover, and let rise for 1 to 1.5 hours until doubled in size.
- Punch down dough, divide into 8 equal pieces, and shape into tight balls. Poke a hole through the center of each to form rings.
- Preheat oven to 425°F. Bring a large pot of water to a boil with the remaining 2 tablespoons of malt syrup.
- Boil dough rings for 1 minute per side. Transfer to a parchment-lined baking sheet and add desired toppings while wet.
- Bake for 20-25 minutes until deep golden brown. Cool completely on a wire rack before slicing.