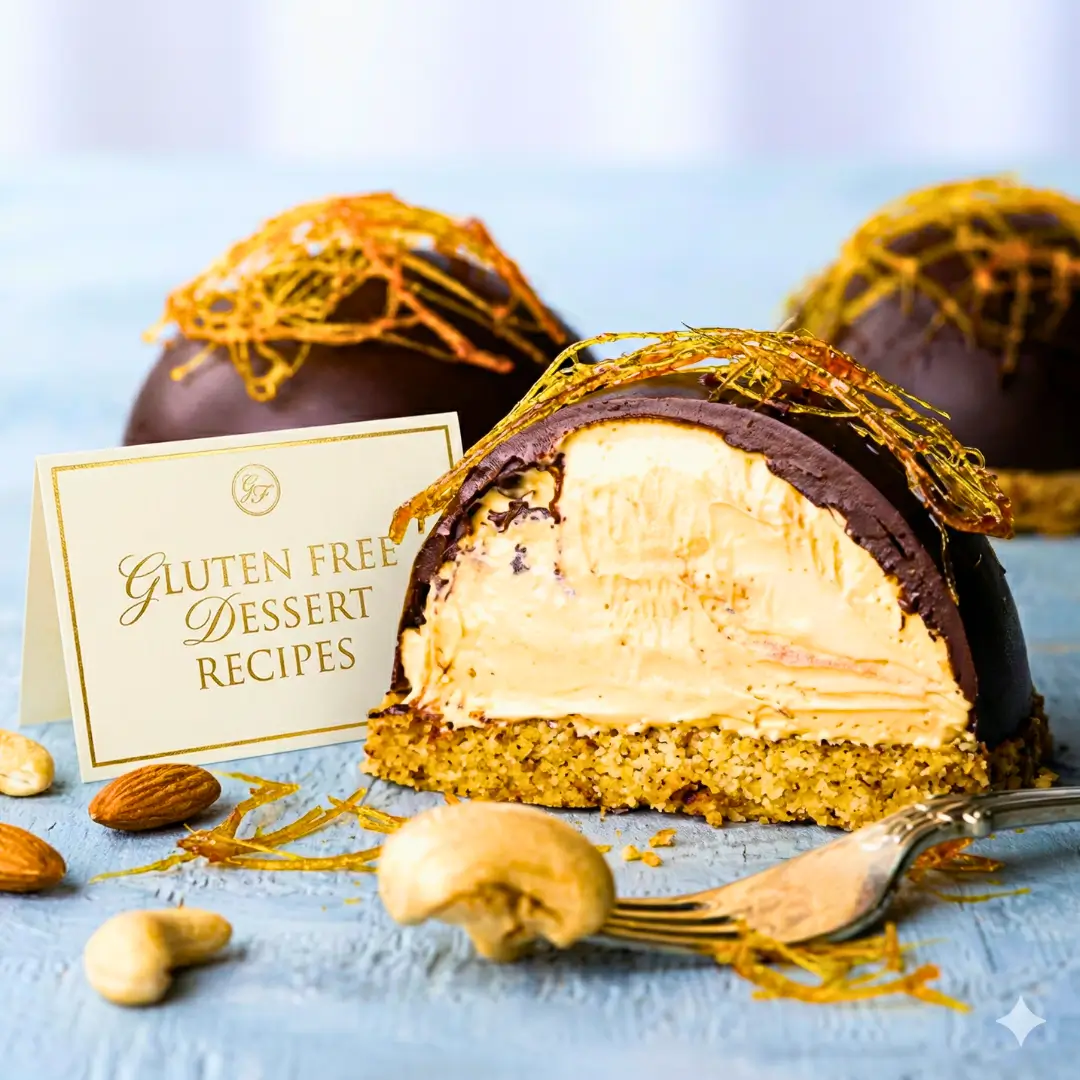
gluten free dessert recipes are my absolute passion, and after 40 years in professional kitchens across the globe, I am thrilled to share my ultimate culinary secrets with you. When I first started baking, creating a dessert without wheat flour meant sacrificing texture and flavor. It resulted in dense, crumbly, and frankly disappointing bakes. Today, I am here to completely shatter that old stereotype. You deserve to eat desserts that rival the finest French patisseries, regardless of your dietary requirements.
By utilizing advanced baking science, proper hydration techniques, and premium ingredients, we are going to craft a masterclass dessert specifically, my Ultimate Chocolate Fudge Cake that represents the absolute pinnacle of gluten free dessert recipes. Put on your apron, weigh your ingredients, and let’s transform your kitchen into a five-star bakery.
Table of Contents
Why You Will Love These gluten free dessert recipes
Achieving the perfect crumb without gluten is an art form. Over the decades, I have refined these techniques so that you can bake with complete confidence. Here is exactly why this approach will revolutionize your baking repertoire:
- Foolproof Texture: No more gritty or sandy textures. By allowing the batters to hydrate properly, we achieve a velvety, luxurious mouthfeel.
- Intensely Rich Flavor: We don’t hide behind excessive sugar. Instead, we elevate the flavor profile using high-quality ingredients like premium vanilla bean paste and rich Dutch-processed cocoa.
- Accessible and Simple: Despite the professional results, the techniques are incredibly straightforward. If you can whisk and measure, you can execute this masterclass recipe perfectly.
- Inclusively Indulgent: These are entirely celiac safe desserts (always double-check your labels!) that the entire family will devour without ever realizing they are eating something free of wheat.
Perfect for Hosting and Parties
When you are hosting a dinner party, the last thing you want to do is make two separate desserts to accommodate different dietary needs. You want to serve gluten intolerance friendly treats that are universally loved. This master recipe is rich, decadent, and completely eliminates the stress of cross-contamination in your oven because you only need to bake once. Your guests will be begging for the recipe before the plates are even cleared.
Ingredients You Need
To execute the ultimate chocolate fudge cake the crown jewel of my collection you will need to gather the following precise ingredients. In professional baking, the quality of your ingredients dictates the quality of your final product.
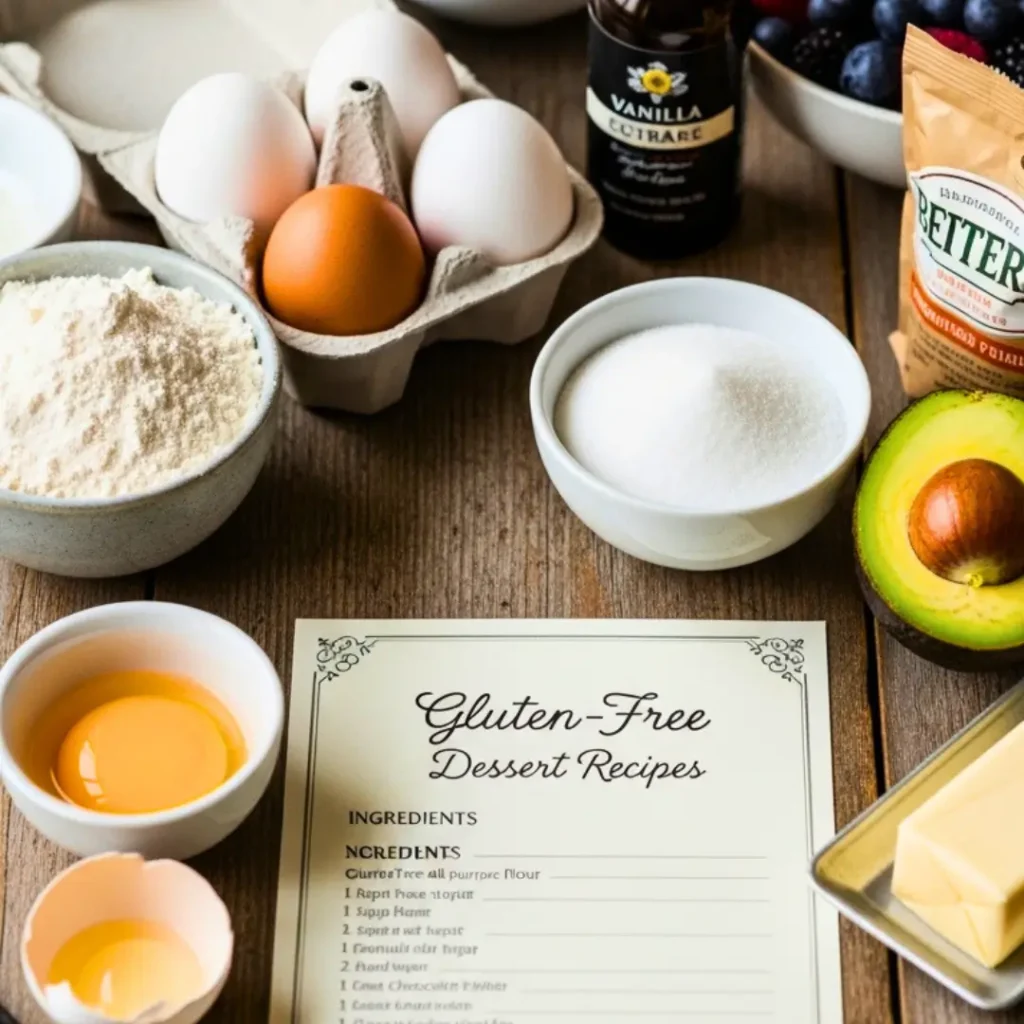
- 1 ¾ cups (260g) high-quality gluten free baking flour (must contain xanthan gum)
- 1 cup (96g) organic almond flour (finely sifted)
- ¾ cup (75g) high-fat Dutch-processed cocoa powder
- 1 ½ cups (300g) granulated sugar (or your preferred low glycemic sweeteners calibrated for baking volume)
- 1 ½ teaspoons baking powder
- 1 ½ teaspoons baking soda
- 1 teaspoon fine sea salt
- 2 large eggs, room temperature
- 1 cup (240ml) whole milk (or full-fat oat milk), room temperature
- ½ cup (120ml) neutral vegetable oil or melted refined coconut oil
- 2 teaspoons premium vanilla bean paste (or pure vanilla extract)
- 1 cup (240ml) boiling water or hot brewed coffee (for blooming the cocoa)
How to Make gluten free dessert recipes
Executing this chocolate fudge cake requires a specific order of operations. Follow these steps meticulously, as the “why” behind the method is just as important as the ingredients themselves.
- Prepare the Equipment and Oven: Preheat your oven to 350°F (175°C). Line two 8-inch round cake pans with parchment paper circles and lightly grease the sides. Chef’s Insight: Never skip the parchment paper. Gluten-free baked goods are notoriously fragile when warm, and parchment guarantees a flawless release from the pan.
- Whisk the Dry Ingredients: In a large mixing bowl, aggressively whisk together the gluten free baking flour, organic almond flour, cocoa powder, sugar, baking powder, baking soda, and salt. Chef’s Insight: Whisking for a full 60 seconds aerates the flours and breaks up any lumps in the cocoa, ensuring a uniform crumb structure.
- Incorporate the Wet Ingredients: In a separate bowl, whisk the room-temperature eggs, milk, oil, and premium vanilla bean paste until fully emulsified. Pour the wet mixture into the dry ingredients. Mix on low speed until just combined. Do not overmix.
- Bloom the Cocoa (The Secret Step): Carefully pour the boiling water (or hot coffee) into the batter. Whisk gently by hand. The batter will seem incredibly thin and watery—do not panic! Chef’s Insight: Boiling water “blooms” the cocoa powder, releasing flavor compounds trapped in the fat. Furthermore, the excess liquid is vital for hydrating the starches in the gluten-free flour, preventing the dreaded gritty texture.
- The Crucial Resting Phase: Let the batter sit on the counter for 15 minutes before pouring it into the pans. Chef’s Insight: This is the most important step in gluten-free baking. The starches need time to absorb the liquids fully. Skipping this step leads to dense, sandy cakes.
- Bake to Perfection: Divide the hydrated batter evenly between your prepared pans. Bake on the middle rack for 30 to 35 minutes. A toothpick inserted into the center should come out with a few moist crumbs attached, but no wet batter.
- Cool Completely: Let the cakes cool in their pans for exactly 15 minutes before carefully inverting them onto wire racks to cool completely. Gluten-free cakes must be 100% cool before frosting, or they will crumble under the weight of your spatula.
Expert Tips for Success
Over my 40 years of culinary exploration, I have seen every baking disaster imaginable. To ensure your success, please adhere to these non-negotiable professional rules:
- Always Weigh Your Flours: Measuring cups are the enemy of consistent baking. Gluten-free flours settle and compact heavily. Invest in a digital kitchen scale and measure by the gram. A cup of packed flour can ruin the hydration ratio of the entire recipe.
- Mind Your Xanthan Gum: Ensure your commercial flour blend contains a binder like xanthan or guar gum. If it does not, you must add 1/2 teaspoon of xanthan gum to the dry ingredients. Without it, your celiac safe desserts will not hold their structure and will crumble into dust.
- Room Temperature is Mandatory: Cold eggs and cold milk will seize the oil in your batter, preventing a smooth emulsion. Always pull your refrigerated ingredients out at least 90 minutes before baking to ensure a silky, even batter.
Frequently Asked Questions
How long does gluten free dessert recipes stay fresh?
This particular chocolate fudge cake will remain incredibly moist for up to 4 days when stored in an airtight container at room temperature. Because gluten-free baked goods stale faster than traditional wheat bakes, keeping air away from the crumb is vital. Do not refrigerate the cake, as the cold temperatures accelerate the retrogradation (staling) process of the starches.
Can I make this ahead of time?
Absolutely. In fact, many gluten-free cakes actually taste better on the second day as the flavors meld and the hydration fully stabilizes the crumb. You can bake the layers up to 48 hours in advance. Wrap the completely cooled cake layers tightly in double layers of plastic wrap and store them at room temperature until you are ready to frost and serve. For longer storage, freeze the wrapped layers for up to 3 months.
Conclusion
Baking without wheat should never mean baking without joy, flavor, or perfect texture. By trusting the science of hydration and utilizing top-tier ingredients, you are now equipped to create true culinary masterpieces in your own home. I hope you feel empowered to tackle these techniques and share the results with those you love. If you try this recipe, please leave a star rating and a comment below I read every single one, and I would love to hear how this master recipe transformed your dessert table! Happy baking.
gluten free dessert recipes
Ingredients
Method
- Preheat oven to 350°F (175°C). Line two 8-inch round cake pans with parchment paper and grease the sides.
- In a large bowl, whisk together the gluten free baking flour, organic almond flour, cocoa powder, sugar, baking powder, baking soda, and salt for 60 seconds.
- In a separate bowl, whisk the eggs, milk, oil, and premium vanilla bean paste until combined. Pour into the dry ingredients and mix on low until just incorporated.
- Carefully pour the boiling water into the batter and hand-whisk gently until smooth. The batter will be very thin.
- Let the batter rest for 15 minutes at room temperature to allow the gluten-free flours to hydrate.
- Divide the batter evenly between the pans and bake for 30-35 minutes, until a toothpick inserted in the center comes out with moist crumbs.
- Cool in pans for 15 minutes before carefully turning out onto a wire rack to cool completely before frosting.