red velvet brownies are the crown jewel of my baking repertoire, combining the rich, tangy allure of a classic cake with the dense, fudgy satisfaction of your favorite chocolate treat. Hello, friends! I am Chef Luna. Over my 40 years of working in elite pastry kitchens across the globe, I have spent countless hours perfecting the exact ratio of butter, sugar, and flour to achieve absolute dessert perfection. You are not just making a sweet treat today;
you are stepping into a masterclass of flavor. By using high-quality ingredients like vanilla bean paste and understanding the delicate chemistry of your batter, you are going to create a dessert that will have your friends and family begging for the recipe. Let’s dive into the ultimate culinary experience.
Table of Contents
Why You Will Love This red velvet brownies Recipe
There is a distinct magic in finding a dessert that looks like it took hours of painstaking labor but comes together effortlessly. After four decades of testing, I can promise you this recipe delivers on all fronts:
- Easy and Approachable: You don’t need a culinary degree to master this. The steps are straightforward and designed for foolproof home baking.
- Best Fudgy Texture: Unlike cakey alternatives, these stay incredibly dense and moist.
- Simple Ingredients: We elevate pantry staples so you don’t have to hunt down obscure items.
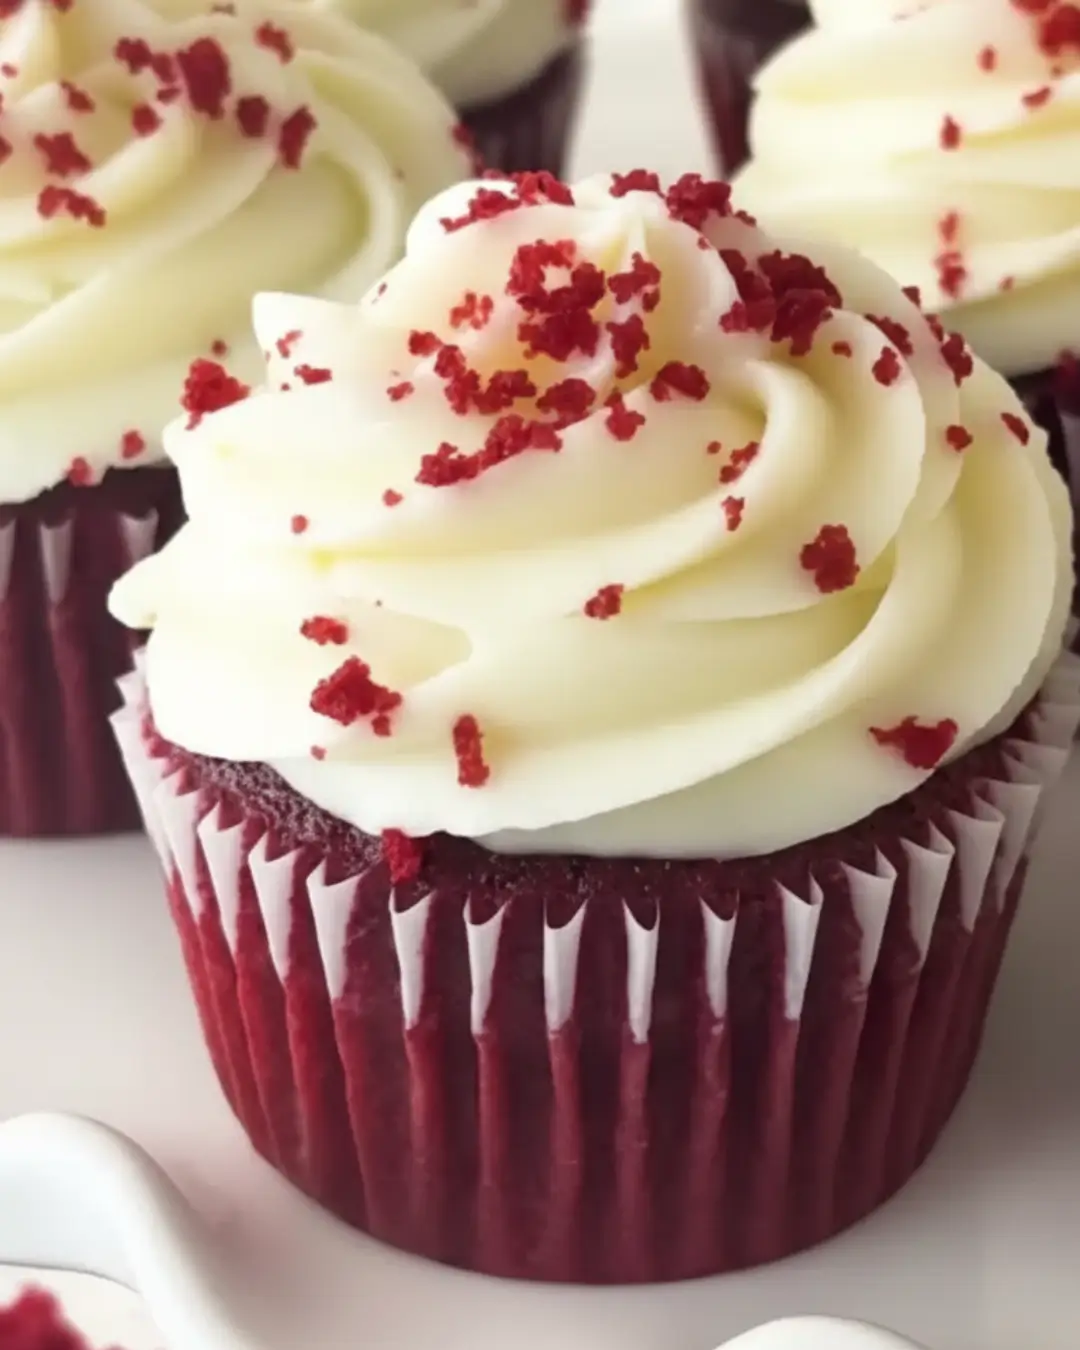
- Visually Stunning: The vibrant, deep crimson color creates an unforgettable centerpiece for any table.
Perfect for Hosting and Parties
When it comes to brilliant dessert catering ideas, striking a balance between elegance and universal appeal is crucial. These brownies are incredibly versatile. Whether you are hosting a sophisticated holiday dinner, a casual Sunday brunch, or a festive Valentine’s Day gathering, they always steal the show. The stunning color contrast, especially when topped with a classic cream cheese swirl or a light dusting of powdered sugar, makes them look incredibly professional right out of your own oven.
Ingredients You Need
To achieve the caliber of desserts served in Michelin-starred restaurants, the quality of your components matters deeply. Here is exactly what you need to gather:
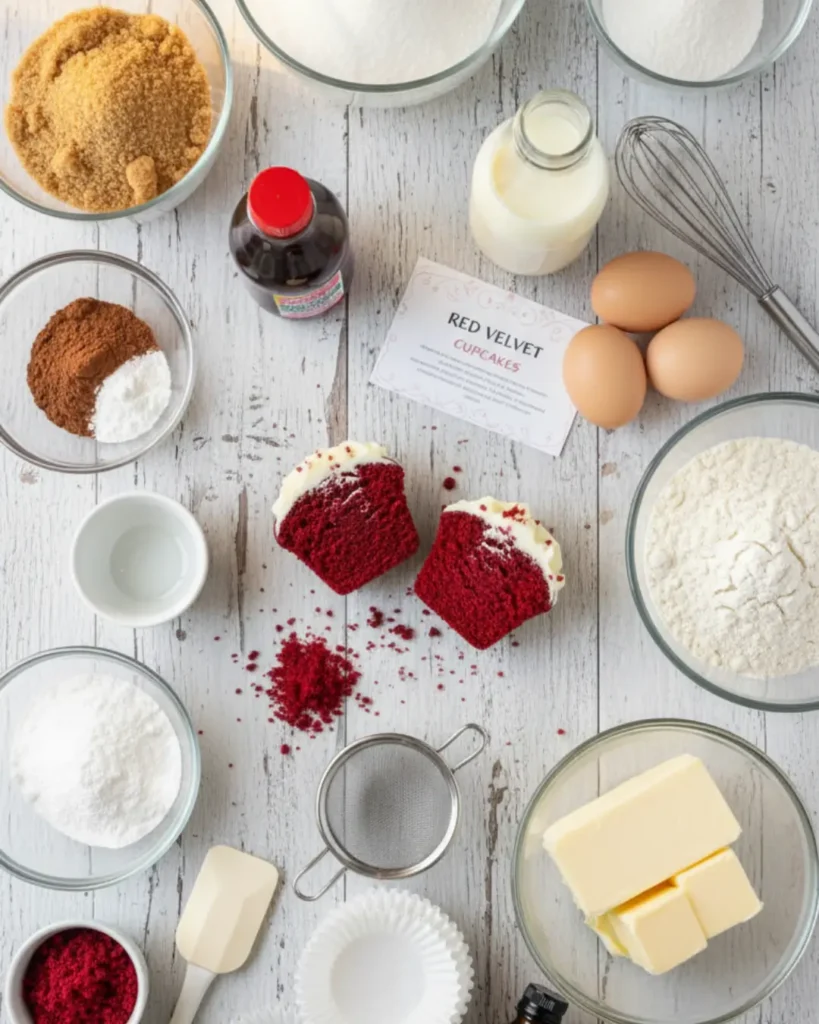
- Unsalted Butter: 1/2 cup (1 stick), melted and slightly cooled. Using unsalted allows us to control the sodium perfectly.
- Granulated Sugar: 1 cup, to provide the exact moisture and structural foundation needed for that signature crackly top.
- Eggs: 2 large eggs, at room temperature. Cold eggs will seize the melted butter.
- vanilla bean paste: 1 tablespoon. You can substitute high-quality extract, but the paste offers an unmatched depth of flavor.
- premium cocoa powder: 3 tablespoons. Do not use Dutch-processed here; we need natural cocoa to react properly with the acidic elements.
- Red Food Coloring: 1 to 2 tablespoons of liquid coloring, or 1 teaspoon of high-quality gel coloring for a more intense hue.
- White Vinegar: 1/2 teaspoon. This is the secret acidic trigger that preserves the red color and creates the authentic velvet tang.
- All-Purpose Flour: 3/4 cup, spooned and leveled to prevent dense, heavy batter.
- Salt: 1/4 teaspoon, to balance the sweetness.
- gourmet baking chocolate: 1/2 cup of high-quality white chocolate chips or chunks for folding into the batter (optional, but highly recommended by Chef Luna).
How to Make red velvet brownies
- Prepare Your Equipment: Preheat your oven to 350°F (175°C). Line an 8×8-inch pan with parchment paper, leaving an overhang for easy removal. Using heavy-duty professional baking pans will ensure even heat distribution, preventing the edges from burning before the center is cooked.
- Combine Wet Ingredients: In a large mixing bowl, aggressively whisk the melted butter and granulated sugar together until the mixture is glossy and slightly pale. This mechanical aeration is crucial.
- Add the Binders and Flavor: Beat in the eggs one at a time, ensuring the first is fully incorporated before adding the second. Stir in the vanilla bean paste, white vinegar, and the red food coloring. You want a vibrant, slightly darker red than your target final color, as it will dull slightly during the baking process.
- Sift the Dry Ingredients: Over the same bowl, sift your flour, premium cocoa powder, and salt. Sifting prevents lumps of cocoa from ruining the smooth texture of your batter.
- Fold Gently: Using a silicone spatula, gently fold the dry ingredients into the wet. Chef Luna’s golden rule: Stop mixing the exact moment you no longer see streaks of dry flour. Overmixing develops gluten, which turns fudgy brownies into tough, chewy bread.
- Add the Chocolate: If using, gently fold in the gourmet baking chocolate pieces.
- Bake to Perfection: Pour the thick batter into your prepared pan and smooth the top. Bake for 25 to 30 minutes. A toothpick inserted into the center should come out with a few moist crumbs attached, never completely clean.
- Cool Completely: Patience is a virtue. Let the brownies cool entirely in the pan. This allows the residual heat to finish the baking process and sets the fudge-like structure for clean slicing.
Expert Tips for Success
In my 40 years in the kitchen, I have seen every baking mistake possible. Follow these professional secrets to guarantee success:
- Temperature Matters: Never use cold eggs with warm butter. If you forgot to take your eggs out, place them in a bowl of warm water for 5 minutes.
- Avoid the Mixer: Unless you are utilizing specific stand mixer attachments designed for very gentle folding, mix this batter by hand. High-speed mixing introduces too much air, creating a cakey texture rather than a fudgy one.
- The Cocoa Chemistry: Stick to standard, natural baking cocoa. Dutch-processed cocoa has been alkalized, which neutralizes the acid required to activate the vibrant red color.
- The Foil Trick: If you are using a glass baking dish instead of metal, drop your oven temperature by 25 degrees to prevent the edges from overcooking.
Frequently Asked Questions
How long do red velvet brownies stay fresh?
When stored properly in an airtight container at room temperature, they will remain wonderfully moist for up to 4 days. If you wish to extend their life, placing them in the refrigerator will keep them fresh for up to a week, though I recommend letting them come back to room temperature before serving to soften the butter content for the best mouthfeel.
Can I make this ahead of time?
Absolutely. In fact, resting the brownies overnight actually deepens the complex flavors and makes them significantly easier to cut into perfect, professional-looking squares. You can also freeze the entire uncut block, tightly wrapped in plastic wrap and aluminum foil, for up to three months.
Conclusion
Thank you for trusting me, Chef Luna, to guide you through this culinary journey. Creating these flawless red velvet brownies is about more than just combining ingredients; it is about bringing joy, elegance, and uncompromised flavor into your home. I guarantee that once you experience the dense, chocolatey, tangy perfection of this recipe, it will become a permanent staple in your baking rotation. Please leave a star rating and comment below to let me know how your baking adventure turned out, and share this masterpiece with your loved ones.
red velvet brownies
Ingredients
Method
- Preheat your oven to 350°F (175°C). Line an 8×8-inch professional baking pan with parchment paper.
- In a large bowl, whisk together the melted butter and granulated sugar until well combined and glossy.
- Whisk in the eggs one at a time. Then stir in the vanilla bean paste, white vinegar, and red food coloring until the batter is a vibrant red.
- Sift the all-purpose flour, premium cocoa powder, and salt directly into the wet ingredients.
- Using a spatula, gently fold the dry ingredients into the wet just until no dry streaks remain. Do not overmix. Fold in gourmet baking chocolate if using.
- Pour the batter into the prepared pan and smooth the top. Bake for 25-30 minutes, or until a toothpick inserted in the center comes out with moist crumbs.
- Allow the brownies to cool completely in the pan before lifting them out by the parchment paper and slicing.