Red velvet cheesecake is the absolute pinnacle of dessert perfection, and after 40 years of crafting pastries in elite kitchens, I am finally sharing my most fiercely guarded culinary secret with you. When you combine the tangy, chocolatey allure of a classic Southern cake with the rich, velvety density of a New York-style bake, you create an unforgettable experience.
Over the decades, I have refined this recipe to guarantee a flawless, crack-free masterpiece every single time. Whether you are baking for a special occasion or simply craving a slice of pure indulgence, this is the only recipe you will ever need.
Table of Contents
Why You Will Love This red velvet cheesecake
Creating the perfect dessert is about balancing flavor, texture, and visual impact. Here is exactly why this recipe will become a permanent fixture in your culinary repertoire:
- Unmatched Texture: The combination of heavy cream and sour cream creates a silkiness that melts in your mouth, completely avoiding the chalky texture of inferior recipes.
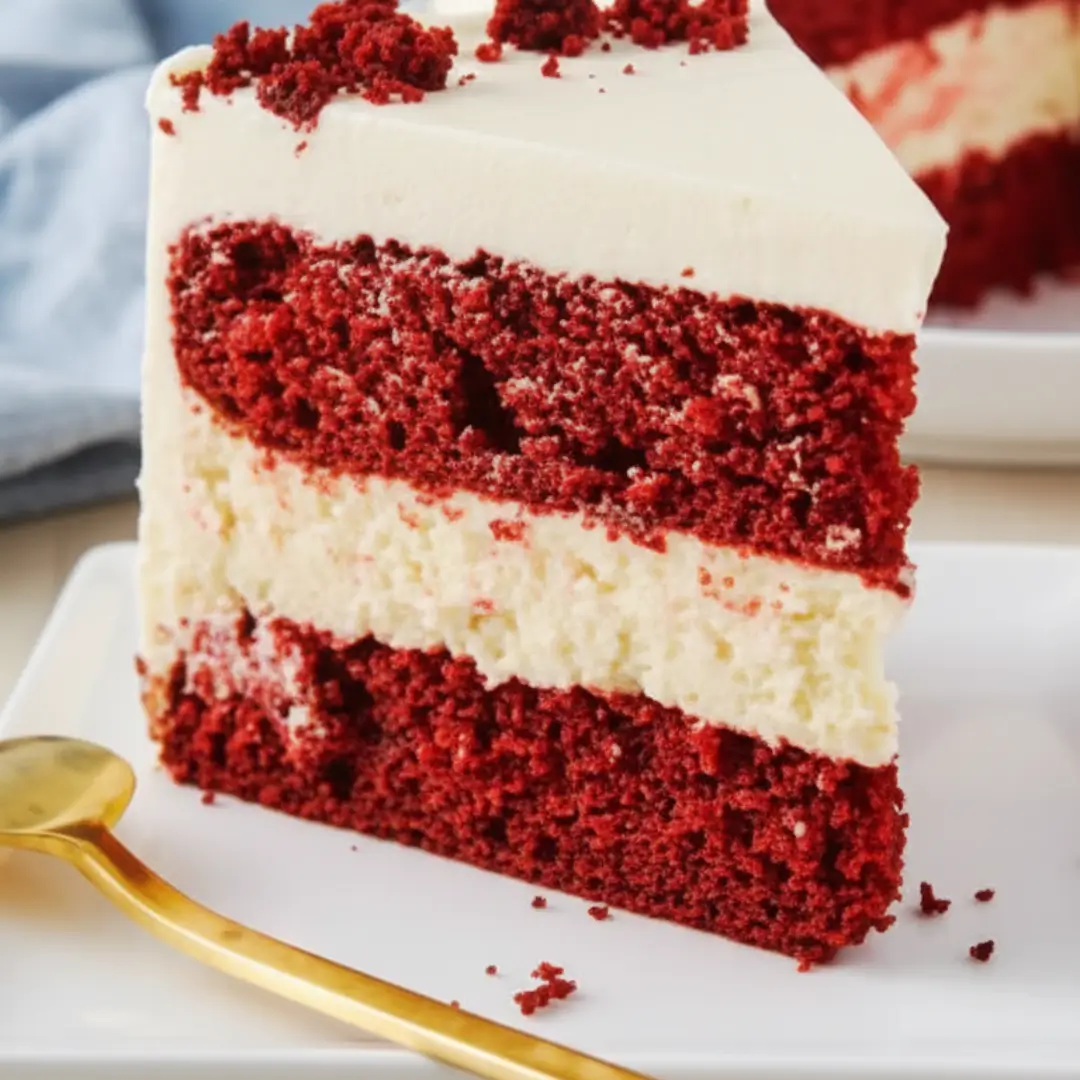
- Stunning Visuals: The vibrant crimson hue contrasting with the stark white whipped cream topping provides a naturally fine dining presentation without requiring complex piping skills.
- Foolproof Method: My step-by-step water bath technique completely eliminates the risk of a sunken center or surface cracks.
- Make-Ahead Magic: This dessert actually tastes better on the second day, making it the ultimate stress-free centerpiece for your dinner parties.
Perfect for Hosting and Parties
When it comes to planning gourmet holiday desserts, you need a showstopper that can be prepared in advance. This cake is structurally sound, slices beautifully, and holds up perfectly under display lights. In fact, this exact recipe was one of the most requested items during my years operating a luxury dessert catering business. It effortlessly feeds a crowd and guarantees that every guest asks for the recipe before the night is over.
Ingredients You Need
To achieve professional-level results, you must start with the right foundation. Do not compromise on your dairy or chocolate.

- Chocolate Cookie Crumbs: 2 cups (finely crushed, for the dark, slightly bitter crust).
- Unsalted Butter: 6 tablespoons (melted, for binding the crust).
- Cream Cheese: 32 oz (4 blocks, full-fat). Always invest in the best cream cheese brand you can find for optimal density.
- Granulated Sugar: 1 ½ cups.
- Cocoa Powder: ¼ cup. Using a premium cocoa powder elevates the subtle chocolate undertones.
- Large Eggs: 4 (room temperature).
- Sour Cream: ½ cup (full-fat).
- Buttermilk: ¼ cup (to provide that signature red velvet tang).
- Red Gel Food Coloring: 1 tablespoon (gel is superior to liquid for intense color without altering batter consistency).
- Pure Vanilla Extract: 1 tablespoon.
- White Vinegar: 1 teaspoon.
How to Make red velvet cheesecake
- Prepare the Crust: Preheat your oven to 325°F (163°C). In a bowl, combine the finely crushed chocolate cookie crumbs with the melted butter. Press this mixture firmly into the bottom and slightly up the sides of a 9-inch springform pan. Bake for 10 minutes, then let it cool completely.
- Mix the Base: In a large bowl or using professional baking tools like a heavy-duty stand mixer, beat the room-temperature cream cheese until completely smooth and creamy. This takes about 3 minutes on medium speed. Gradually add the granulated sugar and cocoa powder, mixing until fully incorporated.
- Incorporate Wet Ingredients: Add the sour cream, buttermilk, vanilla extract, and white vinegar. Blend until smooth. Next, add the red gel food coloring. Start with a tablespoon, and add a few extra drops if you want a deeper crimson color.
- Add the Eggs: Lower your mixer speed to the lowest setting. Add the eggs one at a time, mixing just until the yolk disappears into the batter. Do not overmix at this stage, or you will whip excess air into the batter, which causes cracks during baking.
- The Water Bath (Bain-Marie): Wrap the bottom and sides of your springform pan tightly in a double layer of heavy-duty aluminum foil. Pour the batter over the cooled crust. Place the springform pan inside a larger roasting pan. Pour boiling water into the roasting pan until it reaches halfway up the sides of the springform pan.
- Bake to Perfection: Bake at 325°F (163°C) for 1 hour and 15 minutes. The edges should be set, but the center 2 inches should still have a slight jiggle.
- The Crucial Cooling Process: Turn off the oven. Leave the cake inside with the oven door cracked open about an inch for 1 full hour. Afterward, remove it from the water bath, let it cool completely on a wire rack, and chill in the refrigerator for a minimum of 6 hours (preferably overnight).
Expert Tips for Success
After four decades in the kitchen, I have seen every mistake a baker can make. Follow these rules to ensure absolute perfection:
- Room Temperature is Non-Negotiable: Your cream cheese, eggs, sour cream, and buttermilk must be at room temperature before you begin. Cold ingredients will cause lumps, and if you try to mix out the lumps, you will over-aerate the batter.
- The Hot Knife Trick: To get razor-sharp, bakery-style slices, fill a tall pitcher with boiling water. Dip a long, sharp chef’s knife into the hot water, wipe it completely dry with a towel, and make your cut. Repeat this process for every single slice.
- Foil Security: Water seeping into a springform pan is a tragedy. For extra insurance, you can place your springform pan inside a slightly larger silicone cake pan before placing it in the water bath.
Frequently Asked Questions
How long does red velvet cheesecake stay fresh?
When stored properly in an airtight container or tightly wrapped in plastic wrap, this cake will stay incredibly fresh and delicious in the refrigerator for up to 5 days. The flavors actually deepen and meld together beautifully by day two.
Can I make this ahead of time?
Absolutely. This is the perfect make-ahead dessert. You can bake it up to two days before your event and keep it chilled. Alternatively, you can freeze it! Wrap the fully cooled, uncut cake tightly in plastic wrap, then in heavy-duty aluminum foil. It will freeze beautifully for up to 2 months. Thaw it overnight in the refrigerator before slicing.
Conclusion
Mastering this red velvet cheesecake is a milestone for any home baker. With its dense, creamy texture, slight cocoa tang, and striking appearance, it is guaranteed to bring a touch of elegance to your dining table. Trust the process, respect the water bath, and enjoy the incredible results.
red velvet cheesecake
Ingredients
Method
- Preheat oven to 325°F (163°C). Mix cookie crumbs and melted butter, press into a 9-inch springform pan, and bake for 10 minutes. Let cool.
- Beat room temperature cream cheese until smooth. Add sugar and cocoa powder, mixing well.
- Mix in sour cream, buttermilk, vanilla extract, white vinegar, and red food coloring.
- Add eggs one at a time on low speed, mixing just until combined to avoid aerating the batter.
- Wrap the outside of the springform pan tightly in foil. Pour batter over the crust and place the pan in a roasting pan filled halfway with boiling water.
- Bake for 1 hour and 15 minutes. The center should still have a slight jiggle.
- Turn oven off, crack the door, and let cool inside for 1 hour. Remove, cool completely at room temperature, then chill for at least 6 hours before serving.