sugar cookie nutritional value is something every mindful baker must understand before preheating the oven. Over my 40 years as an Elite Culinary Strategist, I have seen culinary trends come and go, but the timeless appeal of a buttery, crisp, and perfectly sweet sugar cookie remains absolute. However, as our understanding of wellness evolves, so must our approach to the pastry arts.
You are here because you demand excellence in your kitchen without sacrificing your dietary goals. Today, I am going to walk you through the precise macronutrient breakdown of the classic sugar cookie, and more importantly, show you how to engineer a superior batch that aligns perfectly with modern nutritional standards.
Table of Contents
When we analyze the traditional recipe typically heavy on refined white flour, processed granulated sugars, and standard butter we quickly see why they are often considered an occasional indulgence. A standard medium-sized bakery sugar cookie can pack upwards of 150 to 200 calories, with 7-10 grams of fat and over 15 grams of added sugars. But what if I told you that by understanding the science of baking, you could manipulate these numbers? By leveraging expert techniques, we can transform this classic into one of your favorite healthy dessert alternatives.
Why You Will Love This sugar cookie nutritional value Breakdown
Understanding what goes into your food is the ultimate empowerment for a home chef. You will absolutely fall in love with this approach because it gives you total control over the end result.
- Empowering: Knowing your ingredients means you no longer have to guess what you are serving your family.
- Adaptable: Once you grasp the baseline nutrition, creating low calorie baking recipes becomes second nature.
- Simple & Delicious: We elevate the flavor profile without adding unnecessary empty calories.
- Crowd-Pleasing: You can confidently serve a treat that caters to the health-conscious without losing that nostalgic, melt-in-your-mouth texture.
Perfect for Hosting and Parties
When you host a gathering, your dessert table needs to be spectacular, but it also needs to be inclusive. In my decades of catering high-end events across the US and Canada, the most frequent requests I receive are for diabetic friendly sweet treats and allergy-conscious options. By mastering the sugar cookie nutritional value, you can easily pivot your base recipe to create stunning gluten free sugar cookies that will have your guests begging for the recipe. Understanding how to swap out standard ingredients for a high-quality sugar substitute for baking ensures that everyone at your party, regardless of their dietary restrictions, can enjoy a moment of pure culinary bliss.
Ingredients You Need
To optimize the sugar cookie nutritional value while maintaining elite, bakery-level quality, we must be incredibly strategic with our mise en place.
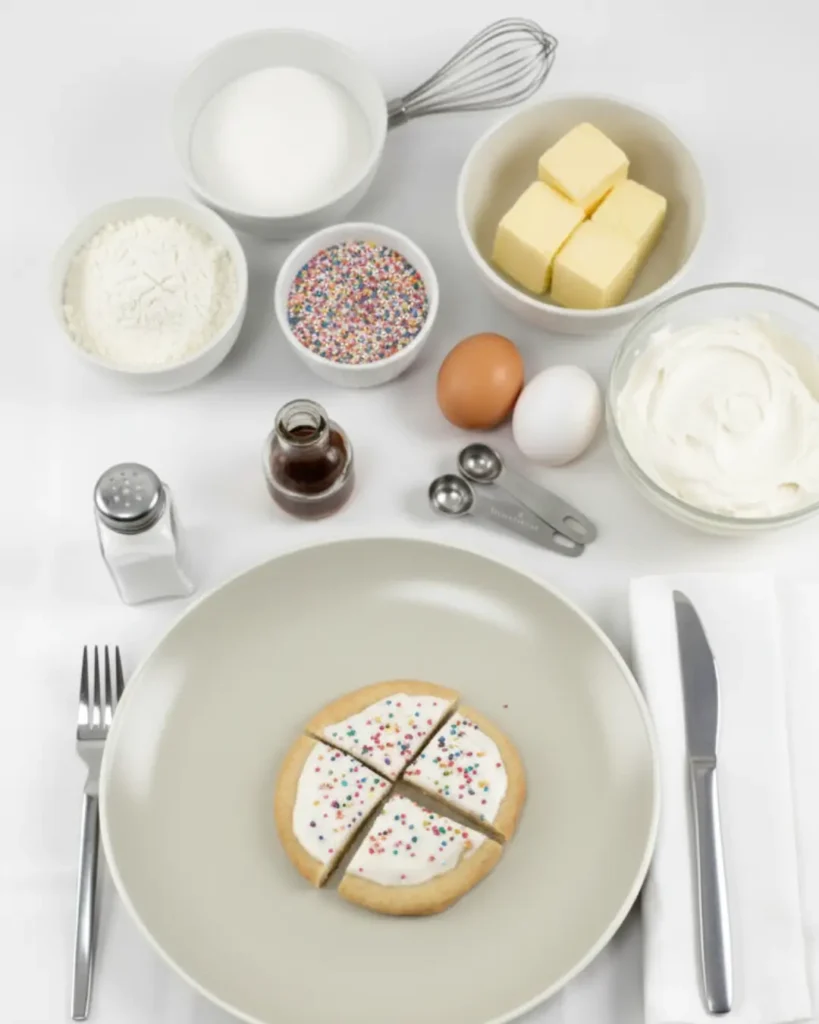
- Almond Flour & Coconut Flour Blend: Replaces refined white flour to drastically lower carbohydrates and increase the dietary fiber in baking.
- Grass-Fed Butter: For that essential rich flavor and superior lipid profile. (Can be substituted with cold pressed coconut oil).
- Erythritol or Allulose: The ultimate sugar substitute for baking that provides the necessary crystalline structure for crispy edges without spiking blood glucose.
- Pasture-Raised Eggs: Essential for binding and adding high-quality protein.
- Pure Madagascar Bourbon Vanilla Extract: Never skimp on vanilla; it tricks the palate into perceiving more sweetness.
- Baking Powder: For the perfect delicate lift.
- Sea Salt: To enhance the flavors and balance the sweetness.
How to Make Optimized sugar cookie nutritional value Treats
- Whisk the Dry Ingredients: In a large mixing bowl, aggressively whisk together your almond flour, coconut flour, baking powder, and sea salt. This aeration is a crucial step that mimics the lightness of traditional sifted all-purpose flour.
- Cream the Butter and Sweetener: In a stand mixer fitted with a paddle attachment, cream the grass-fed butter and your chosen sugar substitute for baking on medium-high speed for exactly four minutes. This incorporates air and builds the structure necessary for a tender crumb.
- Incorporate the Wet Ingredients: Reduce the mixer speed to low. Add the egg and the pure vanilla extract. Mix just until combined. Overmixing at this stage will activate unwanted density in your final product.
- Combine Wet and Dry: Gently fold the dry flour blend into the wet mixture. Do not rush this. The batter will be slightly thicker than traditional dough due to the high-fiber flours.
- Chill the Dough: Wrap the dough tightly in plastic wrap and chill it in the refrigerator for a minimum of two hours, or ideally overnight. This allows the flours to fully hydrate and the fats to solidify, preventing the cookies from spreading too thin in the oven.
- Roll and Cut: Roll the chilled dough between two sheets of parchment paper to a 1/4-inch thickness. Cut out your desired shapes using a floured cookie cutter.
- Bake to Perfection: Bake at 325°F (165°C) for 10-12 minutes. Because we are making low calorie baking recipes with alternative flours, they require a slightly lower temperature to prevent burning.
- Cool Completely: Allow the cookies to cool on the baking sheet for 10 minutes before transferring them to a wire rack. They will continue to crisp up as they cool.
Expert Tips for Success
In my 40 years traversing the culinary world, I have seen every baking disaster imaginable. Follow these absolute rules to guarantee success:
- Temperature is Everything: Your butter and egg must be at exact room temperature (around 68°F) before you begin. Cold eggs will shock the creamed butter and break your emulsion, ruining the texture.
- Do Not Skip the Chill: Alternative flours lack the gluten network of traditional wheat flour. Chilling the dough is non-negotiable if you want clean edges and a cookie that holds its shape.
- Enhance the Fiber: If you want to further boost the dietary fiber in baking, incorporate a tablespoon of ground flaxseed into your dry mix. It adds a lovely nutty undertone and incredible nutritional benefits.
- Watch the Edges: Because we are focusing on optimal sugar cookie nutritional value and using alternative sweeteners, these cookies will not brown the exact same way traditional ones do. Look for golden, set edges rather than a deeply browned top.
Frequently Asked Questions
How long does an optimized sugar cookie nutritional value batch stay fresh?
When stored in an airtight container at room temperature, these cookies will maintain their crisp texture and flavor for up to 5 days. For longer storage, freeze the baked cookies for up to 3 months.
Can I make this ahead of time?
Absolutely. The dough actually benefits from extended resting times. You can prepare the dough, wrap it tightly, and keep it in the refrigerator for up to 3 days before rolling and baking.
Conclusion
Mastering the sugar cookie nutritional value is an essential skill for the modern baker. You no longer have to choose between spectacular flavor and nutritional responsibility. By utilizing these professional techniques and understanding the science behind your ingredients, you have unlocked the secret to creating the ultimate guilt-free indulgence. I encourage you to get into the kitchen, experiment with these high-end swaps, and taste the difference that 40 years of culinary strategy can make. Please rate this recipe, leave a comment below with your results, and share this post with anyone who loves brilliant, beautiful food.
sugar cookie nutritional value
Ingredients
Method
- In a bowl, aggressively whisk together the almond flour, coconut flour, baking powder, and sea salt to aerate the mixture.
- In a stand mixer, cream the softened butter and your chosen sugar substitute on medium-high for exactly four minutes until light and fluffy.
- Reduce speed to low, add the room-temperature egg and vanilla extract, and mix just until incorporated.
- Gently fold the dry ingredient blend into the wet mixture until a cohesive dough forms.
- Wrap the dough tightly in plastic wrap and chill in the refrigerator for a minimum of 2 hours.
- Preheat oven to 325°F (165°C). Roll the chilled dough between parchment paper to 1/4-inch thickness and cut into shapes.
- Bake for 10-12 minutes until the edges are golden and set.
- Cool on the baking sheet for 10 minutes before transferring to a wire rack to crisp completely.