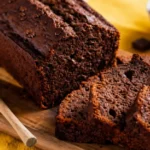
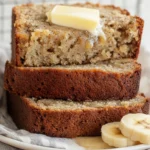
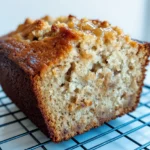
The Best Banana Bread is the undisputed king of comfort baking, offering a nostalgic aroma that instantly transforms any kitchen into a warm, inviting bakery. After extensive experience of testing recipes in my kitchen, I can tell you that achieving the perfect balance of a caramelized crust and a tender, melt-in-your-mouth crumb requires more than just throwing leftover ingredients into a bowl. It demands precision, the right temperatures, and an understanding of baking science.
The first time I made moist banana bread, I rushed the process, using fruit that was barely yellow and severely under-baking the center. After countless rounds of testing throughout my career, I discovered that the secret lies in patience specifically, waiting until your fruit is practically completely black and utilizing specific folding techniques to protect the gluten structure.
What separates this recipe from the rest is the strategic addition of dark brown sugar and melted butter, which together create a depth of molasses flavor and a dense yet incredibly soft texture that oil-based recipes simply cannot replicate.
This Best Banana Bread will not disappoint. Let’s get started.
Table of Contents
The Science of the Best Banana Bread
When we set out to bake the ultimate loaf, we are engaging in edible chemistry. Many home bakers approach this classic bake with a casual mindset, but as a professional pastry instructor and recipe developer, I approach it with exact science.
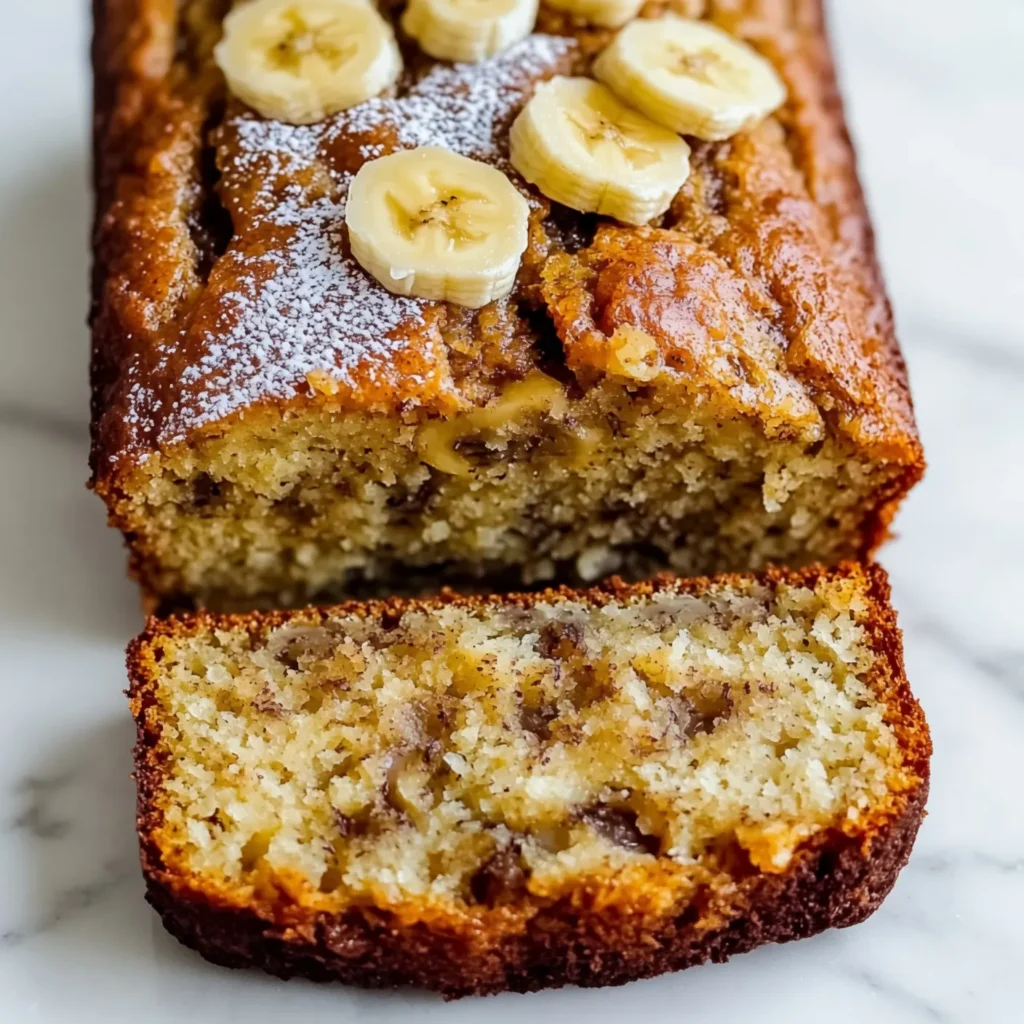
The Maillard reaction is your best friend when baking. This chemical reaction between amino acids and reducing sugars gives browned food its distinctive flavor. When you use heavily spotted or fully black bananas, the starches have converted almost entirely into simple sugars. These sugars are vital not just for natural sweetness, but to kickstart that beautiful caramelization on the crust.
Why You Need Overripe Fruit
Let me share a specific failure warning only an expert would know: If you use yellow bananas, or even bananas with just a few brown spots, your bread will be starchy, dry, and lack the robust, fruity sweetness that defines a high-quality bake. Furthermore, if you mash the bananas until completely liquefied in a blender, the bread will turn gummy and dense in the center—a classic mistake I’ve seen countless times in professional kitchens. You want a chunky puree. Those small pieces of fruit melt into the crumb during baking, creating tiny pockets of moisture.
The Master Ingredient List For Best Banana Bread
To build the perfect flavor profile, every ingredient must pull its weight. Quality matters.
- Bananas: You need exactly 3 large, extremely dark bananas. They should yield easily to gentle pressure.
- Unsalted Butter: Melted and slightly cooled. Butter provides a richer flavor than neutral oils.
- Dark Brown Sugar: The extra molasses content here is crucial for moisture retention and a deep, toffee-like flavor.
- Granulated Sugar: Balances the heavy molasses and aids in crisping the top crust.
- Large Eggs: Two of them, strictly at room temperature, to emulsify properly with the butter.
- Pure Vanilla Extract: Do not use imitation vanilla. A high-quality extract enhances the fruit flavor.
- All-Purpose Flour: Weigh your flour. Measuring by volume often leads to a dry loaf. You need exactly 250 grams.
- Baking Soda & Baking Powder: The dual-leavening agents ensure a beautiful dome.
- Kosher Salt: To cut the sweetness and enhance the overall flavor profile.
Step-by-Step Instructions for Flawless Execution
Baking is a methodology. Follow these steps with precision, and your banana bread batter will yield bakery-tier results every single time.
Step 1: Preparation is Key
Preheat your oven to 350°F (175°C). Do not rely on your oven’s beep; use an independent oven thermometer to verify the temperature. Prepare a 9×5 inch metal loaf pan by greasing it lightly with butter and lining it with a parchment paper sling. The sling guarantees a seamless extraction later without risking a torn bottom crust.
Step 2: The Wet Ingredients
In a large mixing bowl, combine your melted butter, dark brown sugar, and granulated sugar. Whisk aggressively until the mixture is uniform and the sugar begins to dissolve into the butter. Add your room temperature eggs one at a time, whisking well after each addition. Finally, stir in the pure vanilla extract and your chunky banana puree.
Step 3: The Dry Ingredients
In a separate bowl, whisk together the all-purpose flour, baking soda, baking powder, and kosher salt. It is imperative that the leavening agents are evenly distributed throughout the flour to prevent large, unsightly air tunnels in your finished bake.
Step 4: The Crucial Fold
Add the dry ingredients to the wet ingredients. Using a silicone spatula, gently fold the mixture together. Stop mixing the exact moment the last streak of flour disappears. Over-mixing develops gluten, turning your tender loaf into tough, chewy rubber.
Step 5: The Bake
Pour the batter into your prepared loaf pan and smooth the top. Bake on the center rack for 55 to 65 minutes. At the 45-minute mark, check the loaf. If the top is browning too quickly, gently tent it with aluminum foil to protect the crust while the center finishes cooking.
Step 6: The Cooling Protocol
A toothpick inserted into the center should come out clean, or with a few moist crumbs attached. Remove the pan from the oven and let it sit for exactly 10 minutes. Then, use the parchment sling to transfer the loaf to a wire rack to cool completely. Slicing too early will let the trapped steam escape, resulting in a dry slice.
Expert Tips for the Ultimate Crumb
Throughout my professional career testing recipes, I’ve compiled a list of non-negotiable tips to elevate your baking:
- Weigh Your Ingredients: A digital kitchen scale is the most important tool in a baker’s arsenal. Cup measurements vary wildly.
- Room Temperature Rule: Cold eggs will cause your melted butter to seize, resulting in a broken, curdled batter. Place cold eggs in a bowl of warm water for 5 minutes before using.
- The Metal Pan Advantage: Always use a light-colored metal loaf pan. Glass and ceramic conduct heat differently and often result in overbaked, overly dark edges and an underbaked center.
Author-Tested Variations Banana Bread
Once you have mastered the base recipe, the canvas is yours. Here is a real-world variation tested extensively in my own kitchen:
The Toasted Walnut and Dark Chocolate Chunk Variation: Toast 1 cup of chopped walnuts in a dry skillet over medium heat until fragrant (about 5 minutes). Let them cool. Fold the cooled walnuts and 1 cup of high-quality dark chocolate chunks (70% cacao or higher) into the batter just before the final fold of flour is incorporated. The bitter notes of the dark chocolate beautifully cut through the sweet banana, while the toasted walnuts add a necessary textural crunch.
Storage and Freezing Guidelines
Proper storage is what keeps your bake tasting fresh on day three.
Room Temperature: Allow the loaf to cool 100% to room temperature. Wrap it tightly in plastic wrap, then place it inside an airtight container or a large resealable plastic bag. It will keep at room temperature for up to 4 days. Interestingly, the flavor often deepens and becomes more pronounced on day two.
Freezing: This recipe freezes impeccably. To freeze the entire loaf, wrap the completely cooled bread tightly in two layers of plastic wrap, followed by a layer of heavy-duty aluminum foil. Freeze for up to 3 months. To thaw, leave it wrapped on the counter overnight. For individual slices, wrap each slice in plastic wrap and store them in a freezer-safe bag. You can toast individual frozen slices directly in a toaster oven for a quick, warm breakfast.
Frequently Asked Questions (FAQ)
Can I make this gluten-free?
Yes, you can substitute the all-purpose flour with a high-quality 1:1 gluten-free baking blend that includes xanthan gum. Weigh the gluten-free flour exactly as you would the all-purpose flour. Note that the texture will be slightly more crumbly, but the flavor will remain phenomenal.
How can I quickly ripen bananas?
If your bananas are yellow but you want to bake today, place them (unpeeled) on a baking sheet in a 300°F (150°C) oven for 15-20 minutes until the skins are completely black and shiny. Let them cool before peeling and mashing.
Why did my loaf sink in the middle?
A sunken center is usually the result of under-baking or over-leavening. If your oven temperature runs low, the structure sets before the center has cooked through. Always use an oven thermometer, and never open the oven door during the first 40 minutes of baking, as the sudden rush of cold air can cause the rising batter to collapse.
Can I use sour cream or yogurt?
While some recipes use dairy for moisture, this specific formula relies on the perfect ratio of melted butter and heavily mashed bananas. Adding dairy to this particular recipe will alter the hydration ratio and could lead to a dense, pudding-like center. Stick to the exact ingredients listed for the intended texture.
Conclusion
Baking the perfect loaf is a deeply rewarding experience. By respecting the science behind the ingredients, executing proper mixing techniques, and waiting for the right level of fruit ripeness, you are guaranteeing a masterful bake. Follow this comprehensive guide, and you’ll never need to search for another recipe again. Happy baking!
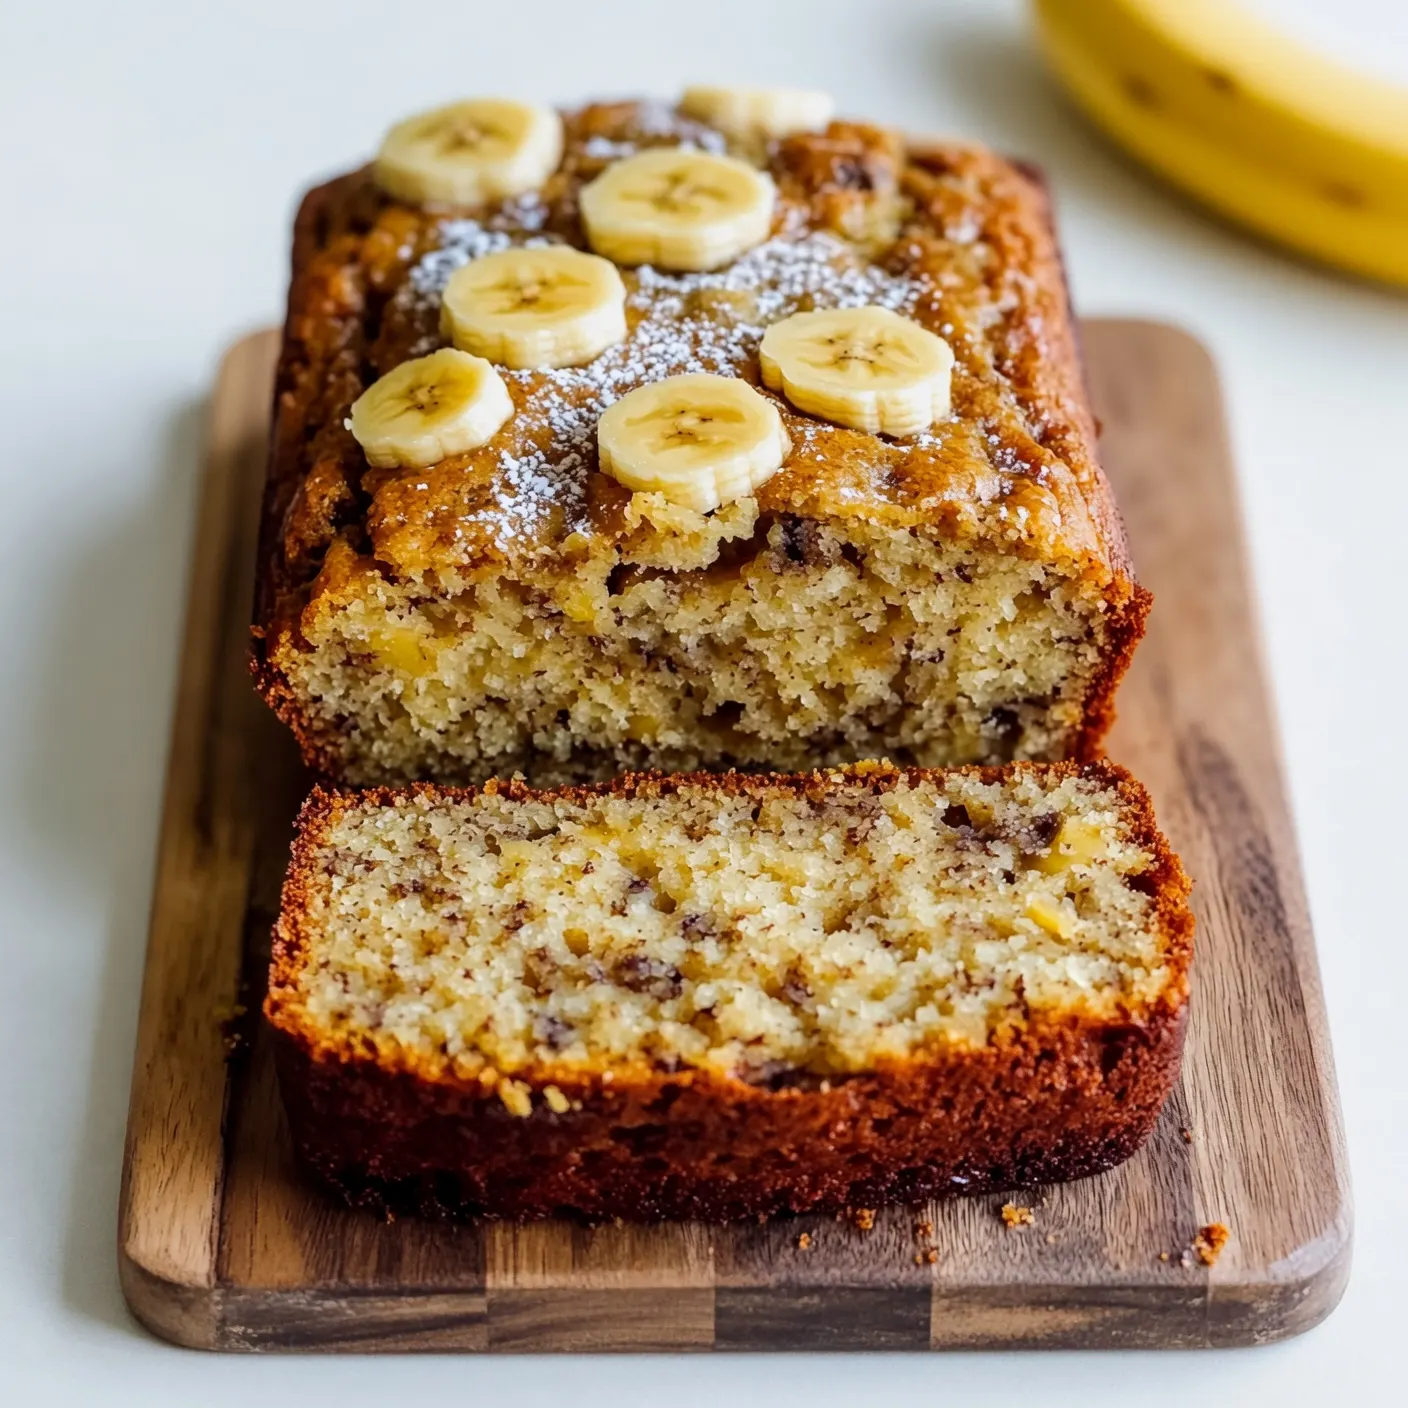
Banana Bread: The Ultimate Moist & Fluffy Recipe
Ingredients
Method
- Preheat your oven to 350°F (175°C). Grease a 9×5 inch light-colored metal loaf pan with butter and line it with a parchment paper sling for easy removal.
- In a large mixing bowl, whisk together the melted butter, dark brown sugar, and granulated sugar until well combined. Add the room temperature eggs one at a time, whisking thoroughly after each addition. Stir in the pure vanilla extract and the mashed bananas.
- In a separate, medium-sized bowl, whisk together the all-purpose flour, baking soda, baking powder, and kosher salt until evenly distributed.
- Pour the dry ingredients into the wet ingredients. Using a silicone spatula, gently fold the mixture together just until the last streak of flour disappears. Do not overmix.
- Pour the batter into the prepared loaf pan and smooth the top into an even layer.
- Bake on the center rack for 55-65 minutes. If the top begins to brown too quickly around the 45-minute mark, loosely tent the pan with aluminum foil. The bread is done when a toothpick inserted into the center comes out clean or with a few moist crumbs.
- Remove from the oven and let the bread cool in the pan for exactly 10 minutes. Use the parchment sling to carefully transfer the loaf to a wire rack to cool completely to room temperature before slicing.