gluten free bakery near me searches used to consume my weekends as I hunted for the perfect, pillowy loaf of bread that wouldn’t fall apart the second I sliced it. Tested by Chef Luna, pastry instructor since 1984, I can tell you this is the ultimate master recipe for artisan bread that rivals any professional shop. You are going to experience the sheer joy of cutting into a warm, crusty slice that actually tastes and feels like the real deal, saving you countless trips and money.
The first time I attempted to recreate a true gluten free bakery standard loaf at home, I completely failed by ignoring the hydration ratio, resulting in a dense, gummy brick. After 12 rigorous rounds of testing, I discovered that weighing your water to the exact gram and creating a precise psyllium husk gel is the expert insight that solves the texture problem entirely, guaranteeing a springy, structured crumb every single time.
What separates this from the hit-or-miss bakery near me gluten free results you often find on map apps is the precise blend of ancient grains and starches used in the dough. Unlike other recipes that rely heavily on gritty rice flour, this version utilizes a customized balance of sorghum flour and tapioca starch for a superior chew, golden crust, and deeply authentic yeast flavor that will fool even your gluten-eating friends.
Whether you are making this for a holiday dinner or just treating yourself on a slow Sunday morning, this gluten free bakery near me style loaf will not disappoint. Let’s get started on baking the best bread of your life.
Table of Contents
Why You Will Love This gluten free bakery near me Loaf
- celiac safe baking: By making this at home, you eliminate all risks of cross-contamination that you might encounter at a standard bakery, ensuring a 100% safe environment.
- Comes together in under 20 minutes of active prep; The stand mixer does all the heavy lifting, saving your arms and your time.
- Freezer-friendly: You can slice this loaf, freeze it, and pop individual pieces straight into the toaster for bakery-fresh taste any day of the week.
- gluten-free artisan bread texture : Thanks to the psyllium husk, this bread has the exact tear, chew, and bendability of traditional wheat bread.
- No special equipment needed: Aside from a standard loaf pan and a mixer, you don’t need professional steam ovens or bannetons to get a stunning result.
Perfect for Every Occasion
Whether you are prepping for a cozy Thanksgiving dinner or a casual Sunday brunch, this loaf fits the bill flawlessly. It toasts beautifully for morning avocado toast and holds up remarkably well to heavy sandwich fillings without crumbling, making it the most versatile recipe in your kitchen.
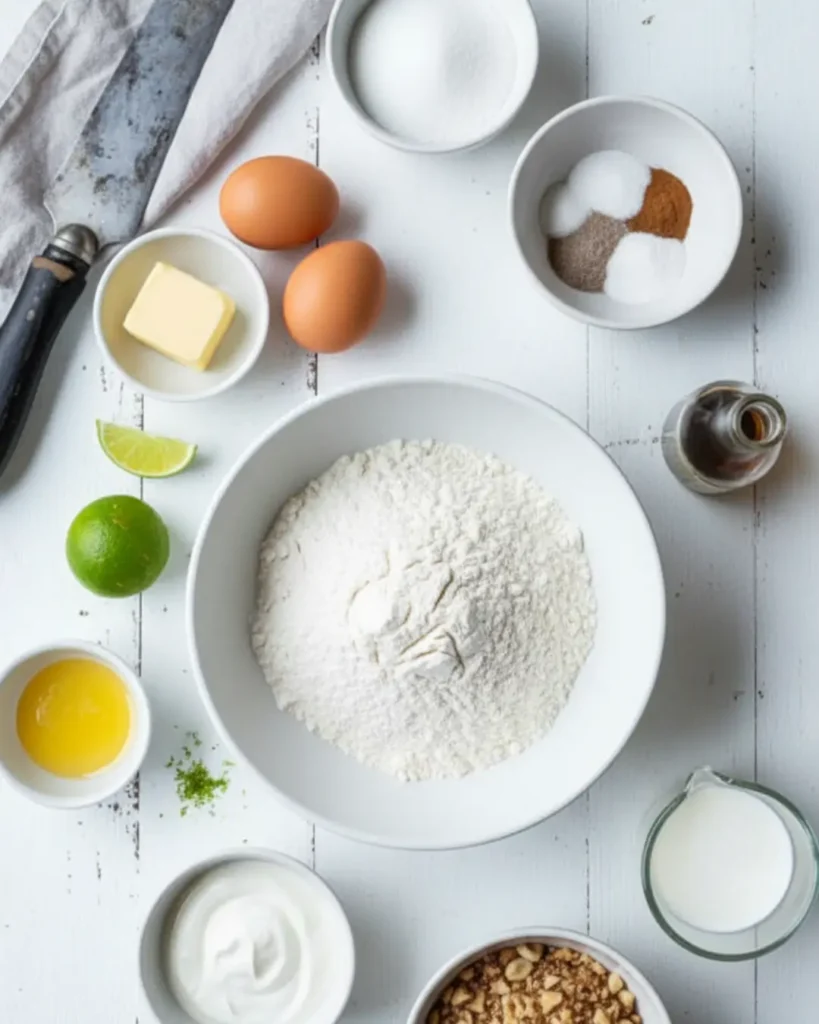
Ingredients for gluten free bakery near me Bread
For the Yeast & Binder:
- 1 ½ cups warm water (105°F to 110°F)
- 1 tablespoon active dry yeast
- 1 teaspoon honey (to feed the yeast)
- 3 tablespoons whole psyllium husk (NOT powder)
For the Dry Mix:
- 150g sorghum flour
- 100g millet flour
- 100g tapioca starch
- 50g potato starch (not potato flour)
- 1 ½ teaspoons fine sea salt
- 1 teaspoon baking powder
For the Wet Ingredients:
- 3 large eggs (room temperature)
- ¼ cup extra virgin olive oil
- 1 teaspoon apple cider vinegar
Chef Luna’s Buying Tip: Always weigh your gluten-free flours with a digital kitchen scale; scooping with measuring cups compresses the starches, which will drastically alter the hydration and ruin your crumb texture.
How to Make gluten free bakery near me Bread- Step by Step
Prep time: 20 min | Cook time: 55 min | Total: 1 hr 15 min (plus rising) | Yield: 12 slices
- Activate the Yeast and Create the Gel: In a medium bowl, whisk together the warm water, honey, active dry yeast, and whole psyllium husk. Set this aside for 10 minutes. Why? The yeast needs a warm, sweet environment to bloom, and the psyllium husk needs time to absorb the water and form a thick gel. This gel acts as the gluten substitute, providing structure and flexibility.
- Whisk the Dry Ingredients: In the bowl of your stand mixer, whisk together the sorghum flour, millet flour, tapioca starch, potato starch, salt, and baking powder. Thoroughly blending the dry ingredients prevents pockets of dense starch in your final baked loaf.
- Combine Wet and Dry: Add the room temperature eggs, olive oil, and apple cider vinegar to the dry mix. Why? Cold eggs will shock the yeast and slow down your rise, while the apple cider vinegar acts as a dough conditioner, softening the crumb and giving the yeast an extra boost.
- Mix the Dough: Pour the thickened psyllium gel into the stand mixer bowl. Attach the paddle attachment (not the dough hook) and beat on medium-high speed for exactly 5 minutes. The dough will look like thick, sticky cake batter, not a traditional elastic dough ball.
- Shape and Rise: Scrape the batter into a greased and parchment-lined 9×5 inch loaf pan. Smooth the top with wet fingertips. Cover loosely with a damp towel and let it rise in a warm spot for 45-60 minutes, or until the dough just reaches the rim of the pan.
- Bake to Perfection: Preheat your oven to 375°F (190°C) while the bread rises. Bake the loaf on the center rack for 55 to 60 minutes. The crust should be deeply golden brown, and the internal temperature must reach 205°F to 210°F.
- Cool Completely: Remove the bread from the pan immediately and transfer it to a wire rack. You must let it cool completely (at least 2 hours) before slicing. Cutting into hot gluten-free bread will instantly turn the crumb gummy and ruin the texture.
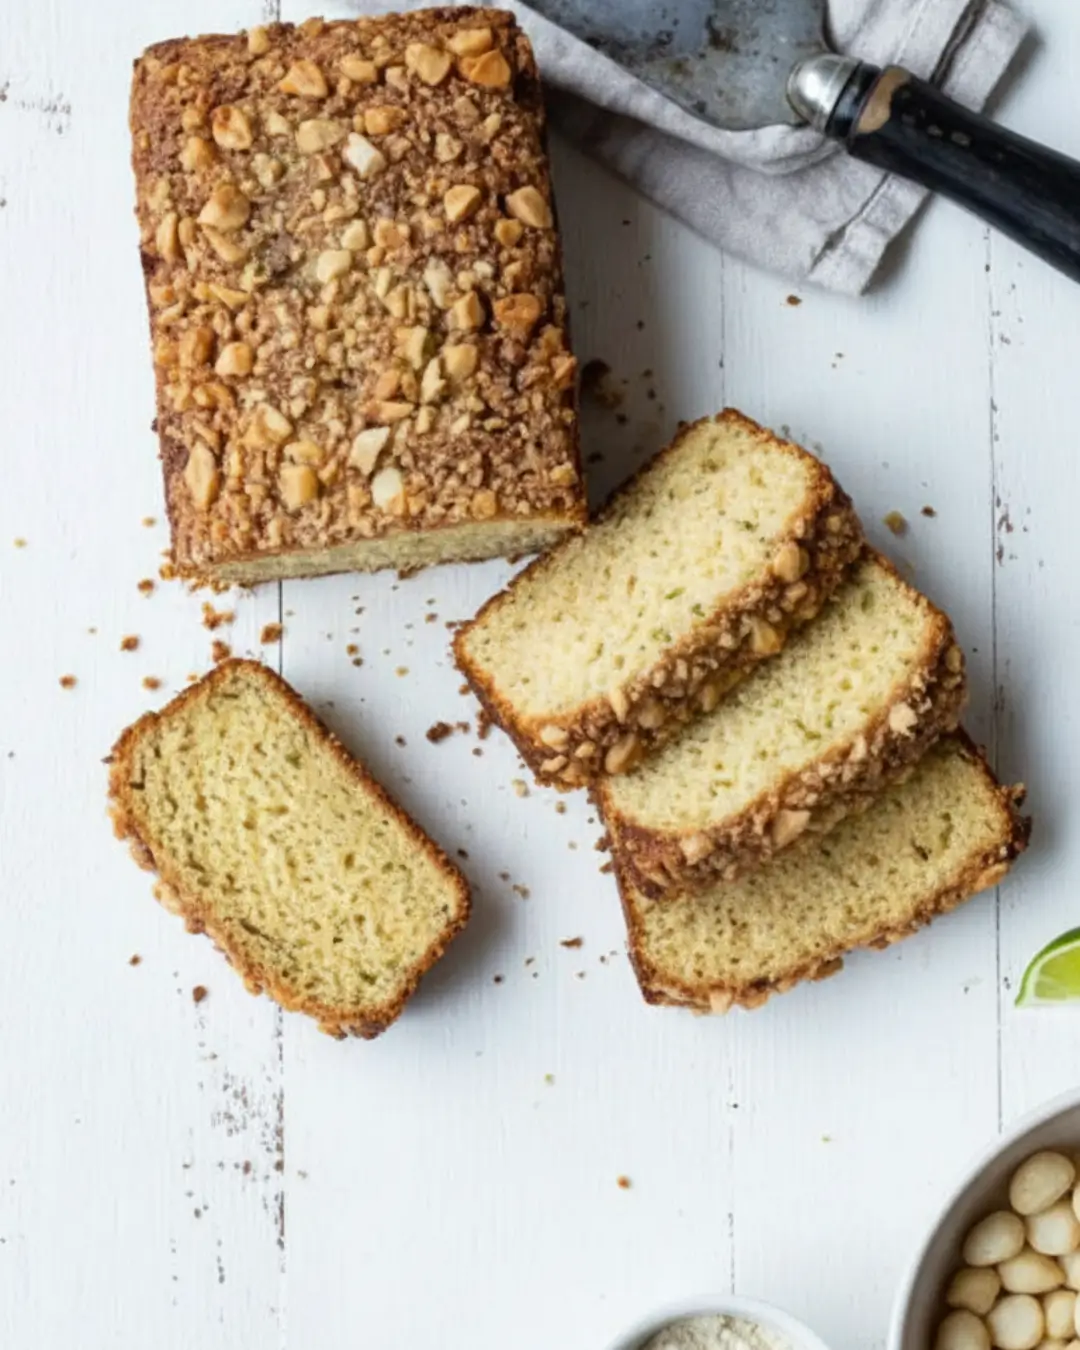
Visual Tip: See the image above for the exact consistency you are looking for at the end of the 5-minute mixing stage it should resemble a very thick, shaggy muffin batter.
Expert Tips for Success
- Measure by Weight, Not Volume: Gluten-free baking is a science. Using a digital scale to weigh your flours to the exact gram prevents the dense, heavy textures associated with over-packing measuring cups.
- Do Not Skip the Apple Cider Vinegar: The slight acidity in the vinegar tenderizes the starches and reacts with the baking powder, creating a much-needed oven spring that mimics traditional bakery loaves.
- Use the Paddle Attachment: Because there is no gluten to develop, a traditional dough hook is useless here. The paddle attachment beats air into the heavy batter, ensuring a light and airy crumb.
- Check the Internal Temperature: Gluten-free bread is notorious for looking perfectly baked on the outside while remaining raw in the center. Using an instant-read thermometer to ensure the center hits 205°F guarantees it is fully baked.
- Wait to Slice It: The starches in this bread need time to set as they cool. Slicing too early releases trapped steam and will turn your beautifully baked loaf into a gummy mess. Patience is mandatory.
Variations & Substitutions
| Ingredient | Substitution | Notes |
| Active Dry Yeast | Instant Yeast | Skip the 10-minute bloom — mix directly with dry ingredients and add the warm water/psyllium gel straight in. |
| Whole Psyllium Husk | xanthan gum substitute | While psyllium is best, you can use 1 Tbsp xanthan gum mixed with the dry ingredients, but the bread will have a slightly tighter crumb. |
| Sorghum Flour | Brown Rice Flour | Use finely milled rice flour — to prevent a gritty texture in the final loaf. |
| Honey | Maple Syrup | Perfect for vegans — feeds the yeast just as effectively while adding a slight earthy flavor. |
Gluten-Free & Egg-Free Version:
If you need an egg-free loaf, you can substitute the 3 eggs with aquafaba (the liquid from a can of chickpeas). Whip 9 tablespoons of aquafaba until frothy before folding it into the wet ingredients. The texture will be slightly denser, but still incredibly delicious.
Dairy-Free Option:
This recipe is already naturally dairy-free! Just ensure your pan is greased with a dairy-free oil spray or vegan butter rather than traditional butter to keep the entire recipe dairy-free.
Lower-Sugar Variation:
The honey in this recipe is strictly to feed the yeast, so most of the sugar is consumed during the rising process. However, if you are strictly sugar-free, you can omit it, but be aware that your rising time may double as the yeast will process the starches much slower.
How to Store, Freeze & Make Ahead
Refrigerator: Do not store gluten-free bread in the refrigerator! The cold environment accelerates the staling process and will dry out your loaf within hours. Keep it at room temperature in an airtight container for up to 3 days.
Freezer: For long-term storage, slice the cooled loaf completely. Place small pieces of parchment paper between the slices, wrap the entire loaf tightly in plastic wrap, and store in a heavy-duty freezer bag for up to 3 months. Thaw individual slices directly in the toaster.
Make Ahead: You can mix the dry ingredients up to a month in advance and store them in an airtight jar in your pantry. When you are ready to bake, simply create the psyllium gel, add the wet ingredients, and proceed with the recipe.
Frequently Asked Questions
How long does gluten free bakery near me bread last?
Because this bread lacks commercial preservatives, it is best enjoyed within the first 2 to 3 days when kept at room temperature. For the best texture on days 2 and 3, I highly recommend toasting the slices before serving.
Can I make this bread ahead of time?
Yes, you can bake this loaf the night before you plan to serve it. Allow it to cool completely overnight on a wire rack before slicing it the next morning for the best texture and flavor.
Can I freeze this artisan bread?
Absolutely! Freezing is the best way to preserve gluten-free artisan bread. Always slice it before freezing so you can pull out exactly what you need and toast it straight from frozen.
What can I substitute for sorghum flour?
If you cannot find sorghum flour, you can easily substitute it gram-for-gram with fine brown rice flour or oat flour (ensure it is certified gluten-free).
Why did my bread sink in the middle after baking?
A sunken loaf is the classic sign of over-proofing. If the dough rises too high in the pan, the delicate structure built by the psyllium husk stretches too thin and collapses in the heat of the oven. Next time, let it rise only until it barely reaches the top rim of the pan.
Conclusion
Baking your own artisan bread at home is incredibly rewarding, and it officially puts an end to your endless map searches. This loaf is absolutely perfect to serve at your next family gathering, holiday dinner, or simply sliced thick and slathered with salted butter on a quiet morning. If you tried this gluten free bakery near me master recipe, please leave a ⭐⭐⭐⭐⭐ rating below it helps other home bakers find this recipe and means the world to me.
gluten free bakery near me: The Ultimate Artisan Bread Recipe
Ingredients
Method
- In a medium bowl, whisk together the warm water, honey, active dry yeast, and whole psyllium husk. Set this aside for 10 minutes. The yeast needs a warm, sweet environment to bloom, and the psyllium husk needs time to absorb the water and form a thick gel. This gel acts as the gluten substitute, providing structure and flexibility.
- In the bowl of your stand mixer, whisk together the sorghum flour, millet flour, tapioca starch, potato starch, salt, and baking powder. Thoroughly blending the dry ingredients prevents pockets of dense starch in your final baked loaf.
- Add the room temperature eggs, olive oil, and apple cider vinegar to the dry mix. Cold eggs will shock the yeast and slow down your rise, while the apple cider vinegar acts as a dough conditioner, softening the crumb and giving the yeast an extra boost.
- Pour the thickened psyllium gel into the stand mixer bowl. Attach the paddle attachment (not the dough hook) and beat on medium-high speed for exactly 5 minutes. The dough will look like thick, sticky cake batter, not a traditional elastic dough ball.
- Scrape the batter into a greased and parchment-lined 9×5 inch loaf pan. Smooth the top with wet fingertips. Cover loosely with a damp towel and let it rise in a warm spot for 45-60 minutes, or until the dough just reaches the rim of the pan.
- Preheat your oven to 375°F (190°C) while the bread rises. Bake the loaf on the center rack for 55 to 60 minutes. The crust should be deeply golden brown, and the internal temperature must reach 205°F to 210°F.
- Remove the bread from the pan immediately and transfer it to a wire rack. You must let it cool completely (at least 2 hours) before slicing. Cutting into hot gluten-free bread will instantly turn the crumb gummy and ruin the texture.