Prep time: 10 minutes | Cook time: 20 minutes | Total: 30 minutes | Servings: 4
If you’ve ever wondered how to make homemade chicken fajitas that are juicy, flavorful, and ready in under 30 minutes this is the only recipe you’ll ever need. With a simple marinade, fresh bell peppers, and a smoking-hot skillet, you can recreate that sizzling restaurant experience right in your own kitchen.
Table of Contents
Why Homemade Chicken Fajitas Are Better
Making chicken fajitas at home gives you full control over every ingredient. No hidden sodium, no preservatives, and you can customize the spice level exactly the way you like it. Plus, homemade fajitas cost a fraction of restaurant prices and take less time than waiting for delivery.
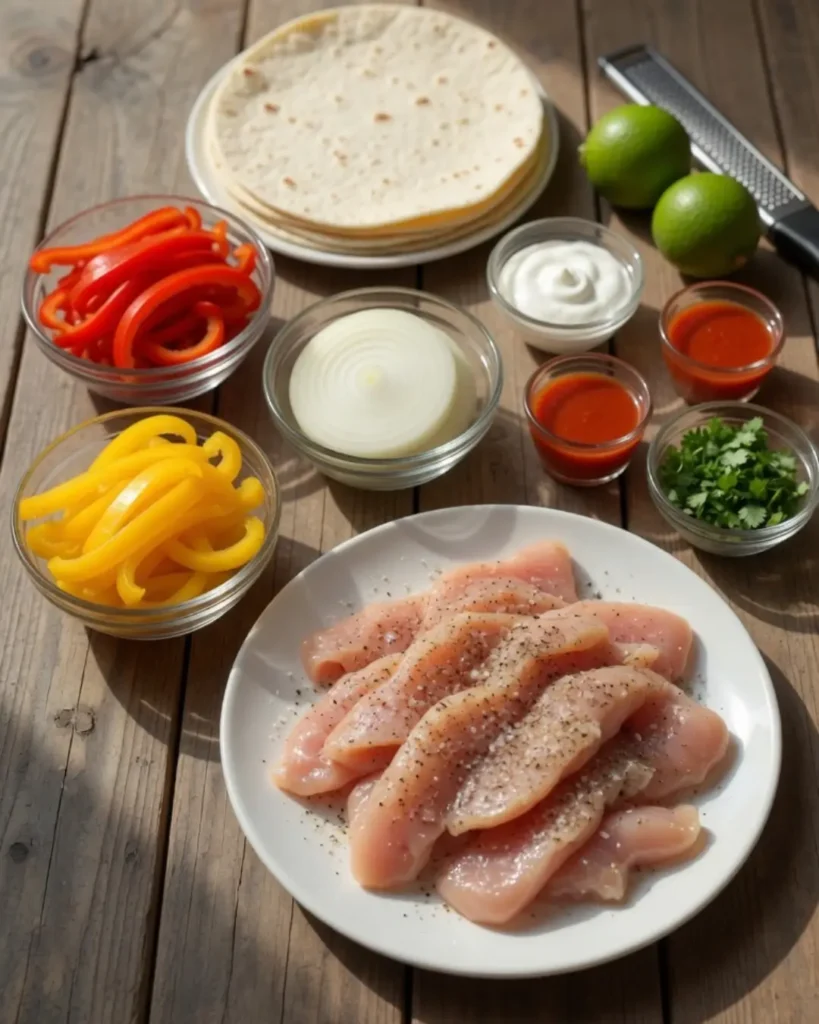
Ingredients
For the chicken marinade
- 2 lbs (900g) chicken thighs or breasts, sliced into strips
- 3 tablespoons olive oil
- 3 tablespoons fresh lime juice (about 2 limes)
- 3 garlic cloves, minced
- 1 teaspoon cumin
- 1 teaspoon chili powder
- 1 teaspoon smoked paprika
- ½ teaspoon garlic powder
- ½ teaspoon onion powder
- ½ teaspoon dried oregano
- 1 teaspoon salt
- ½ teaspoon black pepper
- Pinch of cayenne (optional, for heat)
For the fajitas
- 1 red bell pepper, sliced
- 1 green bell pepper, sliced
- 1 yellow bell pepper, sliced
- 1 large onion, sliced
- 2 tablespoons olive oil
- 8 flour tortillas (6–8 inch)
For serving
- Fresh lime wedges
- Fresh cilantro
- Sour cream
- Guacamole or sliced avocado
- Salsa or pico de gallo
- Shredded cheese
How to Make Homemade Chicken Fajitas (Step by Step)
Step 1 — Make the marinade and marinate the chicken
In a large bowl, whisk together olive oil, lime juice, minced garlic, cumin, chili powder, smoked paprika, garlic powder, onion powder, oregano, salt, pepper, and cayenne. Add the chicken strips and toss to coat evenly. Cover and marinate for at least 30 minutes at room temperature, or up to 8 hours in the refrigerator.
Tip: Chicken thighs stay juicier than breasts and are more forgiving if slightly overcooked highly recommended for the best homemade fajitas.
Step 2 — Prepare your vegetables
While the chicken marinates, slice your bell peppers and onion into uniform strips about ¼-inch thick. Uniform slicing ensures everything cooks evenly.
Step 3 — Sear the chicken
Heat a large cast iron skillet or heavy-bottomed pan over high heat until very hot. Add 1 tablespoon olive oil. Remove chicken from the marinade (shake off excess) and cook in a single layer for 4–5 minutes per side until nicely charred and cooked through. Do not overcrowd the pan cook in batches if needed. Transfer to a cutting board and rest for 5 minutes, then slice against the grain.
Step 4 — Cook the peppers and onions
In the same skillet (don’t wipe it!), add the remaining olive oil. Add onions first and cook for 2 minutes, then add all the bell peppers. Cook over high heat for 4–5 minutes, stirring occasionally, until softened with a slight char. Season with a pinch of salt.
Step 5 — Combine and serve
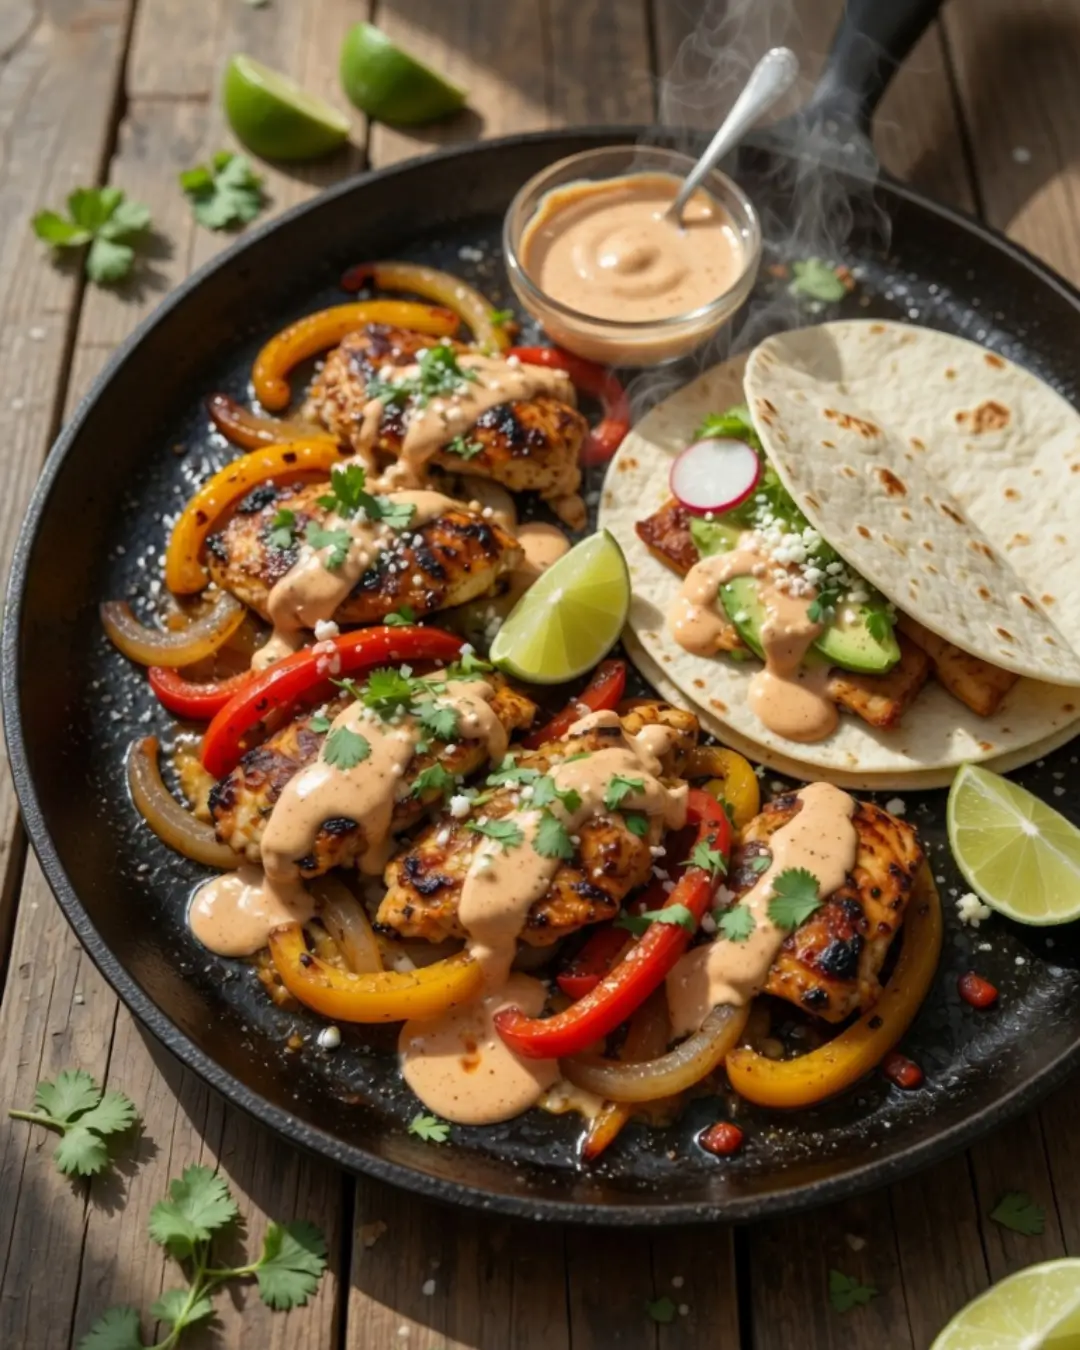
Return the sliced chicken to the skillet and toss everything together for 1 minute to combine flavors. Serve immediately in warm tortillas with your favorite toppings.
Homemade Fajita Seasoning Recipe
Skip the store-bought packets! This homemade fajita seasoning takes 2 minutes to mix and is far healthier. Store the extra blend in a small jar it keeps for up to 6 months.
Makes about ¼ cup (enough for 4–6 batches):
- 2 tablespoons cumin
- 1 tablespoon chili powder
- 1 tablespoon smoked paprika
- 1 teaspoon garlic powder
- 1 teaspoon onion powder
- 1 teaspoon dried oregano
- 1 teaspoon salt
- ½ teaspoon black pepper
- ¼ teaspoon cayenne pepper
Use 1–1½ tablespoons per pound of chicken.
Tips for the Best Homemade Chicken Fajitas
Get the pan hot: This is the most important step. A screaming-hot skillet creates the char and sizzle that makes fajitas taste like restaurant-quality. If the pan isn’t hot enough, the chicken steams instead of sears.
Don’t overcrowd: Cook the chicken in batches if needed. Overcrowding drops the pan temperature and leads to steamed, grey chicken instead of a golden sear.
Marinate the right amount of time: 30 minutes minimum, 4–8 hours maximum. The lime juice in the marinade starts to denature the protein after 12 hours, making the texture mushy.
Slice against the grain: Always cut the cooked chicken perpendicular to the muscle fibers. This gives you the most tender bite.
Warm your tortillas: Wrap flour tortillas in foil and heat in a 350°F (175°C) oven for 10 minutes, or char them directly on a gas flame for 20 seconds per side.
Variations
Healthy chicken fajitas: Use chicken breast, skip the sour cream, and serve in lettuce wraps instead of tortillas for a low-carb option around 280 calories per serving.
Chicken fajita bowl: Skip the tortillas and serve everything over cilantro-lime rice with black beans.
Oven-baked chicken fajitas: Spread marinated chicken, peppers, and onions on a sheet pan and bake at 425°F (220°C) for 20–25 minutes. Great for easy weeknight meals with minimal cleanup.
Chicken fajita meal prep: Double the recipe and store the filling (without tortillas) in airtight containers in the fridge for up to 4 days. Reheat in a hot skillet for 2–3 minutes.
Nutrition Information (per serving, without tortilla)
| Nutrient | Amount |
| Calories | ~320 kcal |
| Protein | 32g |
| Carbohydrates | 10g |
| Fat | 16g |
| Fiber | 3g |
| Sodium | 680mg |
Values are estimates and will vary based on exact ingredients used.
Frequently Asked Questions
What makes homemade chicken fajitas better than restaurant ones?
Homemade fajitas give you complete control over ingredients fresher peppers, no preservatives, and a marinade tailored to your taste. They also cost significantly less and are ready in about 30 minutes.
How long should I marinate chicken for fajitas?
A minimum of 30 minutes gives good flavor, while 4–8 hours in the refrigerator delivers the best results. Avoid marinating longer than 24 hours as the lime juice will begin to break down the meat and affect texture.
What’s the best cut of chicken for homemade fajitas?
Chicken thighs are ideal they’re juicier and more forgiving. Chicken breasts work too but need precise cooking to avoid drying out. Always slice against the grain after cooking.
Can I make homemade chicken fajitas without a cast iron skillet?
Yes any heavy-bottomed stainless steel or non-stick pan works well. The key is getting it very hot before adding the chicken. You can also grill the chicken for an authentic smoky flavor.
How do I store leftover homemade chicken fajitas?
Store the chicken and vegetables separately from tortillas in airtight containers in the refrigerator for up to 4 days. Reheat in a hot skillet for 2–3 minutes. The filling also freezes well for up to 3 months.
What spices go into a homemade fajita seasoning?
The classic blend includes cumin, chili powder, smoked paprika, garlic powder, onion powder, oregano, salt, and black pepper. A pinch of cayenne adds heat. Homemade blends are healthier than store-bought packets which often contain excess sodium.
Are homemade chicken fajitas healthy?
Yes a typical serving (without the tortilla) provides around 320 calories and 32g of protein, with plenty of vitamins from bell peppers. They’re one of the most balanced Mexican-inspired meals you can make at home.
Tried this recipe? Leave a rating below and tag us on Pinterest! We love seeing your homemade chicken fajitas.
Homemade Chicken Fajitas: The Ultimate Sizzling Recipe
Ingredients
Method
- In a large bowl, whisk together 2 tablespoons of olive oil, lime juice, minced garlic, jalapeno, chili powder, cumin, smoked paprika, oregano, salt, and pepper to create the marinade.
- Add the chicken cutlets to the bowl and turn to coat completely. Let marinate at room temperature for 15-30 minutes (do not exceed 4 hours in the fridge).
- Heat a large cast-iron skillet over medium-high heat until smoking. Add 1/2 tablespoon of oil. Remove chicken from marinade, letting excess drip off, and sear for 5-7 minutes per side until deeply browned and internal temp reaches 165°F (74°C).
- Remove the chicken to a cutting board and let it rest for 5 minutes.
- In the same skillet, add the remaining 1/2 tablespoon of oil. Toss in the sliced bell peppers and onions. Cook for 4-5 minutes, stirring occasionally, until blistered and tender-crisp.
- Slice the rested chicken against the grain into strips. Return the chicken to the skillet with the vegetables, toss to combine, and serve immediately with warm tortillas and your favorite toppings.