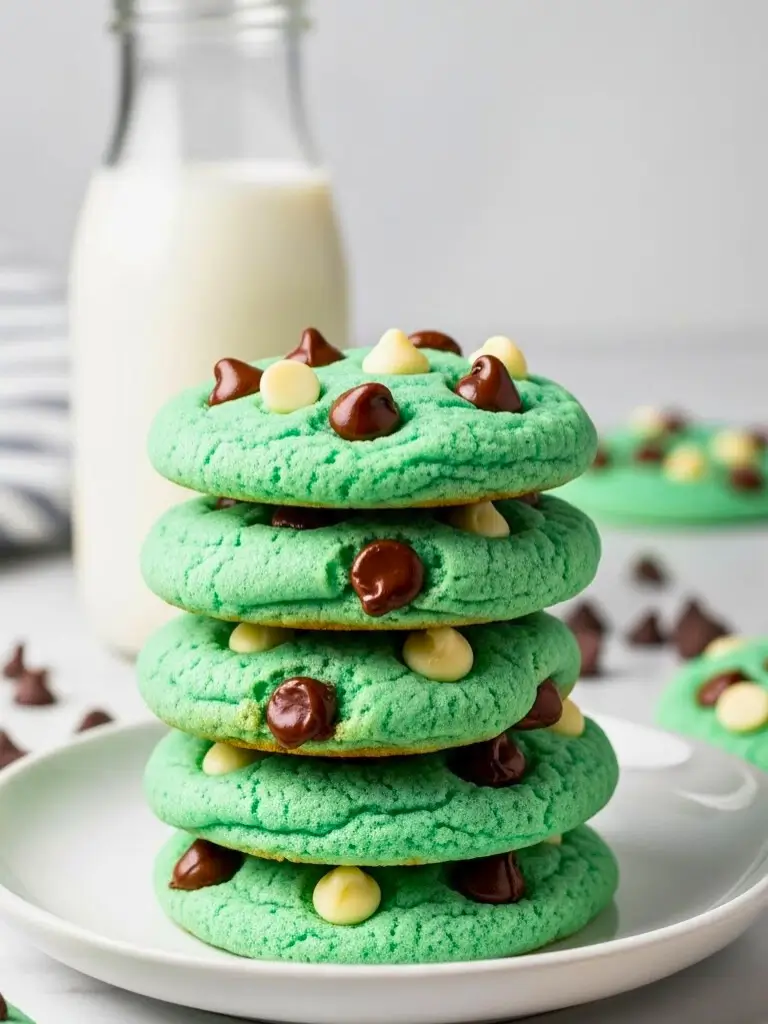
There is something undeniably whimsical about a plate of vibrant green cookies. Whether you are preparing for a St. Patrick’s Day celebration, looking for a festive addition to your Christmas cookie tray, or simply have a craving for the classic combination of mint and chocolate, these Mint Chocolate Chip Green Cookies are the ultimate solution.
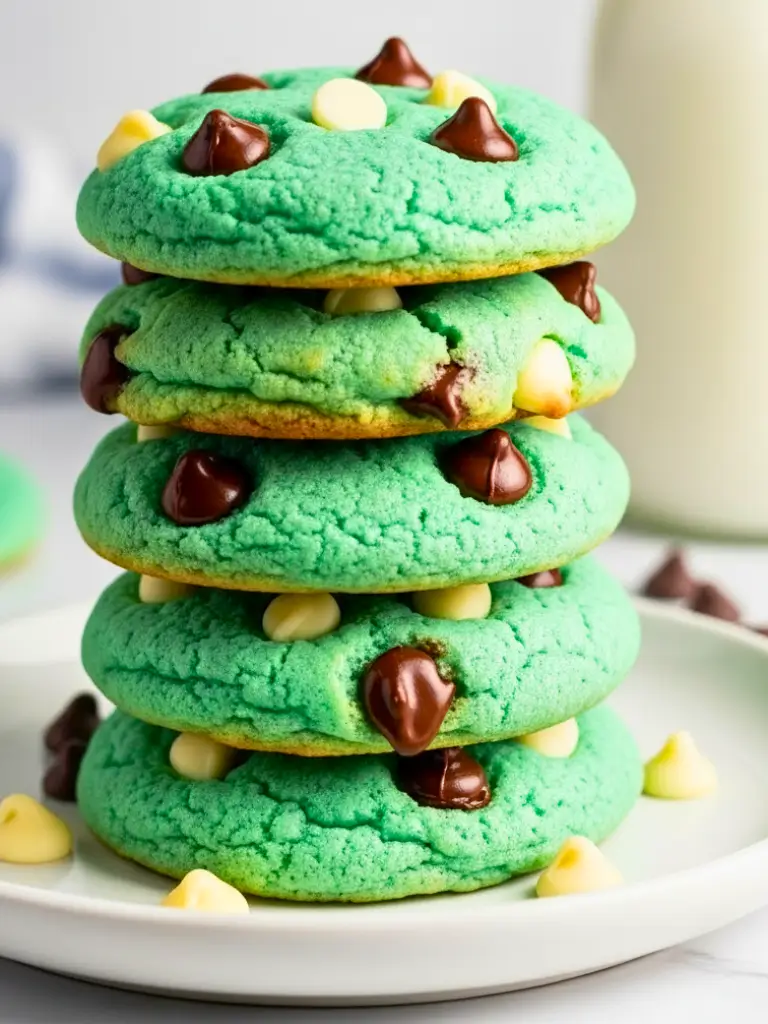
These aren’t just your standard cookies with a drop of dye; they are engineered for a soft, melt-in-your-mouth texture that rivals any high-end bakery. By combining the cool, refreshing snap of peppermint with the richness of both semi-sweet and white chocolate chips, we create a flavor profile that is balanced, nostalgic, and absolutely addictive.
Table of Contents
Why You’ll Love This Mint Chocolate Chip Green Cookies Recipe
- The Texture: These are “soft-batch” style cookies. They remain tender for days thanks to the specific ratio of brown sugar to granulated sugar.
- Vibrant Color: We use gel food coloring to achieve a stunning emerald hue that doesn’t fade during the baking process.
- Double the Chocolate: The contrast between the dark, slightly bitter semi-sweet chips and the creamy, sweet white chocolate chips makes every bite interesting.
- No Chill Time Required: Unlike many gourmet cookie recipes, this dough is sturdy enough to go straight from the bowl to the oven, though a short chill can help if you prefer a thicker cookie.
Ingredients: Green Cookies
The Dry Base
- 2 ¼ cups All-purpose flour (spooned and leveled)
- 1 tsp Baking soda
- ½ tsp Sea salt
The Wet & Flavoring Ingredients
- ¾ cup Unsalted butter (softened to room temperature)
- ¾ cup Light brown sugar (packed)
- ¼ cup Granulated white sugar
- 1 large Egg (room temperature)
- 1 ½ tsp Peppermint extract (adjust based on preference)
- Green Gel Food Coloring (Standard liquid dye works, but gel provides a more concentrated color)
The Mix-ins
- ½ cup Semi-sweet chocolate chips
- ½ cup White chocolate chips
- ¼ cup Mint chocolate chips (optional, for extra punch)
Instructions
1. Prep and Preheat
Start by preheating your oven to 350°F (175°C). Line two large baking sheets with parchment paper or silicone baking mats. This prevents the cookies from sticking and ensures the bottoms don’t brown too quickly, which can muddy the green color.
2. Cream the Butter and Sugars
In a large bowl or the bowl of a stand mixer fitted with the paddle attachment, beat the softened butter, brown sugar, and granulated sugar together on medium-high speed. Continue for about 2–3 minutes until the mixture is pale and fluffy. This aeration is key to a light cookie.
3. Add Aromatics and Color
Add the egg and peppermint extract. Beat until well combined. At this stage, add your green food coloring. Start with a small “toothpick’s worth” of gel and mix. Continue adding until the dough is one shade darker than your desired finished cookie, as the color lightens slightly during baking.
4. Mix in Dry Ingredients
In a separate small bowl, whisk the flour, baking soda, and salt. Turn the mixer to low and gradually add the flour mixture to the wet ingredients. Mix just until no streaks of white flour remain. Do not overmix, as this develops gluten and results in a tough cookie.
5. Fold in the Chips
Using a sturdy spatula, fold in the semi-sweet and white chocolate chips by hand. Ensure they are evenly distributed throughout the green dough.
6. Scoop and Bake
Using a medium cookie scoop (about 1.5 to 2 tablespoons of dough), drop mounds of dough onto the prepared baking sheets, spacing them 2 inches apart. Bake for 9–11 minutes. The edges should be set, but the centers should still look slightly “underdone.”
7. Serve
Allow the cookies to cool on the baking sheet for at least 5 minutes. This “carry-over cooking” allows the center to set perfectly. Transfer to a wire rack to cool completely. Serve with a cold glass of milk!
Expert Tips for Success
- Use Peppermint, Not Mint: Ensure your extract says “Peppermint.” Standard “Mint” extract can sometimes taste like toothpaste, whereas peppermint provides that classic candy-cane-like sweetness.
- Gel vs. Liquid: Always opt for gel food coloring. Liquid food coloring adds unnecessary moisture to the dough, which can cause the cookies to spread too thin in the oven.
- The “Post-Bake” Trick: For bakery-perfect cookies, press a few extra chocolate chips into the tops of the cookies immediately after they come out of the oven.
- Don’t Overbake: These cookies will not look “brown” when they are done. If you wait for them to brown, they will be hard. Look for a matte finish on the top of the cookie.
Variations
- The “Andes” Version: Replace the chocolate chips with chopped Andes Mint candies for a chocolate-mint explosion.
- Double Chocolate Green: Add ¼ cup of dark cocoa powder to the dry ingredients (and reduce flour by ¼ cup) for a dark cookie with green highlights.
- Gluten-Free: Use a high-quality 1:1 gluten-free flour blend. Add 1 tablespoon of cornstarch to the dry ingredients to help with the “chew.”
Frequently Asked Questions
Can I freeze this dough? Yes! Scoop the dough into balls and freeze them on a tray. Once solid, transfer to a freezer bag. Bake directly from frozen, adding 1–2 minutes to the bake time.
Why are my cookies flat? Your butter might have been too warm. “Softened” should still feel cool to the touch and hold an indent, but not be greasy or melting. If your kitchen is hot, chill the dough balls for 30 minutes before baking.
How long do these stay fresh? Keep them in an airtight container at room temperature for up to 5 days. For long-term storage, they freeze beautifully for up to 3 months.
Mint Chocolate Chip Green Cookies
Ingredients
Method
- Preheat oven to 350°F (175°C) and line a baking sheet with parchment paper.
- Cream together softened butter, brown sugar, and white sugar until light and fluffy.
- Beat in the egg, peppermint extract, and green food coloring until the desired color is reached.
- Gradually mix in the flour, baking soda, and salt on low speed until just combined.
- Fold in the semi-sweet and white chocolate chips by hand using a spatula.
- Scoop 1.5 tablespoon balls of dough onto the sheet and bake for 9-11 minutes. Let cool on the pan for 5 minutes before moving.