Mexican Gorditas Recipe is the ultimate guide to creating authentic, fluffy, and deeply comforting masa pockets right in your own kitchen. After extensive experience of testing recipes in my kitchen, I can tell you that mastering these thick, savory delights transforms a simple family dinner into a true, vibrant Mexican street food experience that commands attention.
The first time I made authentic masa dough, I struggled to get the hydration just right, ending up with crumbly edges and pockets that refused to open. After countless rounds of testing throughout my career as a professional culinary instructor, I discovered the exact, infallible ratio of warm water to masa harina that guarantees a pliable, crack-free dough every single time.
What separates this recipe from the rest is our precise resting technique and the traditional double-cooking method—first searing on a hot comal to set the structure, then optionally giving them a quick, shallow fry. This technique creates a flawlessly crisp exterior and a tender, steaming interior that is practically begging for your favorite savory fillings.
This recipe will not disappoint. Let’s get started.
Table of Contents
What Are Gorditas?
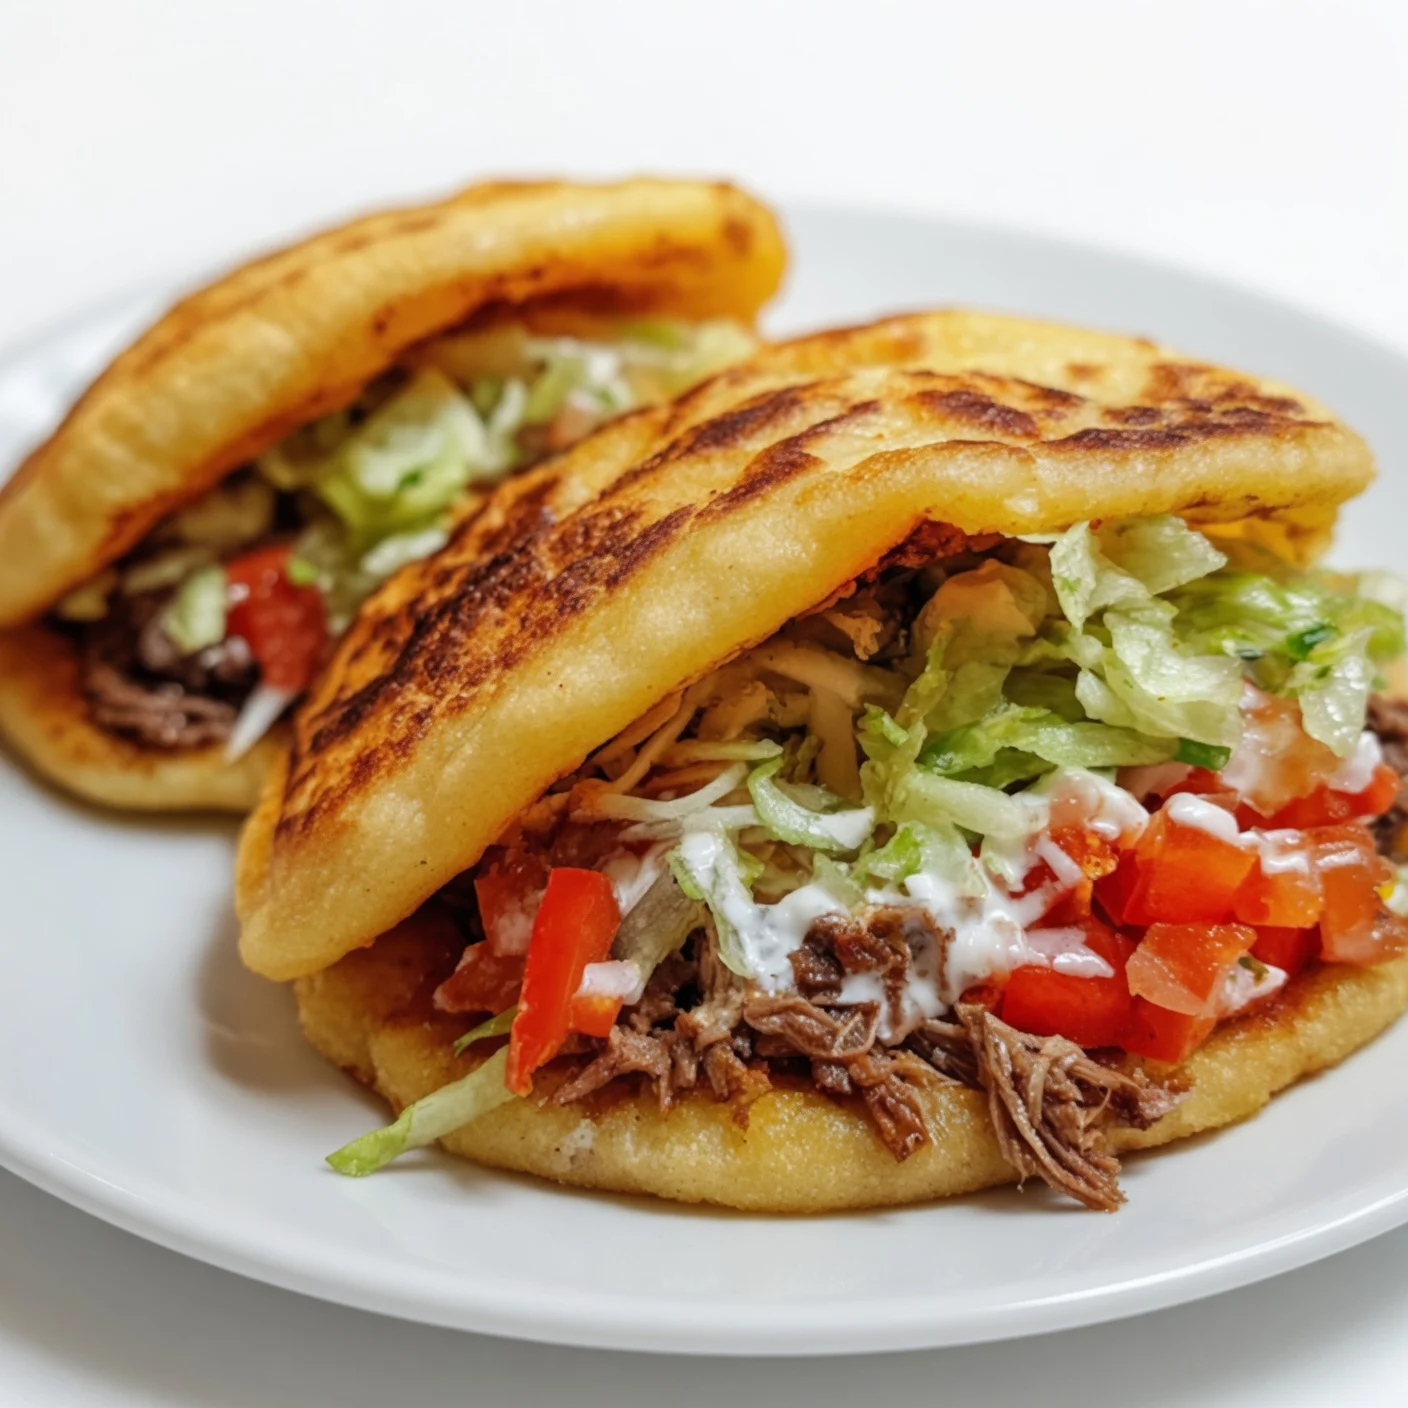
Translated literally to “little fat ones,” gorditas are a beloved staple of Mexican cuisine. Unlike standard tortillas, which are pressed thin and cooked quickly, gorditas are formed into thicker discs. Once cooked, they puff up slightly, allowing you to slice them open along the edge to create a natural pocket. This pocket becomes a glorious vessel for an endless array of ingredients, from slow-cooked meats to vibrant salsas and creamy cheeses.
While they share a base ingredient with other staples like sopes or huaraches, the magic of the gordita lies entirely in that internal pocket and the contrast between the slightly crunchy, golden exterior and the soft, steamed masa inside.
The Science of Perfect Mexican Gorditas Recipe
Creating the ideal dough requires more than just mixing powder and water; it demands an understanding of hydration. Just like working with delicate pastry, the masa needs proper moisture to become workable.
Masa harina is corn that has undergone nixtamalization a process of soaking the corn in an alkaline solution (usually calcium hydroxide, or slaked lime). This brilliant ancient technique not only enhances the nutritional profile of the corn by freeing up niacin, but it also alters the structure of the starches and proteins, allowing the ground corn to form a cohesive dough when mixed with water.
When you add warm water to the flour, the starches begin to hydrate and swell. Using warm or hot water speeds up this hydration process, yielding a much softer, more pliable dough that is less prone to cracking.
The Failure Warning: Hydration is Everything
Here is a crucial warning only a seasoned expert will tell you: If your masa cracks at the edges while pressing, it is too dry. Do not ignore those cracks. Proceeding with dry dough will result in dense, hard gorditas that will refuse to puff up on the heat, completely ruining the pocket. Simply return the dough to the bowl, add a tablespoon of warm water at a time, and knead vigorously until it feels like soft playdough.
Ingredients You Will Need For Mexican Gorditas Recipe
To execute this recipe perfectly, you only need a handful of humble, accessible ingredients for the base, plus whatever you desire for the inside.
For the Masa Pockets
- Masa Harina: The foundational ingredient. Look for high-quality brands like Maseca or Bob’s Red Mill. Do not confuse this with standard cornmeal; cornmeal has not been nixtamalized and will not form a dough.
- Warm Water: Essential for proper, rapid hydration of the corn flour.
- Kosher Salt: To enhance the natural, earthy flavor of the corn.
- Fat (Optional but Recommended): While traditional street vendors sometimes use just water and masa, adding a tablespoon or two of lard, shortening, or neutral oil to the dough yields a richer flavor and a slightly more tender bite.
- Frying Oil: A neutral oil with a high smoke point (like canola, vegetable, or avocado oil) for the final crisping stage.
For the Fillings
The beauty of this dish is its versatility. You can stuff them with almost anything.
- Refried Beans and Cheese: A classic, simple, and vegetarian-friendly option. Use queso fresco or Oaxaca cheese.
- Shredded Lettuce and Crema: Essential toppings for adding freshness and a cooling contrast to hot, spicy meats.
- Salsa: A vibrant salsa verde or a fiery salsa roja.
Step-by-Step Instructions: Mastering the Technique
Follow these steps with precision to ensure your pockets puff up beautifully and slice open with ease.
Step 1: Mix and Hydrate the Dough
In a large mixing bowl, whisk together the masa harina and kosher salt. If you are using a fat (like lard or oil), cut it into the dry mixture using your fingers until it resembles coarse sand. Gradually pour in the warm water while mixing with your hands.
Step 2: Knead to Perfection
Knead the mixture in the bowl for about 3 to 5 minutes. You are looking for a texture that mimics soft modeling clay—it should not stick to your hands, but it shouldn’t look chalky or cracked. Roll a golf-ball-sized piece between your palms and gently flatten it; if the edges stay smooth, your hydration is perfect.
Step 3: The Crucial Resting Period
Do not skip this! Cover the bowl with a damp kitchen towel or plastic wrap and let the dough rest for at least 15 to 20 minutes. This allows the cornmeal to fully absorb the water, making the dough infinitely easier to shape.
Step 4: Portion and Press Mexican street food
Divide the rested dough into equal portions, rolling them into smooth balls (about 2 inches in diameter). To press them, you can use a tortilla press lined with plastic wrap or a zip-top bag cut at the seams. Do not press them as thin as tortillas! They should be about 1/4-inch thick. Alternatively, simply pat them out evenly using the palms of your hands.
Step 5: The First Cook (The Comal)
Preheat a cast-iron skillet or griddle over medium heat. Do not oil the pan. Place the pressed discs onto the hot, dry surface. Cook for about 1 to 2 minutes on the first side until you see light, golden-brown spots and the edges dry out slightly. Flip and cook for another 2 minutes. Flip one last time; this is when they usually puff up slightly, creating that essential internal steam pocket.
Step 6: The Second Cook (The Fry – Optional but Recommended)
For that authentic street-food crunch, transfer the cooked discs to a skillet with about 1/2 inch of hot oil (350°F). Fry them for about 1 to 2 minutes per side until they achieve a deep, crispy golden brown. Drain on a wire rack or paper towels.
Step 7: Slicing and Stuffing
As soon as they are cool enough to handle safely (but still hot!), take a small paring knife and carefully make a slit around half of the edge. Gently pry the pocket open. If you wait until they are completely cold, they may crack when you try to open them. Stuff generously with your chosen ingredients.
Professional Variations and Pairings
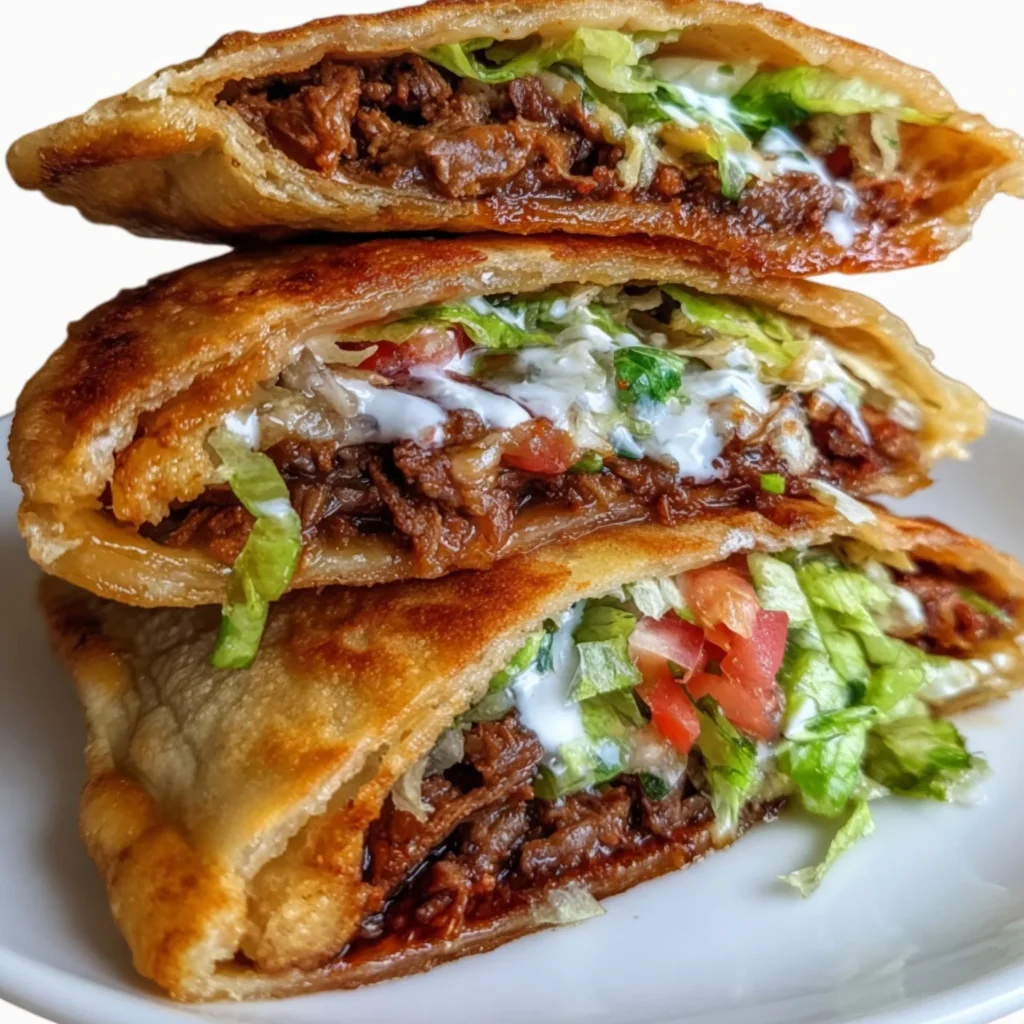
Throughout my decades of professional practice, I have explored countless regional variations. Here are the absolute best fillings to elevate your culinary repertoire:
1. Chicharrón en Salsa Verde
This is perhaps the most iconic filling in Mexico City. Crispy pork rinds are simmered in a tangy, spicy tomatillo salsa until they become wonderfully tender and deeply flavorful. The rich, savory stew soaks perfectly into the thick walls of the masa pocket.
2. Tinga de Pollo
Shredded chicken breast simmered in a smoky, sweet, and spicy sauce made from chipotle peppers in adobo, tomatoes, and thinly sliced onions. The smokiness of the tinga pairs phenomenally with the earthy corn flavor.
3. Rajas con Crema
A fantastic vegetarian option. Roasted, peeled, and sliced poblano peppers sautéed with onions, sweet corn kernels, and Mexican crema. It is rich, slightly sweet, and mildly spicy.
4. Picadillo
A comforting, hearty mix of ground beef or pork cooked with diced potatoes, carrots, tomatoes, onions, and garlic. It is seasoned warmly with cumin and oregano, making it an incredibly satisfying, family-friendly filling.
Storage, Freezing, and Reheating Rules
If you are meal planning or hosting an event, managing your prep is vital.
Storing the Dough: The uncooked dough can be stored in an airtight container in the refrigerator for up to 3 days. Ensure a piece of damp paper towel is placed directly on the dough to prevent it from drying out. Bring it to room temperature before pressing.
Storing Cooked Gorditas: If you have leftover, unfilled pockets, allow them to cool completely. Store them in a zip-top bag in the refrigerator for up to 5 days.
Freezing: You can freeze the fully cooked (but unfilled) pockets. Wrap them individually in plastic wrap, then place them in a freezer-safe bag for up to 3 months.
Reheating: To revive that crispy exterior, avoid the microwave, which will make them rubbery. Instead, reheat them in a dry skillet over medium heat for 2-3 minutes per side, or place them in a 350°F oven for about 8 minutes until warmed through and crisp.
Frequently Asked Questions (FAQ)
Why didn’t my gorditas puff up?
Usually, this comes down to either the hydration of the dough or the temperature of your pan. If the dough is too dry, steam cannot build up effectively inside. If your pan is too cold, the exterior won’t sear fast enough to trap the steam; if it’s too hot, the outside burns before the inside cooks. Maintaining a steady medium-high heat and perfectly hydrated dough is the secret.
Can I make these without a tortilla press?
Absolutely. Traditional street vendors often pat them out entirely by hand. Just roll a ball of dough and gently slap it between your palms, rotating it slightly with each pat until you have an even, 1/4-inch thick disc. You can also press them gently beneath the flat bottom of a heavy glass or pie dish.
Are gorditas gluten-free?
Yes! As long as you are using 100% pure masa harina and your fillings are free of gluten, the entire dish is naturally gluten-free. Always double-check your ingredient labels to ensure there is no cross-contamination if you are highly sensitive.
Conclusion
Mastering this classic Mexican Gorditas Recipe is a gateway to the broader, beautiful world of traditional Mexican cooking. By understanding the hydration of your masa, respecting the resting time, and executing the double-cook method, you will achieve crispy, airy pockets that rival the best street carts in the world. Enjoy experimenting with different fillings, and let this foundational recipe become a beloved staple in your culinary repertoire.
Mexican Gorditas Recipe: Authentic Masa Pockets
Ingredients
Method
- In a large bowl, whisk together the masa harina and kosher salt. If using fat, cut it in with your fingers.
- Gradually pour in the warm water, kneading with your hands for 3 to 5 minutes until a soft, smooth, playdough-like consistency is reached. If it cracks when pressed, add a tablespoon of water at a time.
- Cover the dough with a damp towel and let it rest for 15 to 20 minutes.
- Divide the rested dough into 10 equal golf-ball-sized portions. Flatten each ball using a tortilla press lined with plastic wrap or by hand, until about 1/4-inch thick.
- Preheat an ungreased comal or cast-iron skillet over medium heat. Cook the discs for 1-2 minutes per side until lightly browned and set.
- Heat 1/2 inch of oil in a skillet to 350°F. Fry the cooked masa discs for 1-2 minutes per side until golden brown and crispy. Drain on paper towels.
- While still warm, carefully use a paring knife to slice a slit around the edge of each disc to open the pocket. Stuff immediately with your favorite savory fillings.