When the calendar turns to March, everything starts looking a little bit greener. While we all love a good loaf of Irish soda bread or a hearty stew, sometimes you just need a festive dessert that screams “celebration.” Enter these St. Patrick’s Day Sugar Cookie Bars. They are everything you love about a classic, soft-baked sugar cookie, but without the hassle of chilling the dough or rolling out individual circles.
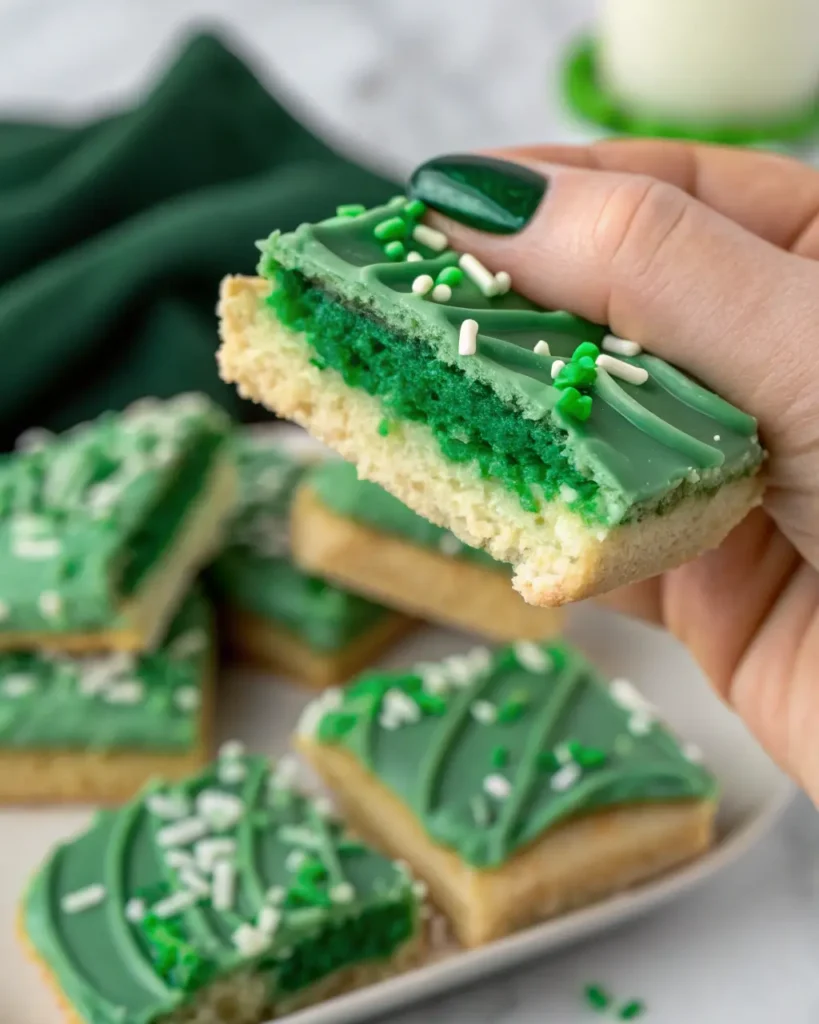
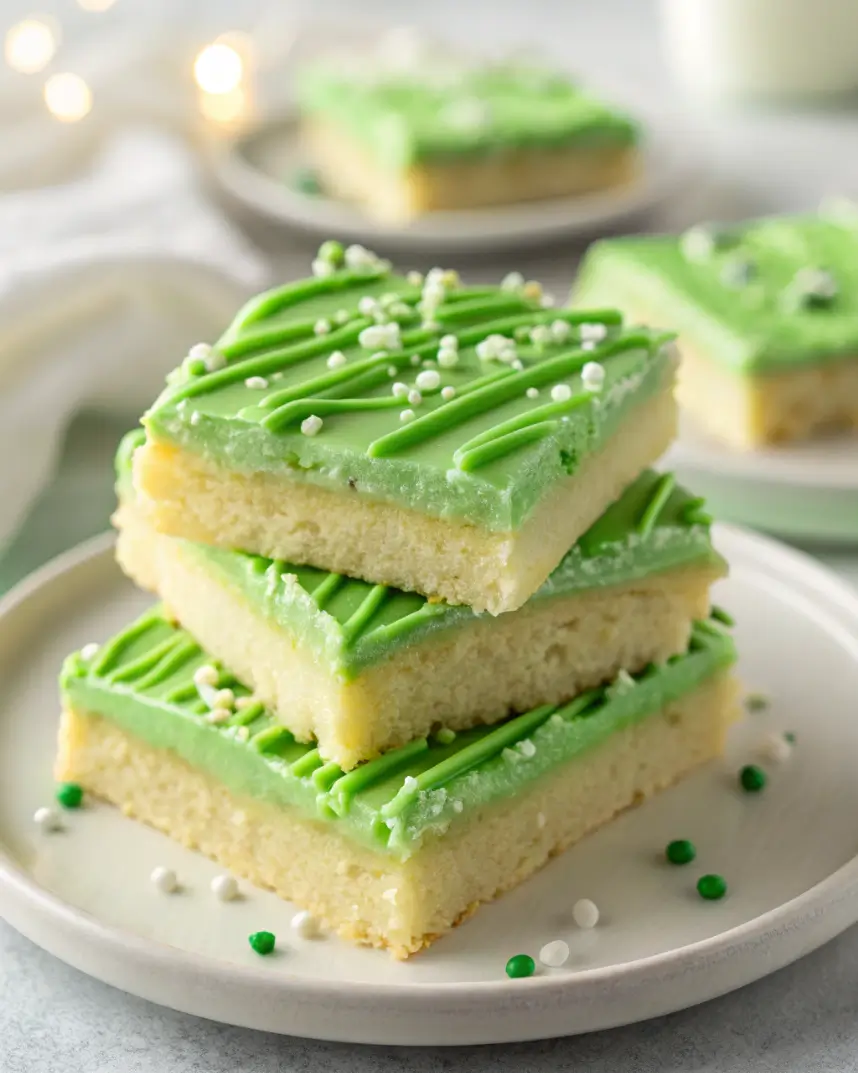
These bars are thick, chewy, and topped with a generous layer of vibrant green buttercream frosting and festive sprinkles. Whether you’re heading to a neighborhood potluck or just want to make the kids smile after school, this recipe is your lucky charm for the holiday.
Table of Contents
Why You’ll Love This St. Patrick’s Day Sugar Cookie Bars
There are plenty of sugar cookie recipes out there, but these bars stand out for several reasons:
- No Chilling Required: Unlike traditional sugar cookies that often need hours in the fridge to prevent spreading, these bars go straight from the mixing bowl to the oven.
- The Texture: By adding a touch of cornstarch to the flour, we achieve a “melt-in-your-mouth” texture that stays soft for days.
- Feeds a Crowd: A single 9×13 pan yields about 12 to 15 large bars, making it the perfect “party-size” dessert.
- Customizable: While we are leaning into the emerald hues for St. Paddy’s, you can easily swap the food coloring and sprinkles for any holiday throughout the year.
- The Secret Ingredient: A hint of almond extract in both the cookie and the frosting gives these bars that “professional bakery” flavor that keeps people coming back for seconds.
Ingredients
For the Soft Sugar Cookie Base
- Unsalted Butter: 1 cup (2 sticks), softened to room temperature.
- Granulated Sugar: 1 ½ cups for the perfect level of sweetness.
- Large Eggs: 2 eggs at room temperature to ensure a smooth emulsion.
- Vanilla Extract: 1 tablespoon (don’t be shy with the vanilla!).
- Almond Extract: ½ teaspoon for that signature bakery scent.
- All-Purpose Flour: 3 cups, leveled off.
- Cornstarch: 2 tablespoons (this is the secret to the soft crumb).
- Baking Powder: 1 teaspoon for a little lift.
- Salt: ½ teaspoon to balance the sugar.
For the Green Buttercream Frosting
- Unsalted Butter: ½ cup (1 stick), softened.
- Powdered Sugar: 3–4 cups, sifted to avoid lumps.
- Heavy Cream: 2–3 tablespoons for a fluffy, spreadable texture.
- Vanilla Extract: 1 teaspoon.
- Green Gel Food Coloring: A few drops (gel provides a more vibrant color without thinning the frosting).
- Festive Sprinkles: A mix of green and white nonpareils or shamrock-shaped sprinkles.
Instructions
1. Prep and Cream
Start by preheating your oven to 350°F (175°C). Line a 9×13-inch baking pan with parchment paper, leaving a bit of an overhang on the sides for easy removal later. In a large bowl or a stand mixer fitted with the paddle attachment, cream together the softened butter and granulated sugar for about 2–3 minutes until light and fluffy.
2. Incorporate Wet Ingredients
Add the eggs one at a time, beating well after each addition. Scrape down the sides of the bowl to ensure everything is incorporated. Mix in the vanilla extract and almond extract.
3. Mix Dry Ingredients
In a separate medium bowl, whisk together the flour, cornstarch, baking powder, and salt. Gradually add the dry ingredients to the wet mixture on low speed. Mix just until the flour streaks disappear—do not overmix, or your bars will become tough instead of tender.
4. Bake to Perfection
Press the dough evenly into the bottom of your prepared pan. Use the bottom of a measuring cup or a spatula to smooth out the top. Bake for 20–25 minutes. You want the edges to be just barely golden brown, and the center should look set but still soft. If you overbake them, they will lose that characteristic “chew.” Let the bars cool completely in the pan.
5. Whip the Frosting
While the bars cool, prepare the frosting. Beat the butter until smooth, then add 2 cups of powdered sugar, the cream, and vanilla. Add the remaining powdered sugar gradually until you reach your desired consistency. Add a few drops of green gel food coloring and whip on high for 1 minute until fluffy.
6. Decorate and Serve
Once the bars are totally cool, spread the green frosting in a thick layer over the top. Use a knife to create decorative ridges or swirls. Immediately top with the green and white sprinkles. Lift the bars out of the pan using the parchment paper and cut them into squares.
Expert Tips for Success
- Room Temperature is Key: Ensure your butter and eggs are at room temperature. This allows the fat and liquid to emulsify properly, resulting in a more uniform and tender crumb.
- Don’t Overbake: This is the golden rule of sugar cookie bars. They may look slightly underdone in the center when you pull them out, but they will firm up as they cool. Overbaking leads to dry, crumbly bars.
- Gel vs. Liquid Coloring: Always use gel food coloring for frosting. Liquid coloring from the grocery store can change the consistency of your buttercream and won’t give you that deep, “St. Paddy’s Green” look seen in the photos.
- The Parchment Sling: Don’t skip the parchment paper! It makes cutting the bars so much easier and prevents them from sticking to the corners of the pan.
Variations
- Minty Twist: Add ½ teaspoon of peppermint extract to the frosting for a “Shamrock Shake” flavor profile.
- Cream Cheese Frosting: If you prefer a tangier topping, swap the buttercream for a thick cream cheese frosting.
- Chocolate Chip Base: Stir in ½ cup of semi-sweet chocolate chips or white chocolate chips into the dough for extra indulgence.
- Skinny Bars: You can cut these into smaller 1-inch “bite-sized” squares to serve a larger party of 30+ people.
Frequently Asked Questions
Can I make these ahead of time? Absolutely! You can bake the base a day in advance. Keep it covered at room temperature and frost it the day you plan to serve for the freshest results.
How do I store the leftovers? Store any remaining bars in an airtight container at room temperature for up to 3 days, or in the refrigerator for up to 5 days.
Can I freeze sugar cookie bars? Yes. You can freeze the frosted bars for up to 3 months. I recommend flash-freezing them on a tray first so the frosting doesn’t get smashed, then wrapping them individually or placing them in a freezer-safe bag.
St. Patrick’s Day Sugar Cookie Bars
Ingredients
Method
- Preheat oven to 350°F and line a 9×13 inch pan with parchment paper.
- Cream the butter and sugar together until light and fluffy. Add eggs, vanilla, and almond extract, mixing until combined.
- Whisk together flour, cornstarch, baking powder, and salt. Gradually mix into the wet ingredients until just combined.
- Press dough into the pan and bake for 20-25 minutes until the edges are very lightly golden. Cool completely.
- Make the frosting by beating butter, powdered sugar, cream, vanilla, and green food coloring until light and airy.
- Spread frosting over cooled bars, add sprinkles, and cut into squares to serve.