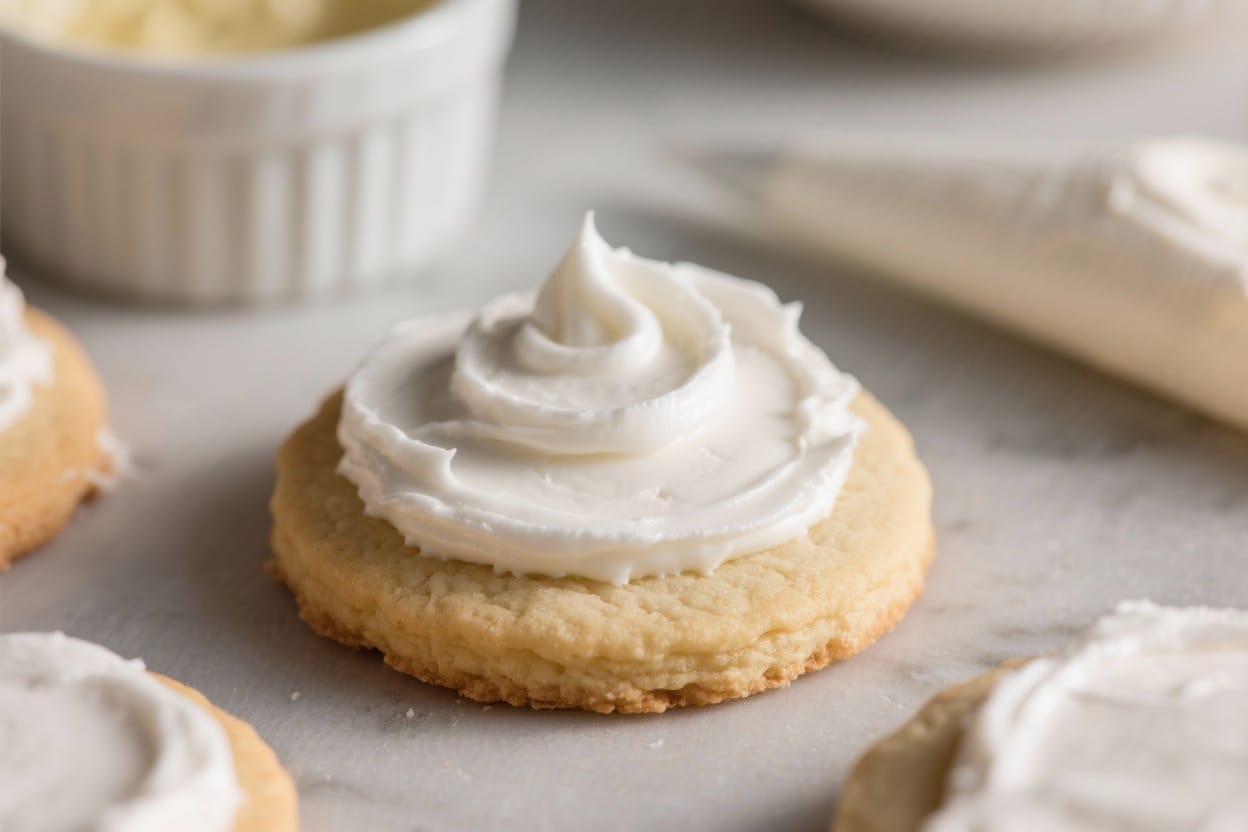
Sift the sugar: Add powdered sugar to a medium bowl and sift to remove lumps. This helps you get a velvety icing without clogging tips.
Whisk the base: Stir in 3 tablespoons milk, 1 tablespoon corn syrup, vanilla, and a tiny pinch of salt.
Whisk until smooth and glossy.
Adjust consistency: Add milk a teaspoon at a time until the icing is thick but pourable. For outlining, aim for toothpaste consistency. For flooding, aim for honey consistency that settles back into a smooth surface in about 10–12 seconds.
Divide and color: Separate icing into bowls and add gel color a little at a time.
Stir well to avoid streaks. Keep bowls covered with plastic wrap touching the surface so a crust doesn’t form.
Prep your tools: Use piping bags with small round tips (No. 2–3) or squeeze bottles for flooding. You can also snip a very small corner off a zip-top bag in a pinch.
Outline the cookies: Pipe a thin border around the edges.
This acts like a fence to hold in the flood icing.
Flood the center: Thin your icing slightly if needed. Fill the outlined area, then use a toothpick or scribe tool to nudge icing into corners and pop any bubbles.
Add details: For wet-on-wet effects (like polka dots or hearts), add contrasting colors while the base is still glossy. For crisp details, wait 20–30 minutes until a light crust forms.
Let it dry: Allow cookies to dry at room temperature.
They’re surface-dry in about 1 hour, safe to move carefully after 3–4 hours, and fully dry after 8–12 hours.
Finish and store: Once dry, add any edible glitter or luster dust if you like. Store as directed below.