Banana nut bread is the ultimate comfort bake that transforms simple ingredients into an extraordinary morning treat. After extensive experience of testing recipes in my kitchen, I can tell you that achieving the perfect balance of a tender crumb and deep caramelized flavor is both an art and a science.
The first time I made homemade banana bread, I struggled with a heavy, dense loaf that lacked that bakery-style lift. After countless rounds of testing throughout my career, I discovered that the secret lies in the precise ratio of dark brown sugar, whole-milk yogurt, and a splash of bourbon to elevate the natural sweetness of the fruit.
What separates this moist banana bread recipe from the rest is our intentional combination of all-purpose and whole-wheat flours. This technique not only enhances the nutty profile but also provides enough structural integrity to suspend the walnuts evenly, preventing them from sinking to the bottom of the pan.
This banana nut bread will not disappoint. Let’s get started.
Table of Contents
Ingredients for the Perfect Banana nut bread
To achieve that professional, high-engagement visual appeal and incredible taste, you need the right components. Here is everything required for this easy banana nut bread:
- Overripe Bananas: You need 1 ¾ cups of mashed bananas (about 3 to 4 large bananas). They should be heavily speckled or almost entirely black for maximum natural sweetness and moisture.
- Dark Brown Sugar (¾ cup + 1 tbsp): The extra molasses in dark brown sugar provides a richer flavor and a beautiful, caramelized crust.
- Canola Oil (⅔ cup): Using oil instead of butter in the batter guarantees a softer texture that stays fresh for days.
- Whole-Milk Plain Yogurt (¼ cup): The acidity tenderizes the crumb, while the fat adds a luxurious richness.
- Eggs (2 large): Room temperature eggs will bind the ingredients seamlessly.
- Pure Vanilla Extract (2 tsp) & Bourbon (1 tsp): This combination amplifies the vanilla notes. (Rum works nicely as well!)
- Flour Blend: 1 ¼ cups all-purpose flour and ¾ cup whole-wheat flour. The whole-wheat adds a rustic, breakfast-style nuttiness.
- Baking Powder (2 tsp) & Kosher Salt (¾ tsp): For the perfect lift and flavor balance.
- Toasted Walnuts (½ cup): Sourcing the best walnuts for baking and toasting them beforehand ensures a crisp texture and deep, earthy flavor.
- Salted Butter: Just a bit for greasing the pan, which adds a savory pop to the crust.
Step-by-Step Instructions For Banana nut bread
Tested by Chef Luna, professional pastry instructor and recipe developer, this method has been refined to eliminate guesswork.
1. Prep and Toast
Heat your oven to 350°F. Grease an 8 ½ x 4 ½-inch loaf pan generously with salted butter, then place the pan on a rimmed baking sheet. This makes transferring the bread in and out of the oven completely effortless. If you haven’t toasted your walnuts yet, spread them on a baking sheet and bake for about 10 minutes until deeply golden and fragrant. Let them cool before chopping.
2. Mix the Wet Ingredients
In a medium bowl, combine the dark brown sugar, canola oil, whole-milk yogurt, eggs, vanilla extract, and bourbon. Whisk vigorously until the mixture is completely smooth and emulsified. Fold in the mashed super-ripe bananas and whisk gently once more.
3. Combine with Dry Ingredients
In a separate, larger mixing bowl, whisk together the all-purpose flour, whole-wheat flour, baking powder, and kosher salt. Pour the wet banana mixture into the dry ingredients.
4. The Crucial Folding Stage
Using a rubber spatula or wooden spoon, gently stir the batter until just combined. Stop stirring as soon as you no longer see dry streaks of flour. Gently fold in the chopped, toasted walnuts.
5. Bake to Perfection
Pour the batter into your prepared loaf pan. Bake for approximately 75 minutes. Rotate the pan halfway through the baking time to ensure an even bake. The loaf is done when a cake tester or sharp knife inserted into the center comes out clean.
6. Cool and Serve
Let the bread cool in the pan until it is warm enough to comfortably handle. Turn the loaf out onto a wire cooling rack to cool completely with the domed side facing up. Serve in thick, generous slices.
Expert Baking Tips & Failure Warnings
Throughout my professional practice, I have seen where home bakers most commonly stumble. Pay attention to these critical rules:
- Expert Warning: Overmixing the batter after adding the flour will develop too much gluten. This results in a rubbery, dense loaf rather than a tender, melt-in-your-mouth crumb. Mix only until the flour disappears!
- Banana Ripeness: If your bananas are yellow or only slightly spotted, your bread will lack depth. Wait until they are aggressively brown/black.
- Tent with Foil: If you notice the top of your loaf browning too quickly around the 45-minute mark, gently tent a piece of aluminum foil over the top for the remainder of the baking time.
Variations (Including Gluten-Free)
Customizing your bakes is part of the joy of the kitchen. Here are a few reliable variations I’ve tested extensively:
- Gluten-Free Adaptation: Substitute the standard flours with 2 cups of a high-quality 1:1 gluten-free baking flour blend (ensure it contains xanthan gum). The texture remains incredibly soft.
- Chocolate Chip: Swap the walnuts for ½ cup of semi-sweet chocolate chips for a decadent dessert twist.
- Pecan Crunch: Substitute the walnuts with toasted pecans for a slightly sweeter, buttery nut profile.
Storage & Freezing Guidelines
Proper storage guarantees your bread remains as moist on day three as it was on day one.
- Room Temperature: Wrap the completely cooled loaf tightly in plastic wrap or store it in an airtight container for up to 4 days.
- Freezing: To freeze, wrap the entire loaf (or individual thick slices) in plastic wrap, then place in a heavy-duty freezer bag. It will keep perfectly for up to 3 months. Thaw at room temperature before serving.
Frequently Asked Questions (FAQ)
Can I use a 9×5-inch loaf pan instead?
Yes, you can use a 9×5-inch pan if that is what you have available. However, please note that the loaf will turn out slightly shorter and wider, and it will take less time in the oven. Start checking for doneness around the 60-minute mark.
Why did my walnuts sink to the bottom?
Sinking add-ins usually happen if the batter is too thin or if the nuts are too large. The whole-wheat flour in this recipe creates a sturdy enough batter to suspend the nuts perfectly, but ensure you chop them finely!
Can I use low-fat yogurt instead of whole-milk?
While whole-milk yogurt provides the best richness and tenderness, you can substitute a lower-fat variety or a strained Greek yogurt in a pinch without ruining the structural integrity of the bake.
Conclusion
Baking the perfect loaf doesn’t require culinary magic it just requires precise technique, the right balance of moisture, and a little patience. Armed with these professional methods, your kitchen will soon be filled with the irresistible aroma of toasted walnuts and caramelized bananas. Happy baking!
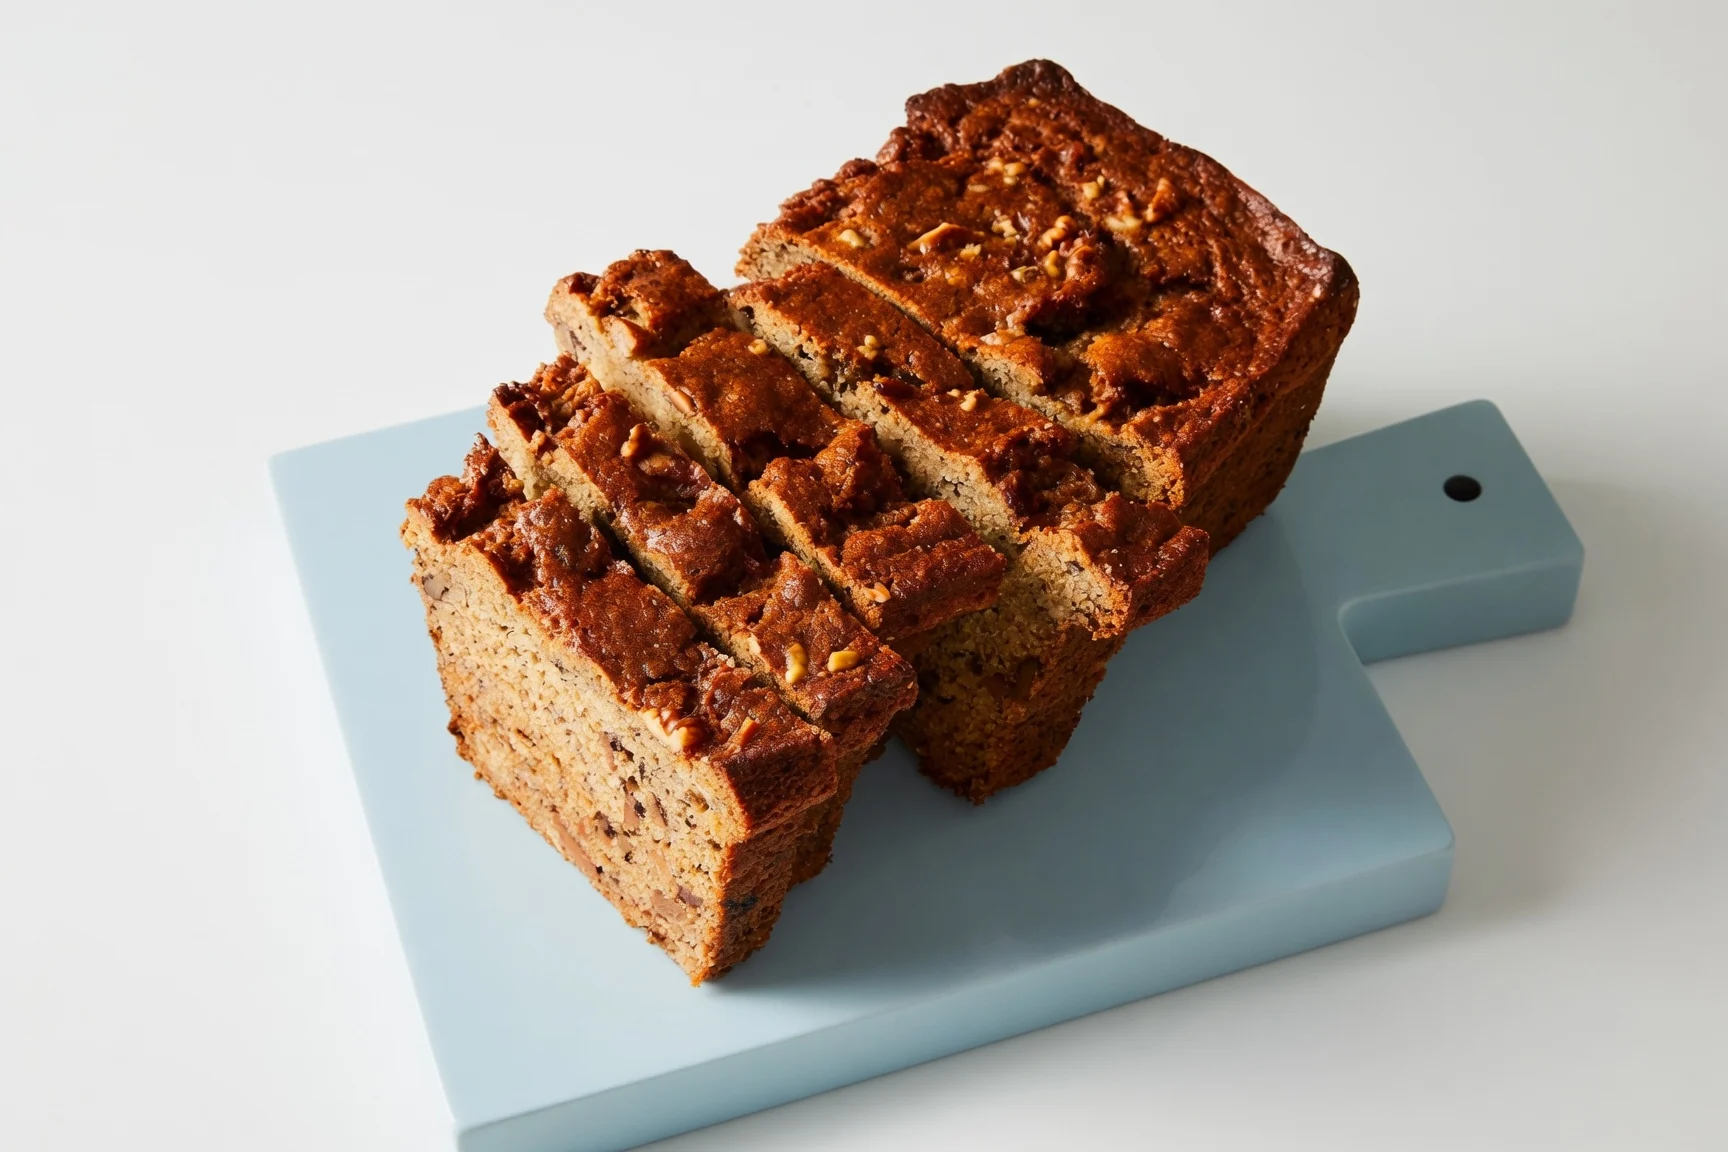
Banana nut bread: The Ultimate Bakery-Style Loaf
Ingredients
Method
- Heat the oven to 350°F. Grease an 8 ½x4 ½–inch loaf pan with the salted butter. Set the loaf pan on a rimmed sheet tray for easy handling.
- Combine the brown sugar, canola oil, yogurt, eggs, vanilla, and bourbon in a medium bowl. Whisk until smooth. Add the mashed banana and whisk again.
- Combine the flours, baking powder, and salt in a separate, larger bowl. Stir to combine.
- Add the liquid ingredients to this dry mixture and use a wooden spoon or rubber spatula to gently stir until just combined. Fold in the walnuts gently.
- Pour the batter into the greased loaf pan. Bake for about 75 minutes (rotating halfway through), or until a sharp knife or cake tester inserted in the center comes out clean. Check frequently toward the end to avoid overbaking.
- Let the pan cool until it’s warm enough that you can comfortably touch. Turn out the loaf onto a cooling rack to cool completely, domed side facing up. Serve in thick slices.