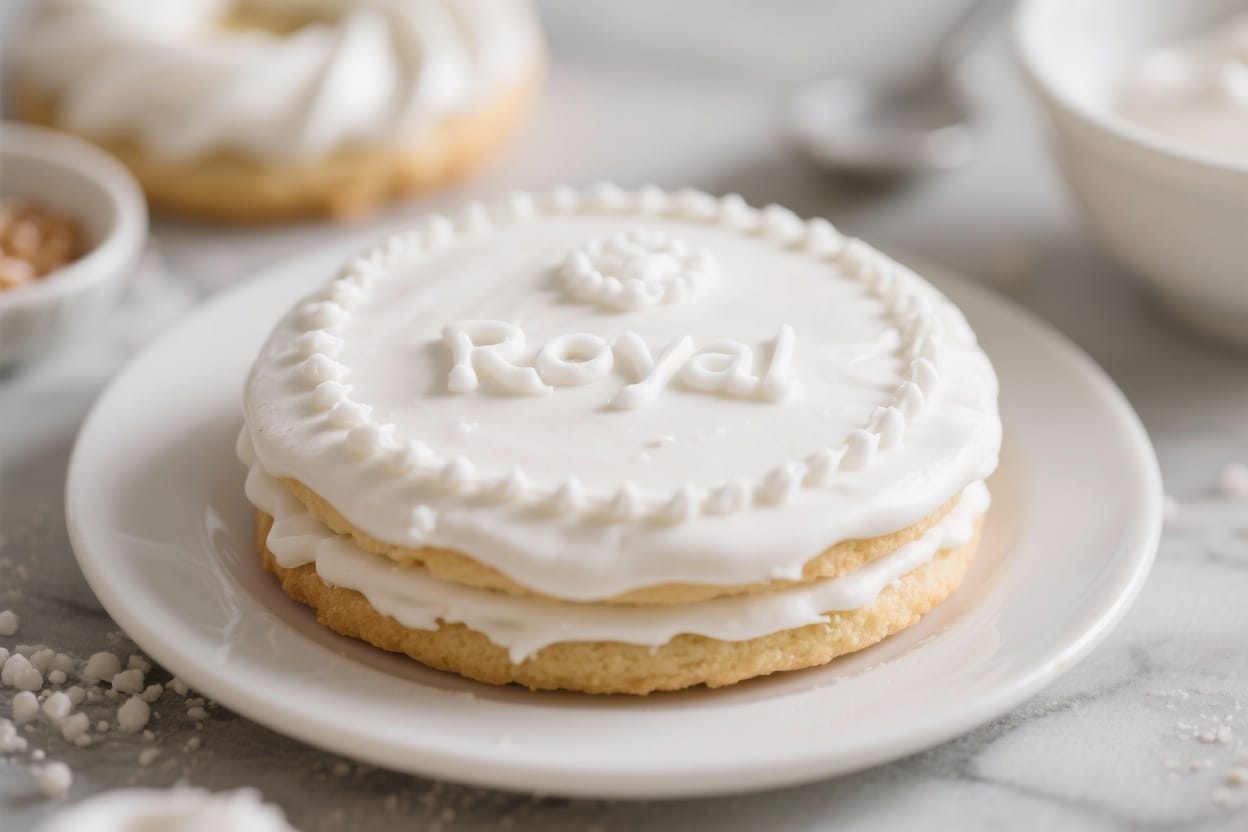
Royal Icing Recipe is the secret to those smooth, picture-perfect cookies and crisp piped details you see in bakeries. It dries firm, holds its shape, and takes color beautifully. Whether you’re outlining sugar cookies, flooding them for a glossy finish, or building gingerbread houses, this icing does it all.
The best part? It’s made with just a few simple ingredients and comes together in minutes. With the right consistency and a few smart tips, you’ll get professional-looking results at home.
Table of Contents
Why This Royal Icing Recipe Works
This recipe gives you a base royal icing that can shift from thick and pipeable to thin and flood-ready with a little water.
Using meringue powder keeps everything stable and safe to eat, and it eliminates the need for raw egg whites. A small amount of vanilla (or almond) extract adds flavor without affecting texture. The method focuses on mixing just enough to create a glossy, smooth icing that won’t develop air bubbles or a dull finish.
Ingredients

- 4 cups (480 g) powdered sugar, sifted
- 3 tablespoons meringue powder
- 6–8 tablespoons warm water (start with 6, add more as needed)
- 1 teaspoon vanilla extract (or almond extract, optional)
- Gel food coloring (optional)
Step-by-Step Instructions
- Sift the sugar. Place powdered sugar in a large bowl and sift to remove lumps.
This is key for a smooth finish.
- Combine dry ingredients. Add meringue powder to the sugar and whisk to blend evenly.
- Add liquid. Start with 6 tablespoons warm water and the vanilla extract. Mix on low speed with a hand mixer or stand mixer fitted with the paddle.
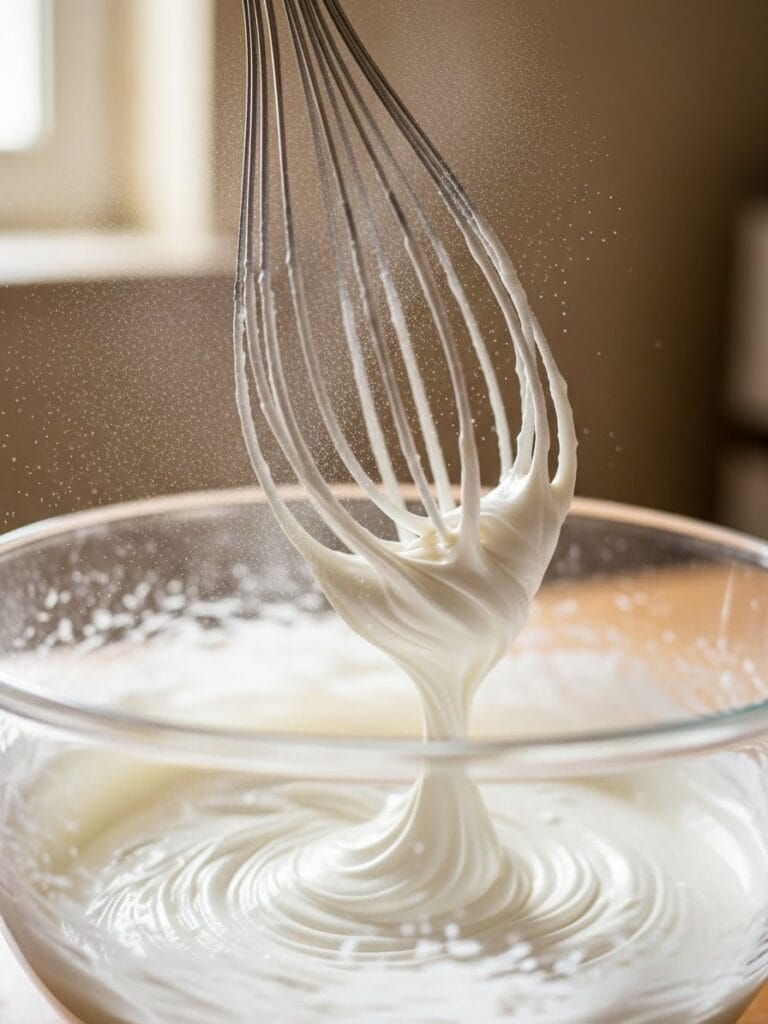
- Beat to soft peaks. Increase to medium speed and beat 2–3 minutes until the icing is thick, glossy, and forms soft peaks. Avoid overbeating, which introduces bubbles and makes the icing brittle.
- Adjust consistency. For outlining and detail work, aim for a stiff consistency that holds a peak.
For flooding cookies, thin with water 1/2 teaspoon at a time until it reaches a 10–15 second consistency (a line disappears back into the icing in about 10–15 seconds).
- Color as needed. Divide into bowls and add gel food coloring a little at a time. Stir gently to avoid bubbles. Keep unused icing covered with plastic wrap touching the surface so it doesn’t crust.
- Load piping bags. Use piping bags fitted with small round tips (like #1–#3) for outlines and details.
Use squeeze bottles or piping bags with a slightly larger opening for flooding.
- Outline, then flood. Pipe an outline around the cookie. Let it set for 1–2 minutes. Fill the center with flood consistency icing, using a toothpick or scribe tool to nudge into corners and pop bubbles.
- Let it dry. Allow cookies to dry at room temperature until the surface is set: 2–4 hours for light handling, and 8–12 hours (or overnight) for fully dry, stackable cookies.
- Add details last. Once the base is dry, add additional layers or details with stiff icing.
Let each layer dry before adding the next for clean, crisp lines.
How to Store
- Short term: Keep icing in a bowl with plastic wrap pressed directly onto the surface, then cover the bowl. Store at room temperature for up to 8 hours while you work.
- Longer storage: Refrigerate in an airtight container for up to 1 week. Stir well before using and refresh with a few drops of water if it thickens.
- Freezing: Freeze in airtight containers for up to 2 months.
Thaw in the fridge, then bring to room temperature and stir gently.
- Decorated cookies: Once fully dry, store cookies in a single layer in an airtight container for up to 1 week, or freeze with parchment between layers.
Why This is Good for You
Royal icing isn’t a health food, but it’s efficient: a little goes a long way. Using meringue powder instead of raw egg whites reduces food safety concerns, especially for kids, elderly relatives, or anyone with a compromised immune system. It’s also gluten-free by nature, provided your powdered sugar and flavorings are certified gluten-free.
Because it dries firm, you can use less icing overall and still get a polished, satisfying finish.
Common Mistakes to Avoid
- Overbeating the icing. Too much air creates bubbles and a spongy texture. Stop mixing when it’s smooth and glossy.
- Skipping the sift. Powdered sugar lumps lead to clogged tips and bumpy icing. Always sift.
- Using liquid food coloring. It thins the icing too much.
Use gel colors for vibrant hues without changing consistency.
- Not covering the icing. Royal icing crusts quickly. Keep plastic wrap touching the surface at all times.
- Rushing the dry time. Humidity and thickness affect drying. Give it plenty of time to set before packaging or layering.
- Wrong consistency for the job. Thick icing won’t flood smoothly; thin icing won’t hold details.
Adjust with water in tiny amounts.
Variations You Can Try
- Citrus twist: Replace vanilla with lemon or orange extract, or add 1 teaspoon finely grated zest for a bright flavor.
- Almond bakery style: Use half vanilla and half almond extract for that classic cookie-shop taste.
- Cocoa royal icing: Whisk 2–3 tablespoons Dutch-process cocoa with the powdered sugar for a chocolate version. Add a touch more water as needed.
- Gloss boost: Add 1 teaspoon light corn syrup for extra shine and a slightly softer bite.
- Dairy-free sheen: A few drops of glycerin can help prevent over-hardening while keeping it dairy-free.
- Vegan option: Use aquafaba (chickpea brine) instead of meringue powder and water: about 6 tablespoons aquafaba plus 4 cups powdered sugar. Beat to soft peaks, then proceed as usual.
FAQ
Can I use egg whites instead of meringue powder?
Yes.
Use 2 large pasteurized egg whites plus about 4 cups powdered sugar and 1 teaspoon vanilla. Beat to soft peaks, then adjust with water. Pasteurized whites are important for food safety.
How do I fix icing that’s too runny?
Add more sifted powdered sugar, 1 tablespoon at a time, and mix gently.
If it’s only slightly thin, let it rest for a few minutes; air bubbles will rise and the icing may thicken slightly.
Why is my icing dull instead of shiny?
Overmixing, high humidity, or too much powdered sugar can cause a matte finish. A small amount of corn syrup (about 1 teaspoon per batch) can boost shine. Also, let cookies dry in a cool, low-humidity room.
How do I prevent color bleeding between sections?
Let each color dry until surface-set before adding another color or layer.
Keep consistencies similar, avoid over-flooding, and dry in a cool room with good airflow. Dark colors are the most likely to bleed, so go easy on the gel color.
What tip sizes should I use?
Use a #1 or #2 tip for fine outlines and lettering, #2 or #3 for general outlining, and a slightly larger opening or tipless bag snipped wide for flooding. For leaves or ruffles, specialty tips like #352 or petal tips work well with stiff icing.
How long do decorated cookies last?
Once fully dry and stored airtight, they keep for about a week at room temperature.
For longer storage, freeze in layers between parchment; thaw in the container to prevent condensation from ruining the designs.
Is royal icing safe for kids?
Yes, especially when made with meringue powder. If you use egg whites, choose pasteurized eggs. Always supervise young kids with small decorations or hard-dried pieces.
Can I add butter to make it softer?
Butter will prevent royal icing from drying hard and can cause separation.
If you want a softer bite, add a little corn syrup or glycerin rather than butter.
Final Thoughts
Royal icing is simple, reliable, and incredibly versatile. With a few ingredients and the right consistency, you can create crisp outlines, glossy floods, and delicate details that look bakery-level. Keep it covered, mix just enough, and adjust with water in tiny amounts.
Once you get the feel, you’ll have a go-to icing for every holiday cookie and celebration cake on your calendar.