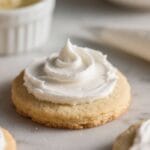
If you want crisp, beautiful Sugar Cookie Icing That Hardens that stack without smudging, you need icing that actually sets. This recipe gives you a smooth, glossy finish and a satisfying snap when it dries. It’s easy to whip up with pantry staples, and it tastes lightly sweet without overpowering your cookies.
You can make it thick for details or thin for flooding. Best of all, it dries firm enough to pack, gift, and ship.
Table of Contents
Table of Contents
What Makes This Sugar Cookie Icing That Hardens So Good
- Quick to make: You can mix it in one bowl in about 5 minutes. No special equipment needed.
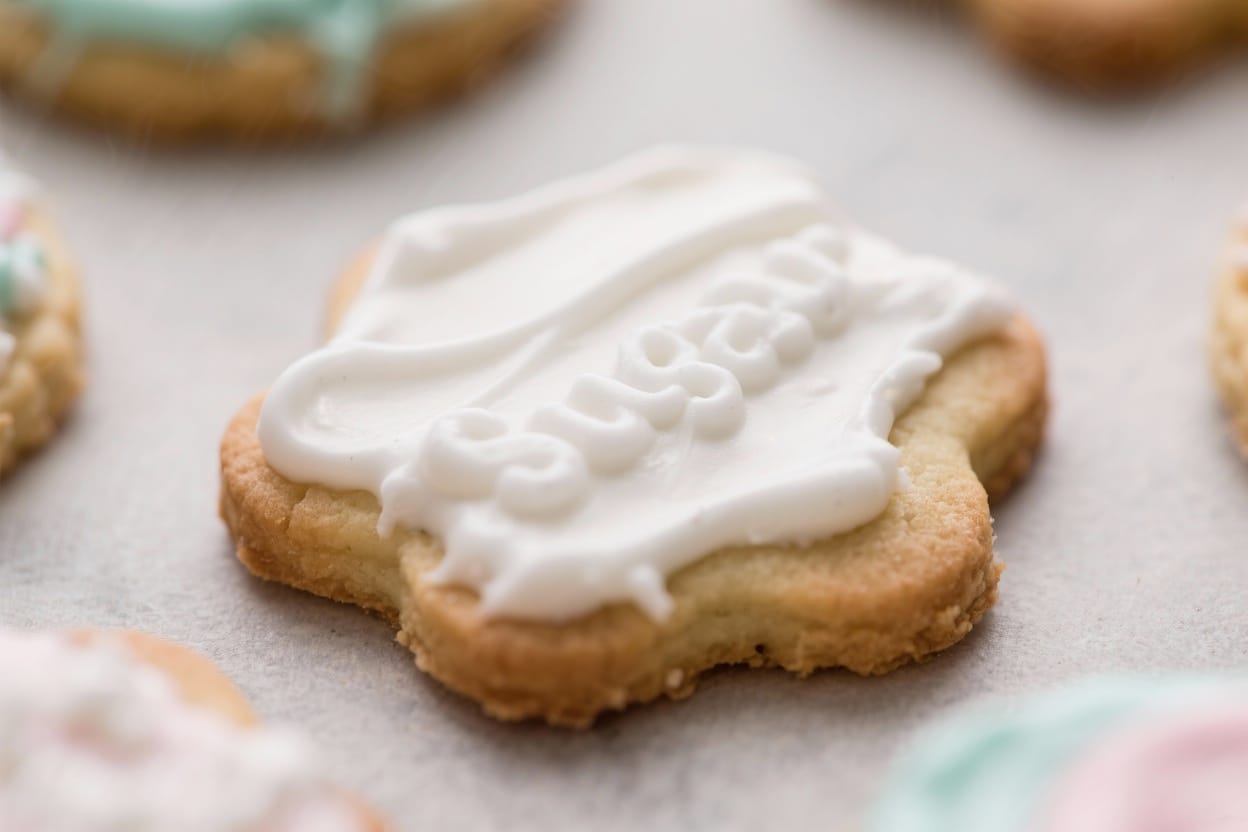
- Hardens beautifully: Dries firm, so designs stay sharp and cookies stack neatly.
- Balanced sweetness: Not cloying, with a clean vanilla finish that lets the cookie shine.
- Flexible consistency: Adjust with drops of water for piping lines or flooding surfaces.
- Shiny finish: Dries with a light sheen for that classic bakery look.
- Beginner-friendly: Forgiving ratios and easy to fix if it’s too thick or thin.
Shopping List
- Powdered sugar (confectioners’ sugar)
- Milk or water (milk gives a richer flavor)
- Light corn syrup
- Pure vanilla extract (or almond extract)
- Pinch of fine salt
- Gel food coloring (optional)
Instructions
- Sift the powdered sugar. Measure 2 cups powdered sugar and sift it into a medium bowl.
This removes lumps and gives a smooth finish.
- Add the wet ingredients. Stir in 2 to 3 tablespoons milk (or water), 1 tablespoon light corn syrup, 1 teaspoon vanilla extract, and a tiny pinch of salt.
- Mix until glossy. Whisk until the icing is smooth and shiny. It should slowly ribbon off the whisk. If it’s too thick, add milk 1/2 teaspoon at a time.
If too thin, add a bit more powdered sugar.
- Adjust consistency for your task. For piping outlines and details, aim for a toothpaste-like thickness. For flooding, thin to a honey-like pour that settles in 10–15 seconds when you drizzle some across the surface.
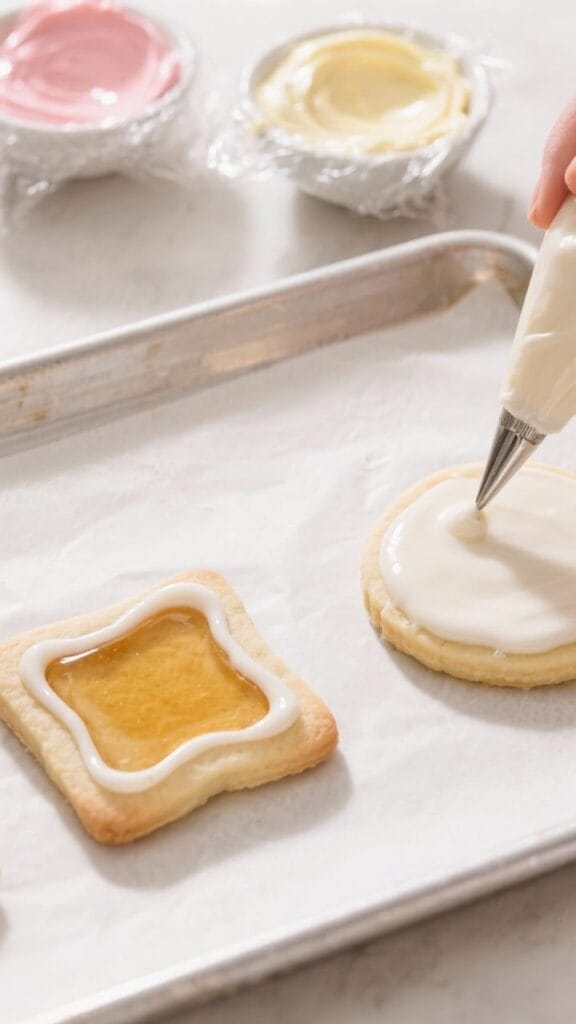
- Color as desired. Divide into bowls and add gel food coloring. Mix gently to avoid bubbles.
Cover each bowl with plastic wrap touching the surface so it doesn’t crust over.
- Pipe the outline. Transfer piping-consistency icing to a piping bag fitted with a small round tip (or use a zip-top bag with a tiny snip). Outline each cookie and let it set for 5–10 minutes.
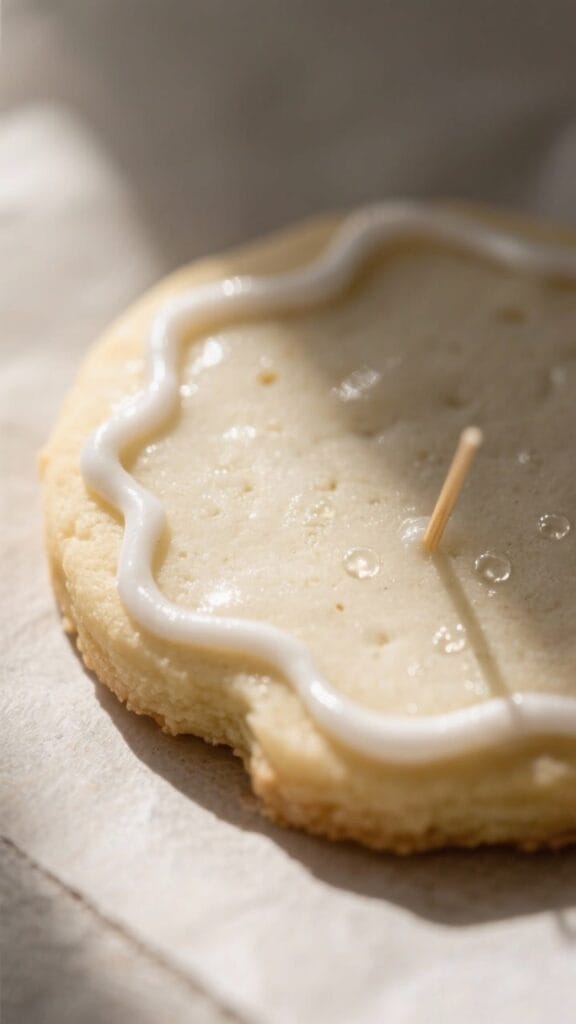
- Flood the cookie. Thin icing slightly for flooding. Fill the inside of the outline, then use a toothpick or scribe tool to nudge icing to the edges and pop bubbles.
- Add details. Let the base dry 20–30 minutes before adding details on top so they don’t sink.
For crisp layered designs, wait 1–2 hours.
- Dry completely. Let cookies dry at room temperature until fully set, usually 8–12 hours or overnight. Avoid humidity and cover lightly with a clean box or tent to protect from dust.
- Store or serve. Once hardened, stack, pack, or gift without smearing.
How to Store
- Unmixed icing: Store dry powdered sugar sealed in a cool pantry.
- Prepared icing: Keep in airtight containers with plastic wrap touching the surface. Refrigerate up to 1 week.
Stir well before using; add a few drops of milk if it thickens.
- Freeze icing: You can freeze in airtight bags up to 2 months. Thaw in the fridge overnight, then stir and adjust consistency.
- Decorated cookies: Once fully dry, store at room temperature in an airtight container for 5–7 days. Add sheets of parchment between layers to protect designs.

Why This Sugar Cookie Icing That Hardens Good for You
- Portion control made easy: Because the icing hardens, cookies don’t smudge.
You can pack single servings for parties or lunchboxes without mess.
- Lower overall sugar on the cookie: A thin layer sets so well that you don’t need a thick coating to get a polished look.
- Customizable ingredients: You can use water instead of milk, choose vanilla or almond extract, and control colors. That means fewer additives and no artificial flavors if you prefer.
- Stress-friendly baking: A reliable icing reduces the urge to remake batches, saving time and energy during busy seasons.
What Not to Do
- Don’t skip sifting the sugar. Lumps cause clogs and rough finishes.
- Don’t over-thin. Runny icing won’t hold edges or details. Add liquid in tiny amounts.
- Don’t rush drying. Stacking before it’s fully set leads to smears and dents.
Give it overnight if you can.
- Don’t use liquid food coloring heavily. It can water down the icing. Gel coloring is best.
- Don’t decorate warm cookies. Heat melts icing, making it dull and sticky. Cookies should be completely cool.
- Don’t store in humid places. Humidity softens the finish and dulls the shine.
Variations You Can Try
- Almond bakery style: Swap half the vanilla for almond extract.
It gives that classic cookie-shop flavor.
- Lemon twist: Use lemon juice instead of part of the milk or water, and add 1/4 teaspoon lemon zest for a bright finish.
- Maple icing: Replace vanilla with pure maple extract and use milk for a warm, cozy flavor.
- Cocoa glaze: Whisk 1–2 tablespoons unsweetened cocoa powder with the powdered sugar, then adjust liquid as needed. Great on chocolate sugar cookies.
- Gloss boost: Add an extra teaspoon of corn syrup for extra shine on showpiece cookies.
- Dairy-free: Use water or an unsweetened non-dairy milk. Vanilla almond milk works nicely.
- Speckled vanilla: Use vanilla bean paste for visible vanilla flecks and a fragrant aroma.
FAQ
Why does this icing harden?
The combination of powdered sugar and a small amount of corn syrup creates a smooth texture that sets as moisture evaporates.
As it dries, the surface firms up, giving you a crisp finish that won’t smear.
How long does it take to dry?
At room temperature, a thin layer sets in about 1–2 hours and fully hardens in 8–12 hours. Thick details or humid conditions may take longer. If you’re boxing or shipping, let them dry overnight.
Can I skip the corn syrup?
Yes, but expect a slightly less shiny finish and a more brittle texture.
If you skip it, use a touch more milk for smoothness. The icing will still harden, just with a different feel.
What’s the best consistency for flooding?
Aim for a ribbon that disappears back into the bowl in about 10–15 seconds. This fills evenly without spilling over the outline.
Adjust with a few drops of liquid at a time.
How do I avoid bubbles and craters?
Stir gently instead of whipping air into the icing. After flooding, tap the cookie lightly on the counter and use a toothpick to pop bubbles. Let the outline set before flooding to support the surface.
Can I use royal icing instead?
You can.
Royal icing uses egg whites or meringue powder and sets very hard. This recipe is simpler and slightly softer to bite, but still firm enough to stack and decorate.
What if my icing is too thick to pipe?
Add milk or water in 1/2-teaspoon increments, mix well, and test again. Small adjustments make a big difference, so go slowly.
Do I need a piping bag?
Not necessarily.
A small zip-top bag with a tiny corner snip works in a pinch. For precision, a reusable piping bag and a small round tip (like #2) is ideal.
Wrapping Up
This sugar cookie icing that hardens is simple, reliable, and pretty on the plate. It sets with a soft sheen, holds clean lines, and keeps your cookies stackable.
Keep the sugar sifted, add liquid in tiny amounts, and let the cookies dry fully. With those basics, you’ll get bakery-level results at home no stress, no fuss, just beautiful cookies every time.

Sugar Cookie Icing That Hardens – Simple, Smooth, and Shiny
Ingredients
Method
- Sift the powdered sugar. Measure 2 cups powdered sugar and sift it into a medium bowl.This removes lumps and gives a smooth finish.
- Add the wet ingredients. Stir in 2 to 3 tablespoons milk (or water), 1 tablespoon light corn syrup, 1 teaspoon vanilla extract, and a tiny pinch of salt.
- Mix until glossy. Whisk until the icing is smooth and shiny. It should slowly ribbon off the whisk. If it’s too thick, add milk 1/2 teaspoon at a time.If too thin, add a bit more powdered sugar.
- Adjust consistency for your task. For piping outlines and details, aim for a toothpaste-like thickness. For flooding, thin to a honey-like pour that settles in 10–15 seconds when you drizzle some across the surface.
- Color as desired. Divide into bowls and add gel food coloring. Mix gently to avoid bubbles.Cover each bowl with plastic wrap touching the surface so it doesn’t crust over.
- Pipe the outline. Transfer piping-consistency icing to a piping bag fitted with a small round tip (or use a zip-top bag with a tiny snip). Outline each cookie and let it set for 5–10 minutes.
- Flood the cookie. Thin icing slightly for flooding. Fill the inside of the outline, then use a toothpick or scribe tool to nudge icing to the edges and pop bubbles.
- Add details. Let the base dry 20–30 minutes before adding details on top so they don’t sink.For crisp layered designs, wait 1–2 hours.
- Dry completely. Let cookies dry at room temperature until fully set, usually 8–12 hours or overnight. Avoid humidity and cover lightly with a clean box or tent to protect from dust.
- Store or serve. Once hardened, stack, pack, or gift without smearing.