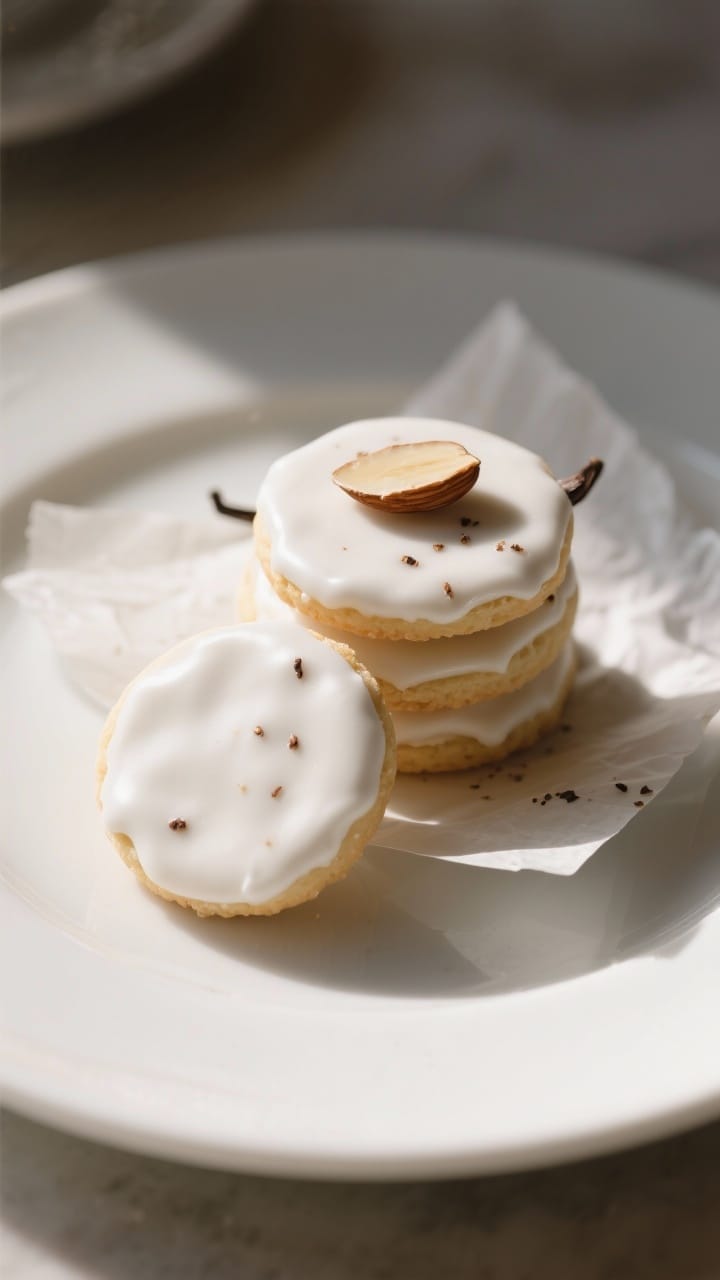
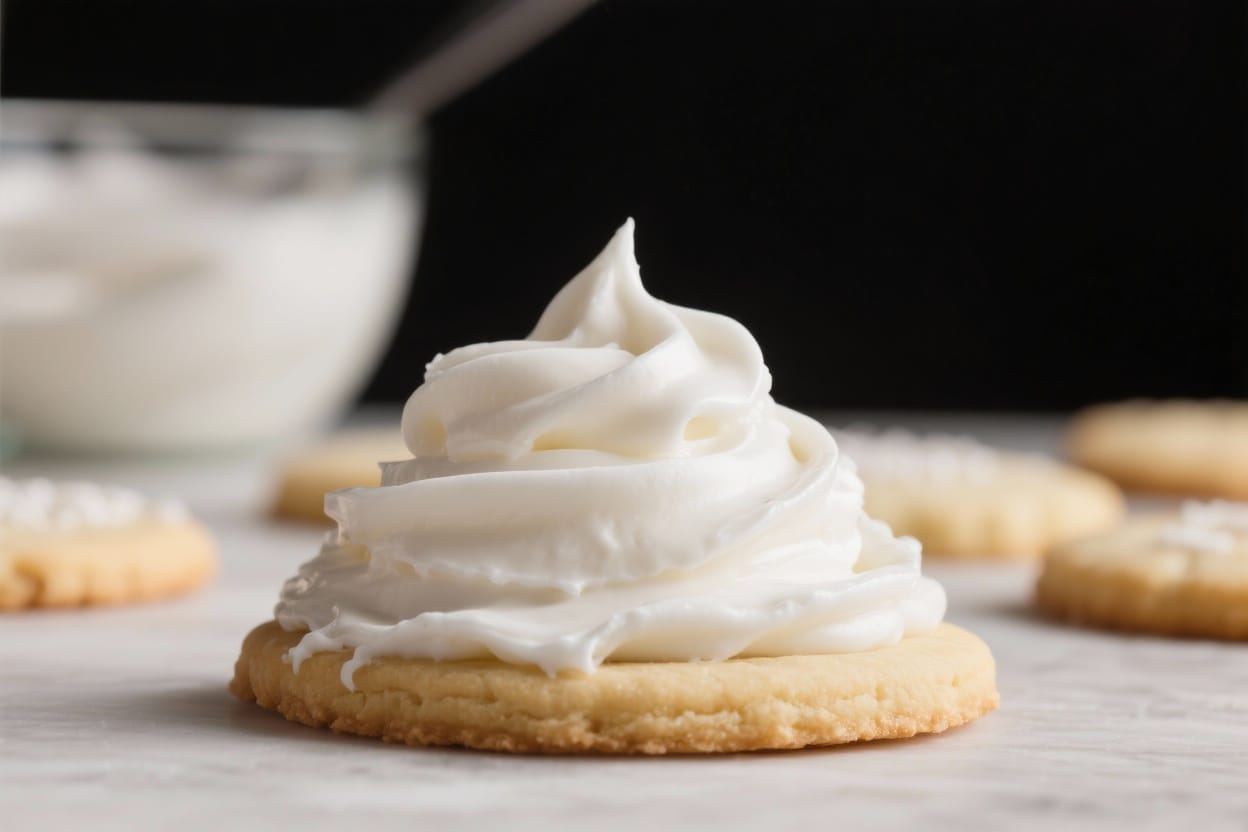
A good Sugar Cookie Icing Recipe should be smooth, glossy, and easy to work with, whether you’re outlining neat borders or flooding big cookie surfaces. This recipe gives you that classic look with a clean vanilla flavor and a finish that sets firm but not rock hard. It’s great for holiday cutouts, birthday shapes, or any cookie you want to dress up.
You don’t need fancy tools or hard-to-find ingredients. Just a few pantry basics and a little technique, and you’ll be piping like a pro.
Table of Contents
Table of Contents
What Makes This Sugar Cookie Icing Recipe Special

This icing mixes up in minutes and doesn’t require egg whites or meringue powder. It dries with a light sheen and a gentle crunch on top while staying slightly soft underneath.
That makes the cookies pleasant to bite, not brittle. It’s also highly adjustable: thin it to flood, thicken it to outline, brighten it with citrus, or color it with gel food coloring. The flavor is clean and not overly sweet, so it complements buttery sugar cookies instead of overpowering them.
Ingredients
- 2 cups powdered sugar (a.k.a. confectioners’ sugar), sifted
- 2–3 tablespoons milk (whole, 2%, or dairy-free alternative)
- 1 tablespoon light corn syrup (for shine and smoothness)
- 1 teaspoon pure vanilla extract (or almond extract for a bakery-style twist)
- Pinch of fine salt (balances sweetness)
- Gel food coloring (optional, for vibrant colors)
- Water or extra milk (as needed to adjust consistency)
Step-by-Step Instructions

- Sift the sugar. Add the powdered sugar to a medium bowl and sift to remove lumps.
This gives you a super smooth icing and prevents clogged tips.
- Add liquid ingredients. Stir in 2 tablespoons milk, the corn syrup, vanilla, and a pinch of salt. Mix slowly at first to avoid a sugar cloud.
- Adjust consistency. If it’s too thick to stir, add milk 1 teaspoon at a time. For outline icing, aim for a toothpaste-like texture.
For flood icing, thin it to a honey-like flow that settles in 10–15 seconds when you drag a spoon through it.
- Color the icing. Divide into bowls and add gel food coloring a little at a time. Gel gives bright color without watering down the icing. Stir gently to keep bubbles minimal.
- Prep your tools. Transfer icing to piping bags.
Use a small round tip (like #2 or #3) for outlines and detail. For flooding, snip a small opening in a bag or use a slightly larger tip. Keep a piece of plastic wrap pressed on the icing surface if it sits, so it doesn’t crust.
- Outline first. Pipe a clean border around each cookie.
This creates a “dam” so the flood icing stays put. Let the outline set for 2–3 minutes.
- Flood the cookie. Thin the icing if needed, then fill the outlined area. Use a toothpick or scribe tool to nudge icing into corners and pop any air bubbles.
- Add details. For wet-on-wet designs (like polka dots or marbling), add the detail icing right away.
For crisp lines on top, wait 15–20 minutes before piping details so the base sets slightly.
- Let it dry. Leave the cookies uncovered at room temperature until the icing is surface-dry, about 2–4 hours. For a fully firm set, allow 8–12 hours or overnight.
- Store or serve. Once dry, the cookies can be stacked with parchment between layers. The icing will stay glossy and intact.
Keeping It Fresh
– Short-term storage: Keep leftover icing in an airtight container with plastic wrap pressed directly on the surface.
Refrigerate for up to 1 week. Stir gently and re-adjust thickness with a drop or two of milk before using. – Longer storage: Freeze icing in airtight bags for up to 2 months. Thaw in the fridge, then bring to room temperature and stir well. – Decorated cookies: Once fully dry, store cookies in an airtight container at room temperature for 4–5 days.
Add a sheet of parchment between layers to protect the designs. – Humidity tip: High humidity can slow drying and dull the finish. If your kitchen is humid, allow extra drying time and avoid covering cookies too soon.

Health Benefits
This icing is a treat, not a health food, but there are a few thoughtful choices you can make. – Portion control: A thin layer goes a long way in flavor and appearance, reducing sugar per cookie. – Dairy-free swaps: Use unsweetened almond, oat, or coconut milk for those avoiding dairy. – No raw egg whites: This version skips egg products, which can be a plus for some dietary preferences. – Flavor boosts: Using real vanilla or almond extract means you don’t have to overdo the sugar for taste.
Pitfalls to Watch Out For
– Over-thinning: Too much liquid leads to runny, dull icing that doesn’t set well. Add liquid gradually. – Lumps and clogs: Skipping the sift can clog piping tips.
Always sift powdered sugar. – Air bubbles: Stir gently, don’t whisk. Tap bowls on the counter and pop bubbles with a toothpick. – Bleeding colors: Strong reds and blacks can bleed into lighter colors. Let layers set slightly and avoid over-thinning colored icing. – Rushing the dry time: Stacking or packaging too soon can smudge designs.
Give it the full drying window.
Alternatives
– Lemon or orange icing: Replace 1 tablespoon of milk with fresh citrus juice and add 1/2 teaspoon zest for a bright, fresh flavor. – Almond bakery-style: Swap half or all of the vanilla for almond extract. It pairs beautifully with classic sugar cookies. – Glaze without corn syrup: Skip corn syrup and add 1 teaspoon melted unsalted butter for gloss and richness. The finish will be slightly softer. – Royal icing style: For sharp lines and rock-hard finishes, use meringue powder-based royal icing.
It’s better for intricate piping and stacked shipping. – Naturally colored: Try beet powder (pink), spirulina (green), turmeric (yellow), and cocoa (brown). Colors will be softer and more earthy.
FAQ
How do I know the icing is the right consistency?
Drag a spoon through the icing and count how long it takes to smooth over. About 10–15 seconds is great for flooding.
For outlines, the icing should hold its shape without spreading, like toothpaste.
Why use corn syrup?
Corn syrup adds shine, helps the icing set smoothly, and prevents crusting into a chalky finish. It also adds a bit of flexibility so the icing doesn’t shatter when you bite the cookie.
Can I make it ahead?
Yes. Make the icing up to a week ahead and refrigerate it.
Bring it to room temperature and stir before using. You may need a teaspoon of milk to loosen it.
What’s the best way to color the icing?
Use gel food coloring. It gives strong color with minimal liquid, so your consistency stays on point.
Add color gradually—darker shades intensify as they sit.
How long does it take to dry?
Surface dry in 2–4 hours, depending on thickness and humidity. Fully set in 8–12 hours or overnight. Avoid covering or stacking until it’s fully dry.
Can I use vanilla bean paste?
Absolutely.
Vanilla bean paste adds lovely specks and a rich flavor. Use the same amount as extract. Note that specks may show through very pale colors.
Why is my icing dull?
Over-thinning, high humidity, or skipping corn syrup are common causes.
Add a little corn syrup, avoid excess liquid, and allow generous dry time in a cool, dry spot.
What if my icing is too thick?
Add milk or water 1/2 teaspoon at a time, stirring after each addition. It’s easy to overshoot, so go slowly.
Can I stack decorated cookies?
Yes, once completely dry. Use parchment between layers and avoid heavy pressure.
For shipping, consider a firmer royal icing instead.
Is this safe for kids’ parties?
Yes. There are no raw eggs. If allergies are a concern, use dairy-free milk and check your food colorings for allergens.
Final Thoughts
This sugar cookie icing recipe is straightforward, flexible, and dependable.
It gives you smooth, glossy cookies with clean lines and a gentle bite. Keep an eye on consistency, allow proper drying time, and use gel colors for the best results. With a little practice, you’ll have bakery-level cookies that look as good as they taste.
Sugar Cookie Icing Recipe – Simple, Smooth, and Perfect for Decorating
Ingredients
Method
- Sift the sugar. Add the powdered sugar to a medium bowl and sift to remove lumps.This gives you a super smooth icing and prevents clogged tips.
- Add liquid ingredients. Stir in 2 tablespoons milk, the corn syrup, vanilla, and a pinch of salt. Mix slowly at first to avoid a sugar cloud.
- Adjust consistency. If it’s too thick to stir, add milk 1 teaspoon at a time. For outline icing, aim for a toothpaste-like texture.For flood icing, thin it to a honey-like flow that settles in 10–15 seconds when you drag a spoon through it.
- Color the icing. Divide into bowls and add gel food coloring a little at a time. Gel gives bright color without watering down the icing. Stir gently to keep bubbles minimal.
- Prep your tools. Transfer icing to piping bags.Use a small round tip (like #2 or #3) for outlines and detail. For flooding, snip a small opening in a bag or use a slightly larger tip. Keep a piece of plastic wrap pressed on the icing surface if it sits, so it doesn’t crust.
- Outline first. Pipe a clean border around each cookie.This creates a “dam” so the flood icing stays put. Let the outline set for 2–3 minutes.
- Flood the cookie. Thin the icing if needed, then fill the outlined area. Use a toothpick or scribe tool to nudge icing into corners and pop any air bubbles.
- Add details. For wet-on-wet designs (like polka dots or marbling), add the detail icing right away.For crisp lines on top, wait 15–20 minutes before piping details so the base sets slightly.
- Let it dry. Leave the cookies uncovered at room temperature until the icing is surface-dry, about 2–4 hours. For a fully firm set, allow 8–12 hours or overnight.
- Store or serve. Once dry, the cookies can be stacked with parchment between layers. The icing will stay glossy and intact.