Sift the sugar. Add the powdered sugar to a medium bowl and sift to remove lumps.
This gives you a super smooth icing and prevents clogged tips.
Add liquid ingredients. Stir in 2 tablespoons milk, the corn syrup, vanilla, and a pinch of salt. Mix slowly at first to avoid a sugar cloud.
Adjust consistency. If it’s too thick to stir, add milk 1 teaspoon at a time. For outline icing, aim for a toothpaste-like texture.
For flood icing, thin it to a honey-like flow that settles in 10–15 seconds when you drag a spoon through it.
Color the icing. Divide into bowls and add gel food coloring a little at a time. Gel gives bright color without watering down the icing. Stir gently to keep bubbles minimal.
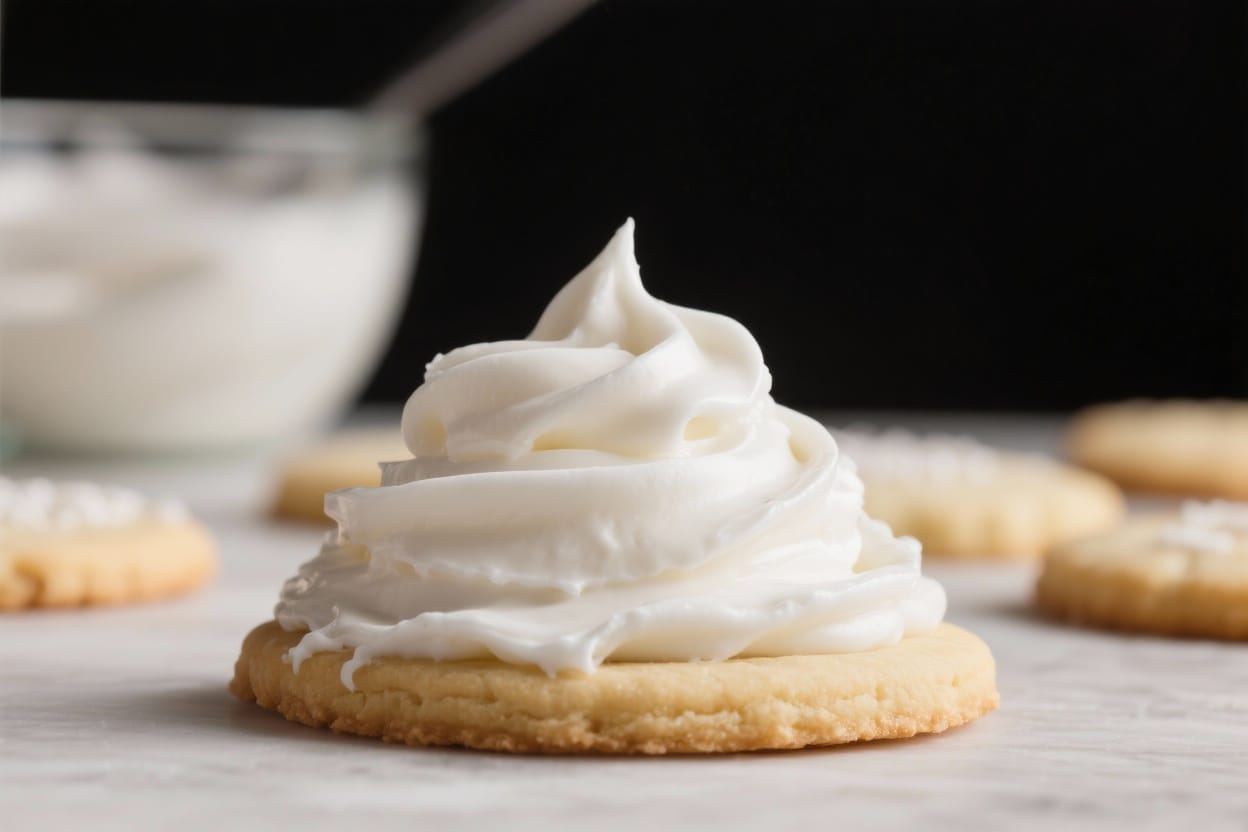
Prep your tools. Transfer icing to piping bags.
Use a small round tip (like #2 or #3) for outlines and detail. For flooding, snip a small opening in a bag or use a slightly larger tip. Keep a piece of plastic wrap pressed on the icing surface if it sits, so it doesn’t crust.
Outline first. Pipe a clean border around each cookie.
This creates a “dam” so the flood icing stays put. Let the outline set for 2–3 minutes.
Flood the cookie. Thin the icing if needed, then fill the outlined area. Use a toothpick or scribe tool to nudge icing into corners and pop any air bubbles.
Add details. For wet-on-wet designs (like polka dots or marbling), add the detail icing right away.
For crisp lines on top, wait 15–20 minutes before piping details so the base sets slightly.
Let it dry. Leave the cookies uncovered at room temperature until the icing is surface-dry, about 2–4 hours. For a fully firm set, allow 8–12 hours or overnight.
Store or serve. Once dry, the cookies can be stacked with parchment between layers. The icing will stay glossy and intact.