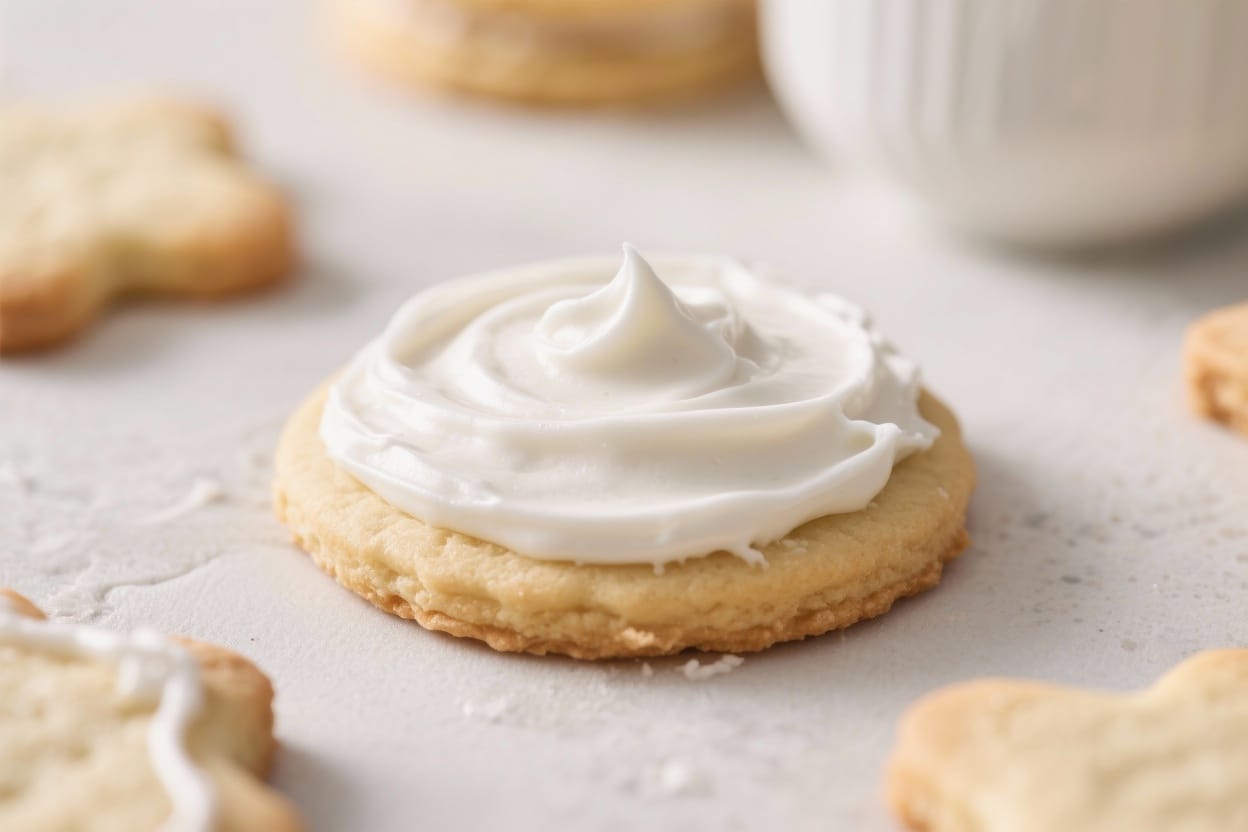
Sugar cookie icing doesn’t have to be complicated or fussy. This easy recipe gives you a smooth, glossy finish that sets beautifully without any special tools or tricky techniques. You’ll get that bakery-style look with just a few pantry staples and a couple of minutes of mixing.
It’s perfect for holiday cookies, birthdays, or any time you want to decorate a batch of homemade treats. Best of all, you can adjust the thickness for outlining, flooding, or adding details in bright, cheerful colors.
What Makes This Recipe So Good

- No egg whites or meringue powder: Just powdered sugar, milk, and a touch of syrup for shine. It’s straightforward and reliable.
- Dries firm but not rock hard: Your icing will set enough for stacking and packaging, but it won’t be tooth-cracking.
- Customizable consistency: Make it thick for outlines or thin for flooding with simple ratio tweaks.
- Shiny finish: A little corn syrup creates that beautiful sheen without complicated ingredients.
- Great flavor: Vanilla keeps things classic, or switch it up with almond or lemon extract.
Shopping List
- Powdered sugar (confectioners’ sugar): 2 cups, sifted for the smoothest icing
- Milk (or water): 2–3 tablespoons, more as needed to thin
- Light corn syrup: 1–2 teaspoons for shine and smoothness
- Vanilla extract: 1 teaspoon (clear vanilla keeps the icing bright)
- Pinch of salt: Optional, to balance sweetness
- Gel food coloring: Optional, for vibrant colors without thinning the icing
Instructions
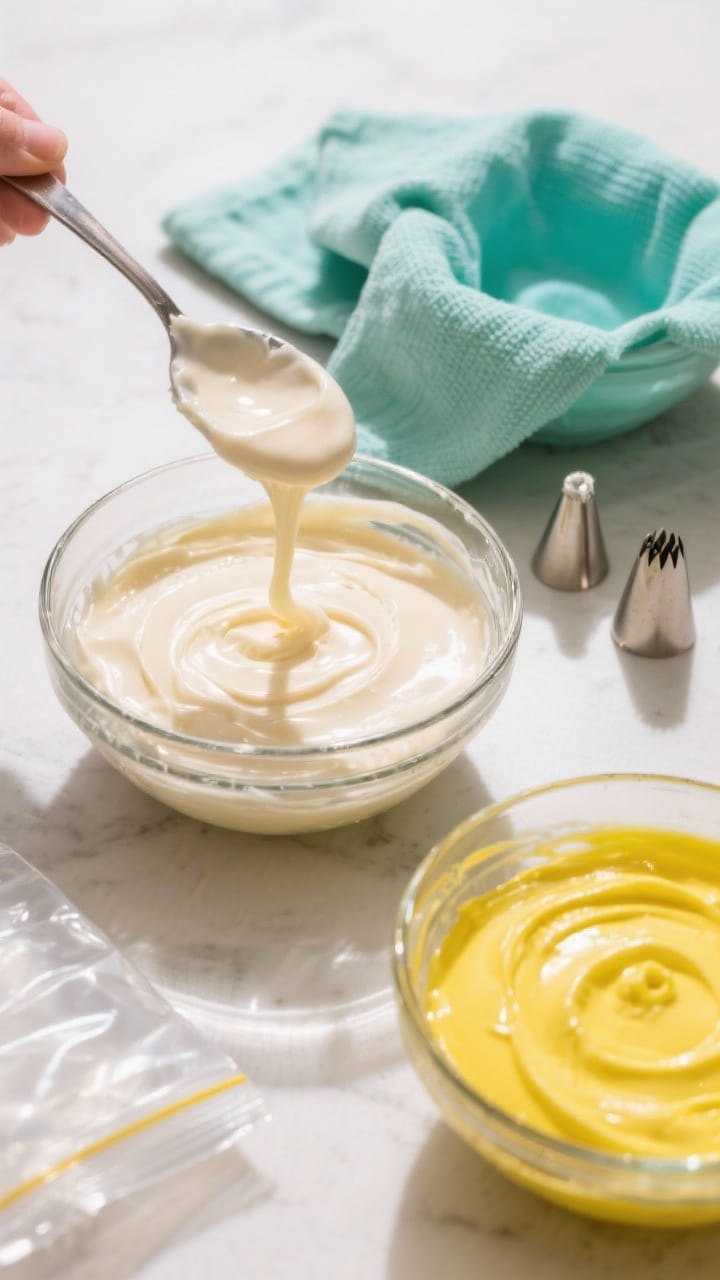
- Sift the sugar: Add 2 cups of powdered sugar to a bowl and sift to remove lumps.This ensures a silky, lump-free icing.
- Stir in the liquids: Add 2 tablespoons milk, 1 teaspoon light corn syrup, and 1 teaspoon vanilla. Mix with a spoon or whisk until smooth. If it’s very thick, add milk 1 teaspoon at a time.
- Check the consistency: For outlining, aim for a thick, slow ribbon that holds its shape (think toothpaste).For flooding, aim for a thinner ribbon that blends back into the bowl in about 10–15 seconds.
- Adjust as needed: If too thick, add a few drops of milk. If too thin, add a spoonful of powdered sugar. A tiny bit of corn syrup (up to 2 teaspoons total) boosts shine.
- Color the icing: Divide into bowls and add gel food coloring a little at a time.Stir well. Use separate bowls for each color.
- Prep your tools: Fill piping bags with small round tips (or snip a tiny corner off a zip-top bag). Keep a damp cloth over bowls to prevent crusting.
- Outline first: Pipe an outline around the cooled sugar cookies to create a barrier.Let it set for 5–10 minutes.
- Flood the centers: Use thinner icing to fill the outlined area. Gently nudge icing into corners with a toothpick or scribe tool. Pop any bubbles as you go.
- Add details: Once the base sets a bit (10–20 minutes), add dots, lines, or patterns with thicker icing.For wet-on-wet designs (like hearts or marbling), add details immediately while the base is still wet.
- Let it dry: Allow cookies to dry at room temperature. They’ll crust in about 1 hour and fully set in 6–12 hours, depending on humidity and thickness.
Storage Instructions: Sugar cookie icing
- Short-term: Keep leftover icing in airtight containers for up to 3 days at room temperature or 1 week in the fridge. Press plastic wrap directly on the surface to prevent crusting.
- Re-mix before using: Stir well after storage.Add a few drops of milk if it thickened; add powdered sugar if it thinned.
- Freezing: Freeze in airtight containers or piping bags for up to 2 months. Thaw in the fridge, then bring to room temp and stir until smooth.
- Decorated cookies: Once fully dry, store between layers of parchment in an airtight container at room temperature for 4–5 days, or freeze for longer.

Benefits of This Recipe
- Beginner-friendly: No special equipment or advanced techniques required.
- Fast to make: The icing comes together in minutes with common ingredients.
- Looks professional: The smooth, glossy finish makes cookies look bakery-made.
- Flexible flavors: Add different extracts or zests for a unique twist.
- Kid-approved: Sweet, simple flavor and easy to color for fun decorating sessions.
What Not to Do
- Don’t skip sifting: Lumps will clog piping tips and leave bumps on your cookies.
- Don’t use liquid food coloring heavily: It can over-thin the icing. Stick to gel colors for intensity without the extra water.
- Don’t ice warm cookies: Heat melts the icing and ruins the consistency.Make sure cookies are completely cool.
- Don’t rush the drying time: Stacking too soon will smudge your designs. Let them fully set.
- Don’t add too much corn syrup: A little gives shine; too much keeps icing from setting firm.
Recipe Variations
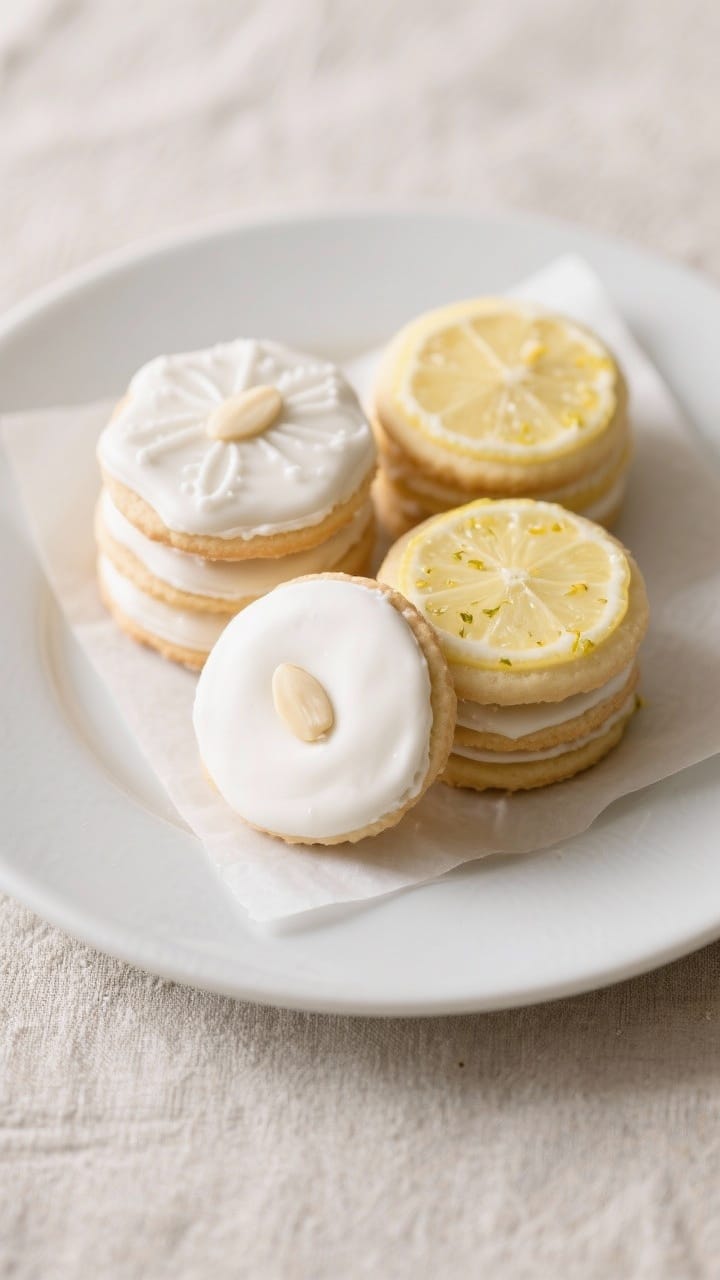
- Almond icing: Replace half the vanilla with almond extract for a classic bakery flavor.
- Lemon glaze: Swap milk for lemon juice and add lemon zest for a bright, citrusy finish.
- Vanilla bean: Use clear vanilla for bright white icing or add vanilla bean paste for specks and deeper flavor.
- Dairy-free: Use water or a neutral plant milk (like almond or oat). The texture and shine still hold up.
- Extra glossy: Add up to 2 teaspoons corn syrup total and keep icing slightly thicker for maximum sheen.
- Sprinkle-friendly: Add sprinkles while the icing is wet so they stick without bleeding.
FAQ
How do I know the right icing consistency?
The easiest method is the “ribbon test.” Drag a spoon through the icing and let a ribbon fall back into the bowl.
If it reabsorbs in 10–15 seconds, it’s good for flooding. If it holds its shape and takes longer, it’s ideal for outlining.
Can I make this icing ahead of time?
Yes. Store it in airtight containers for up to a week in the fridge or freeze it for up to two months.
Stir well and adjust with a few drops of milk or a spoonful of powdered sugar before using.
Why is my icing dull instead of shiny?
You may need a small amount of corn syrup for gloss. Also, humidity and over-thinning can reduce shine. Try adding 1/2 teaspoon more corn syrup and keep your icing slightly thicker.
Will this icing harden enough to stack?
Yes.
It dries firm to the touch and is stackable once fully set, typically after 6–12 hours. If you need faster drying, work in a low-humidity room and keep layers thin.
Can I use water instead of milk?
Absolutely. Water works well and makes this icing dairy-free.
The flavor will be slightly less creamy, but still delicious.
What if I don’t have piping bags?
Use zip-top bags and snip a tiny corner. You can also use squeeze bottles for flooding—they’re easy to control and great for kids.
How do I prevent color bleeding between sections?
Let each color crust for 10–15 minutes before adding a neighboring color. Keep the icing thickness consistent and avoid over-saturating with liquid coloring.
Can I flavor the icing without changing the color?
Yes.
Use clear extracts, like clear vanilla or clear almond extract, to keep your whites bright and pastels clean.
Final Thoughts
This sugar cookie icing is simple, dependable, and pretty enough for any celebration. With a handful of ingredients and a few small tweaks, you can outline, flood, and decorate like a pro. Make a batch, set out some colors, and let your creativity take over.
Whether you’re prepping for a holiday cookie swap or a cozy afternoon project, this easy icing delivers shine, flavor, and lots of fun.
Sugar Cookie Icing Recipe Easy – Simple, Smooth, and Shiny
Ingredients
Method
- Sift the sugar: Add 2 cups of powdered sugar to a bowl and sift to remove lumps.This ensures a silky, lump-free icing.
- Stir in the liquids: Add 2 tablespoons milk, 1 teaspoon light corn syrup, and 1 teaspoon vanilla. Mix with a spoon or whisk until smooth. If it’s very thick, add milk 1 teaspoon at a time.
- Check the consistency: For outlining, aim for a thick, slow ribbon that holds its shape (think toothpaste).For flooding, aim for a thinner ribbon that blends back into the bowl in about 10–15 seconds.
- Adjust as needed: If too thick, add a few drops of milk. If too thin, add a spoonful of powdered sugar. A tiny bit of corn syrup (up to 2 teaspoons total) boosts shine.
- Color the icing: Divide into bowls and add gel food coloring a little at a time.Stir well. Use separate bowls for each color.
- Prep your tools: Fill piping bags with small round tips (or snip a tiny corner off a zip-top bag). Keep a damp cloth over bowls to prevent crusting.
- Outline first: Pipe an outline around the cooled sugar cookies to create a barrier.Let it set for 5–10 minutes.
- Flood the centers: Use thinner icing to fill the outlined area. Gently nudge icing into corners with a toothpick or scribe tool. Pop any bubbles as you go.
- Add details: Once the base sets a bit (10–20 minutes), add dots, lines, or patterns with thicker icing.For wet-on-wet designs (like hearts or marbling), add details immediately while the base is still wet.
- Let it dry: Allow cookies to dry at room temperature. They’ll crust in about 1 hour and fully set in 6–12 hours, depending on humidity and thickness.