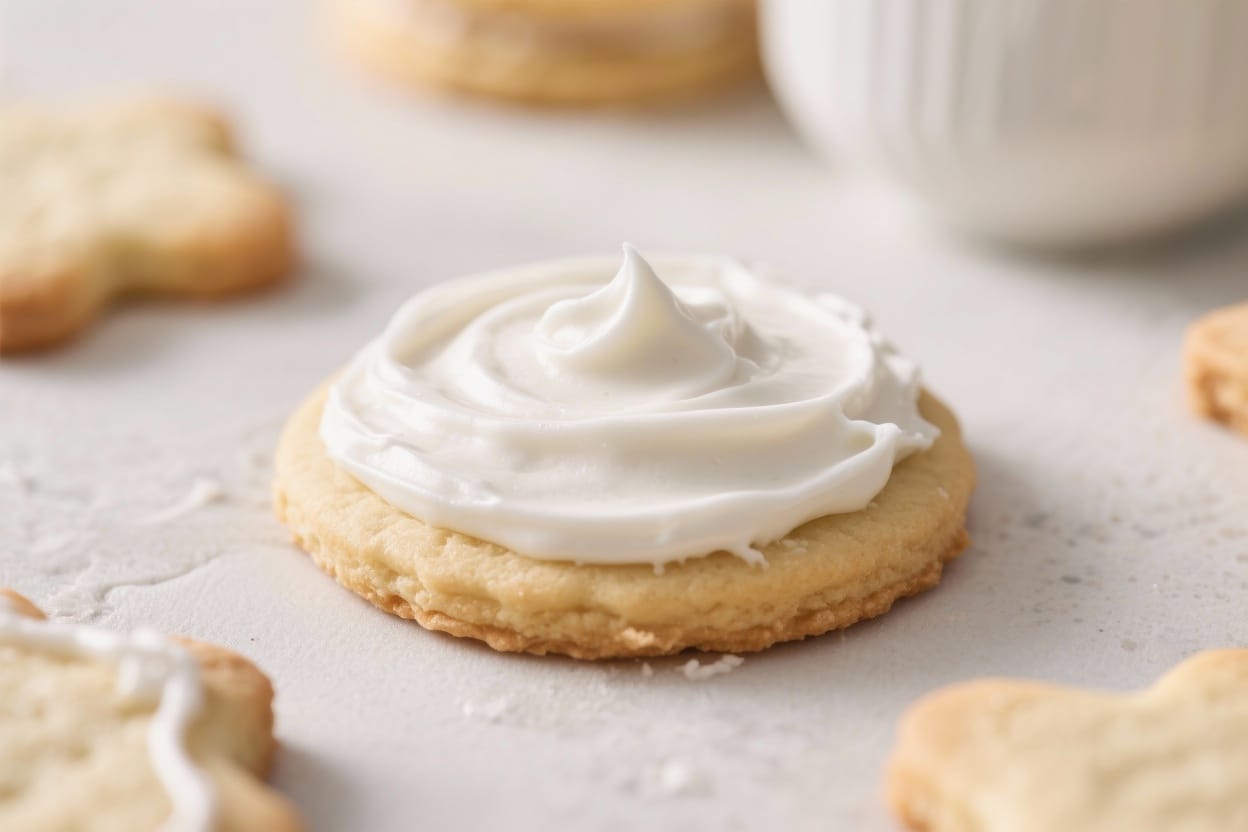
Sift the sugar: Add 2 cups of powdered sugar to a bowl and sift to remove lumps.
This ensures a silky, lump-free icing.
Stir in the liquids: Add 2 tablespoons milk, 1 teaspoon light corn syrup, and 1 teaspoon vanilla. Mix with a spoon or whisk until smooth. If it’s very thick, add milk 1 teaspoon at a time.
Check the consistency: For outlining, aim for a thick, slow ribbon that holds its shape (think toothpaste).
For flooding, aim for a thinner ribbon that blends back into the bowl in about 10–15 seconds.
Adjust as needed: If too thick, add a few drops of milk. If too thin, add a spoonful of powdered sugar. A tiny bit of corn syrup (up to 2 teaspoons total) boosts shine.
Color the icing: Divide into bowls and add gel food coloring a little at a time.
Stir well. Use separate bowls for each color.
Prep your tools: Fill piping bags with small round tips (or snip a tiny corner off a zip-top bag). Keep a damp cloth over bowls to prevent crusting.
Outline first: Pipe an outline around the cooled sugar cookies to create a barrier.
Let it set for 5–10 minutes.
Flood the centers: Use thinner icing to fill the outlined area. Gently nudge icing into corners with a toothpick or scribe tool. Pop any bubbles as you go.
Add details: Once the base sets a bit (10–20 minutes), add dots, lines, or patterns with thicker icing.
For wet-on-wet designs (like hearts or marbling), add details immediately while the base is still wet.
Let it dry: Allow cookies to dry at room temperature. They’ll crust in about 1 hour and fully set in 6–12 hours, depending on humidity and thickness.