Whisk the base: In a medium bowl, whisk confectioners’ sugar, 2 tablespoons milk, corn syrup, vanilla (or almond), and a small pinch of salt.
Mix until smooth. If it’s too thick to stir, add milk by the teaspoon.
Check “ribbon” consistency: Lift the whisk and let icing fall back into the bowl. For general use, aim for a slow ribbon that disappears in about 10–12 seconds.
This is a good flooding consistency for smooth coverage.
Make two consistencies (optional but ideal): Divide the icing. Keep one portion thick (15–20 second ribbon) for outlining and details by adding a bit more sugar. Thin the other portion to 10–12 seconds with drops of milk for flooding.
Color the icing: Add gel food coloring a little at a time.
Gel keeps the icing stable. Stir fully to avoid streaks. If coloring several shades, split into small bowls and cover each with plastic wrap touching the surface to prevent crusting.
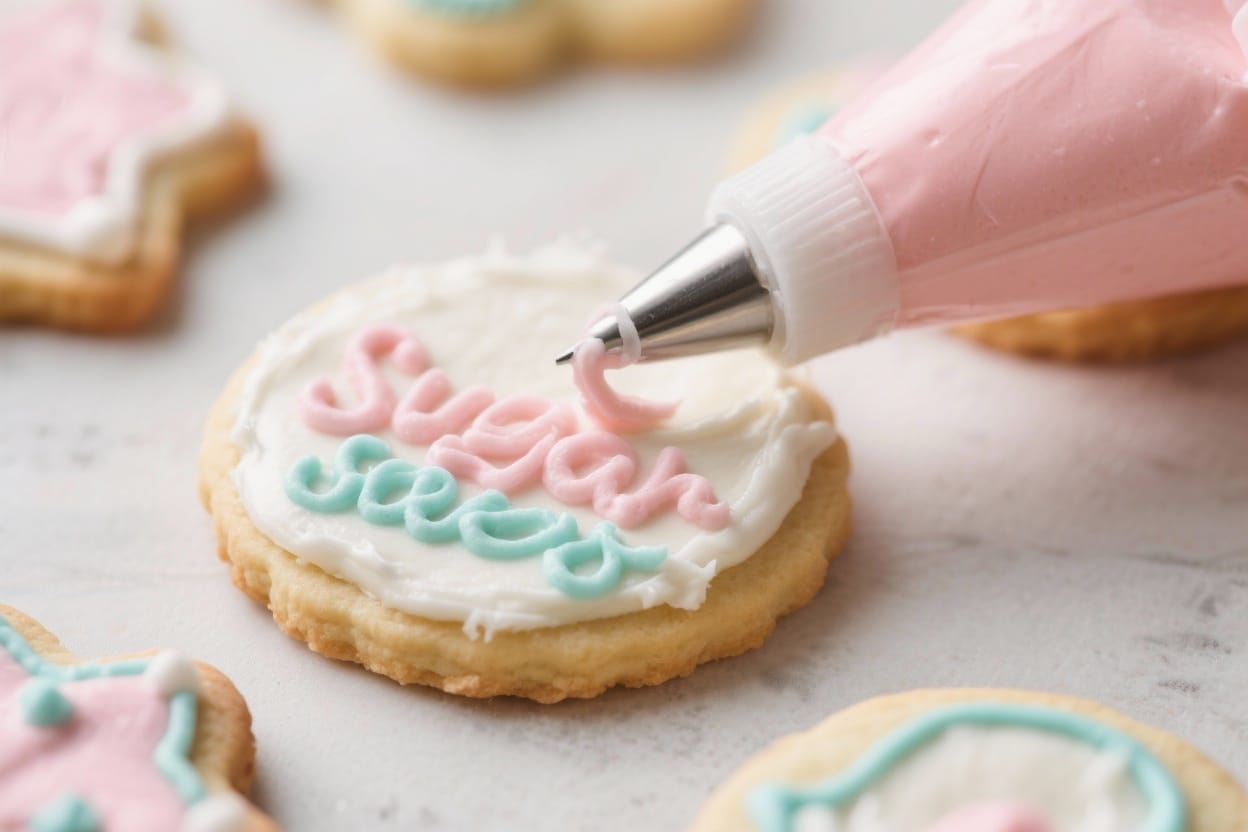
Bag it up: Transfer icing to piping bags.
For outlining, use a small round tip or snip a tiny opening. For flooding, snip slightly larger. Keep a damp paper towel over open tips to prevent drying while you work.
Outline first: Pipe a clean border around the cookie’s edge.
This creates a wall to hold flood icing. Let it sit 2–3 minutes to set a little.
Flood the cookie: Fill the outlined area with thinner icing. Use a toothpick or scribe tool to nudge icing into corners and pop bubbles.
Work quickly for a smooth finish.
Add details: For layered designs, let the base dry 20–30 minutes before adding piping on top. For wet-on-wet effects (like dots or hearts), add details immediately while the base is still wet.
Dry completely: Let cookies dry uncovered at room temperature until set. Surface dry in about 2–4 hours; fully dry for stacking in 8–12 hours, depending on humidity.