Sugar cookie icing doesn’t have to be fussy to look beautiful and taste great. This simple recipe gives you glossy, picture-perfect cookies with a texture that sets just right firm on top, soft underneath. It’s easy to mix, easy to color, and easy to use whether you’re outlining, flooding, or adding fine details.
If you’ve ever struggled with icing that won’t dry or runs off the sides, this guide will change that. Let’s keep it straightforward and dependable, so you can enjoy decorating and actually eat the cookies, too.
Table of Contents
What Makes This Special Sugar cookie icing

This icing balances flavor, shine, and structure. It uses common pantry ingredients and mixes in minutes.
The base is sweet but not cloying, and it dries to a smooth, glossy finish that stacks well without getting rock hard. You can tweak the consistency for outlines or flooding with a splash of water. Best of all, it’s stable, so your colors stay bright and your lines stay crisp.
What You’ll Need
- 2 cups (240 g) powdered sugar, sifted for a smooth finish
- 2–3 tablespoons milk (whole or 2% for best texture)
- 1 tablespoon light corn syrup (for shine and a soft bite)
- 1/2 teaspoon vanilla extract (or clear vanilla for white icing)
- Pinch of fine salt (to balance the sweetness)
- Optional flavorings: 1/4 teaspoon almond extract, lemon extract, or butter emulsion
- Gel food coloring (gel or paste gives vibrant color without thinning)
- Tools: mixing bowl, whisk, small spatula, piping bags or squeeze bottles, toothpicks, and airtight containers
Step-by-Step Instructions
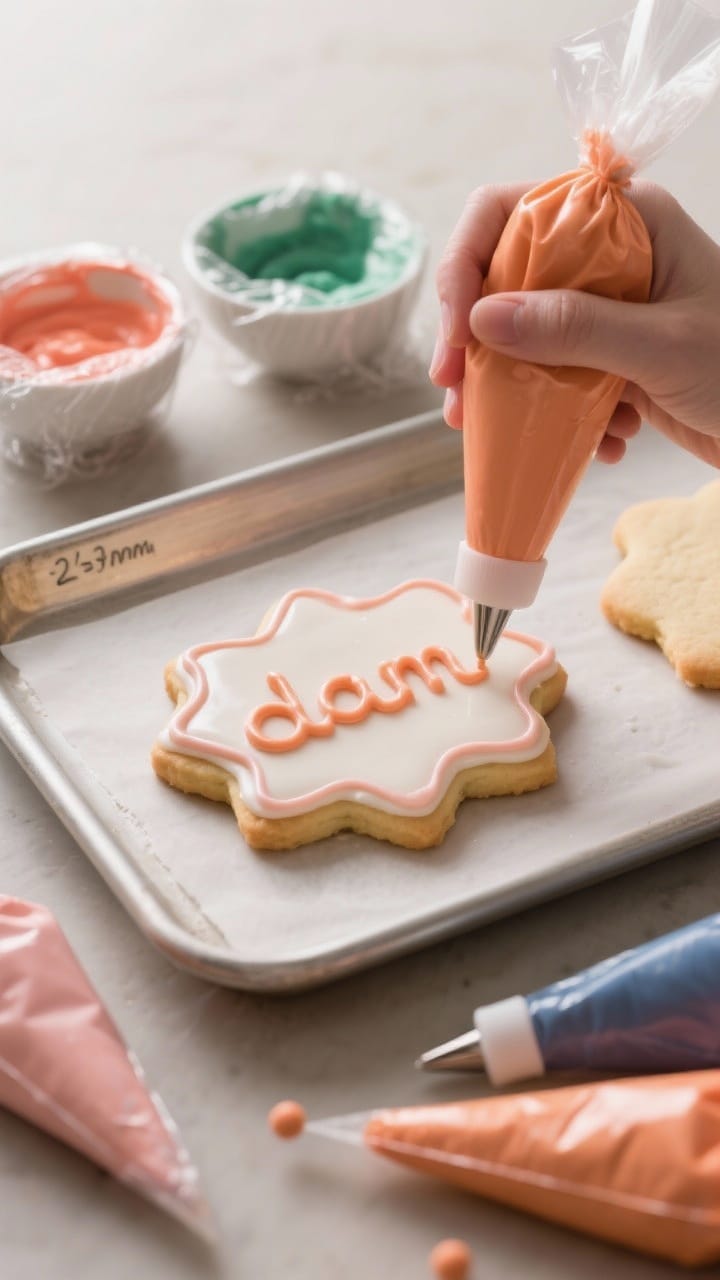
- Sift the sugar. Add powdered sugar to a bowl and sift to remove lumps.
This small step makes a big difference in smooth icing.
- Add the liquids. Stir in 2 tablespoons of milk, corn syrup, vanilla, and a pinch of salt. Whisk until the mixture looks thick and glossy.
- Adjust consistency. For outline consistency, you want a slow ribbon that holds its shape. For flood consistency, add milk a few drops at a time until the icing smooths out within 10–15 seconds after you drizzle it back into the bowl.
- Divide and color. Split the icing into small bowls.
Add gel food coloring a little at a time, stirring thoroughly. Keep each bowl covered with plastic wrap touching the surface to prevent crusting.
- Bag the icing. Use piping bags fitted with small round tips or snip a tiny hole in disposable bags. For flooding, a squeeze bottle works well for control.
- Outline the cookies. Pipe a thin border around each cookie.
Let it set for 2–3 minutes so it acts like a dam and keeps flood icing in place.
- Flood the center. Fill the outlined area with flood-consistency icing. Use a toothpick or scribe tool to nudge the icing into corners and pop any bubbles.
- Add details. For wet-on-wet designs (like hearts or dots that settle in), add them immediately while the flooded base is still wet. For crisp details, wait 20–30 minutes for the base to crust over.
- Dry properly. Let cookies dry at room temperature, uncovered, for at least 6–8 hours, or overnight for fully set icing.
Avoid humidity and direct heat.
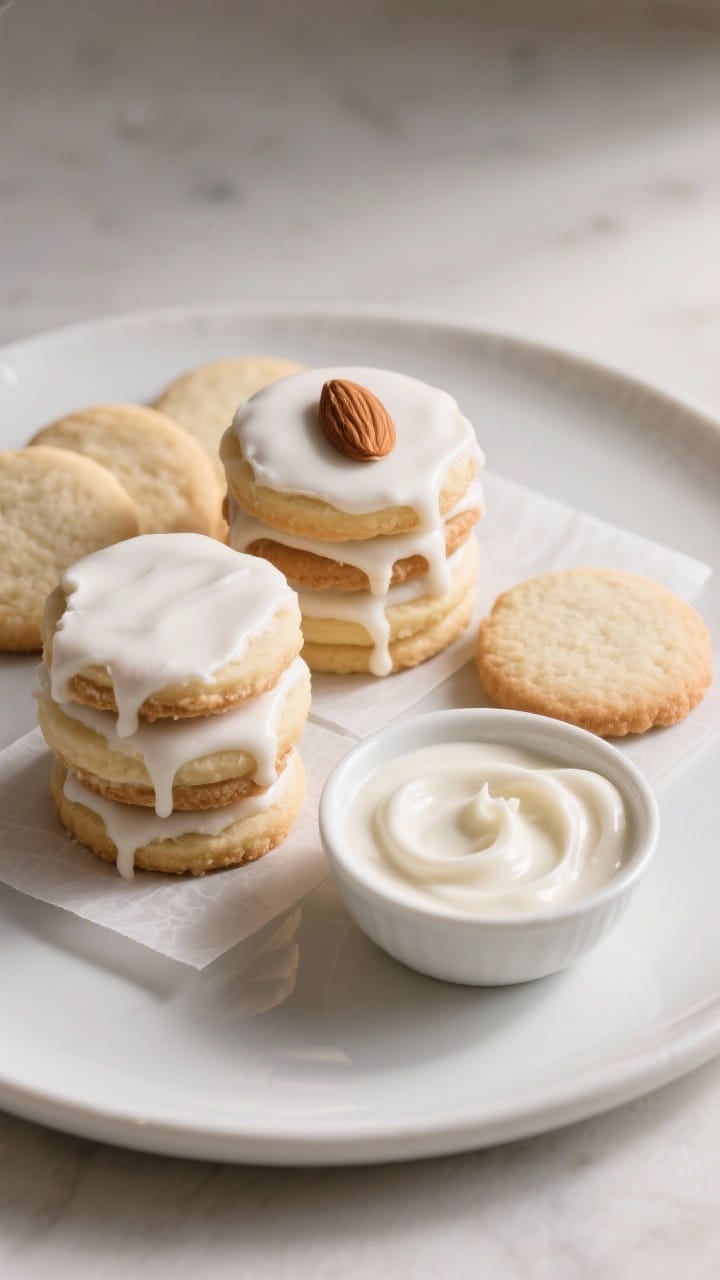
- Store or serve. Once dry, the icing will be firm to the touch but not rock hard. Cookies can be stacked with parchment between layers.
Keeping It Fresh
Store leftover icing in airtight containers with plastic wrap pressed against the surface to prevent crusting. It keeps well at room temperature for 24 hours or in the fridge for up to a week.
Stir before using; add a drop or two of milk if it thickens.
For longer storage, freeze icing in sealed bags for up to a month. Thaw in the fridge, then bring to room temperature and stir gently to restore the texture. Keep decorated cookies in a cool, dry spot, not the fridge, to avoid condensation.

Benefits of This Recipe
- Reliable shine and smooth finish without using royal icing or meringue powder.
- Easy to adjust from outlining to flooding with a few drops of milk.
- Better flavor thanks to vanilla, optional almond, and a pinch of salt.
- Kid-friendly and simple to mix—no special equipment needed.
- Stackable once dry, making it great for gifts and parties.
Common Mistakes to Avoid
- Skipping the sift. Lumpy sugar equals lumpy icing.
Sift first for a silky finish.
- Over-thinning. Add liquid slowly. You can always add more, but you can’t take it out. If you go too far, whisk in a bit more powdered sugar.
- Using too much liquid food coloring. Liquid colors water down the icing.
Use gel or paste for rich color without thinning.
- Not waiting for the outline to set. A quick 2–3 minute rest helps prevent floods from spilling over edges.
- Drying in a humid room. Humidity prevents proper setting and dulls the finish. Use a low-humidity space or a fan on low, aimed away from the cookies.
- Storing cookies in the fridge. Condensation can cause colors to bleed. Keep them at room temperature in an airtight container.
Recipe Variations
- Lemon Icing: Replace half the milk with fresh lemon juice and add 1/2 teaspoon lemon zest for brightness.
- Almond Bakery Style: Use clear vanilla and 1/4–1/2 teaspoon almond extract for that classic sugar-cookie flavor.
- Chocolate Glaze: Whisk in 1 tablespoon unsweetened cocoa powder and an extra teaspoon of milk; add a splash of vanilla.
- Maple Twist: Swap corn syrup for pure maple syrup and use 1/2 teaspoon maple extract.
- Dairy-Free: Use oat milk or almond milk.
The texture stays smooth, and it sets just as well.
- Extra Gloss: Add an additional 1/2 teaspoon corn syrup for more shine, especially for dark colors.
FAQ
How long does this icing take to dry?
It usually crusts over in 20–30 minutes and fully sets in 6–8 hours, depending on thickness and humidity. For stacking or packaging, let cookies dry overnight.
Can I use water instead of milk?
Yes. Water works fine, but milk gives a slightly creamier taste and smoother finish.
If you use water, consider adding a touch more vanilla or almond for flavor.
Why use corn syrup?
Corn syrup adds shine, improves flow, and helps the icing set with a soft bite instead of getting brittle. It’s a small amount, but it makes a big difference.
Will this icing harden enough to stack?
Yes. Once fully dry, the surface becomes firm and smooth.
Place parchment between layers when stacking to protect designs.
How do I fix icing that’s too thick or too thin?
If it’s too thick, add milk a few drops at a time and stir. If it’s too thin, sprinkle in a little more powdered sugar and whisk until it holds the right ribbon.
Can I make this white-white without a yellow tint?
Use clear vanilla instead of pure vanilla extract and keep the milk minimal. A tiny dot of violet gel can neutralize yellow tones—use a toothpick tip amount.
What’s the best way to prevent color bleeding?
Let each color crust before adding another on top, avoid over-thinning, and dry cookies in a low-humidity environment.
Dark colors are the most prone, so go easy on liquid and let them dry longer.
Is this the same as royal icing?
No. Royal icing uses meringue powder or egg whites and dries harder. This recipe is simpler and has a softer bite, with a glossy finish and great flavor.
Can I use this on gingerbread or cut-out brownies?
Absolutely.
It adheres well to most baked surfaces. For softer bases like brownies, use a slightly thicker consistency to keep edges neat.
How do I store decorated cookies?
Let them dry completely, then store in an airtight container at room temperature for up to a week. Add parchment between layers and keep them away from heat or sun.
Wrapping Up
This sugar cookie icing is simple, dependable, and beautiful.
It mixes fast, sets with a glossy finish, and tastes like something from a favorite bakery. With a few small tweaks, you can outline, flood, and detail like a pro—no fancy equipment needed. Keep it covered, keep it smooth, and have fun with color.
Your cookies will look polished and taste even better.
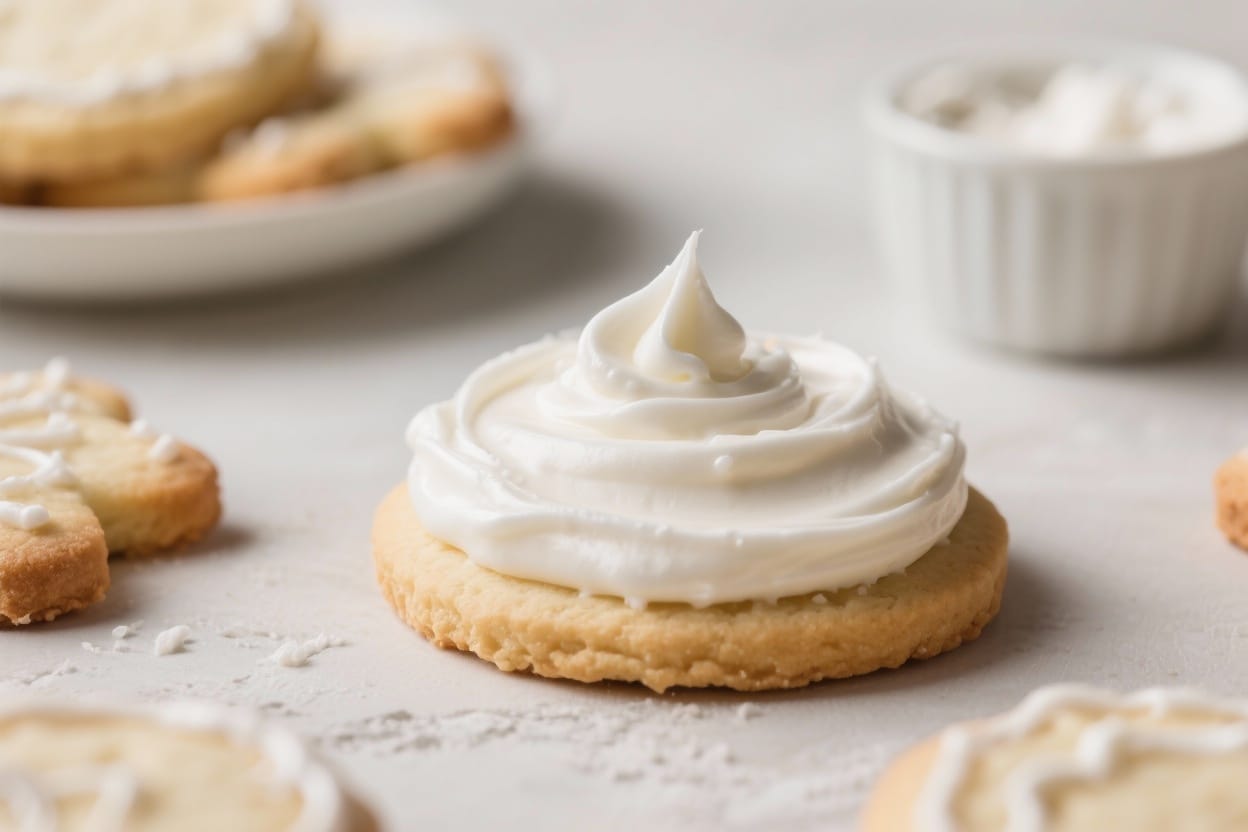
Best Recipe for Sugar Cookie Icing – Smooth, Shiny, and Easy
Ingredients
Method
- Sift the sugar. Add powdered sugar to a bowl and sift to remove lumps.This small step makes a big difference in smooth icing.
- Add the liquids. Stir in 2 tablespoons of milk, corn syrup, vanilla, and a pinch of salt. Whisk until the mixture looks thick and glossy.
- Adjust consistency. For outline consistency, you want a slow ribbon that holds its shape. For flood consistency, add milk a few drops at a time until the icing smooths out within 10–15 seconds after you drizzle it back into the bowl.
- Divide and color. Split the icing into small bowls.Add gel food coloring a little at a time, stirring thoroughly. Keep each bowl covered with plastic wrap touching the surface to prevent crusting.
- Bag the icing. Use piping bags fitted with small round tips or snip a tiny hole in disposable bags. For flooding, a squeeze bottle works well for control.
- Outline the cookies. Pipe a thin border around each cookie.Let it set for 2–3 minutes so it acts like a dam and keeps flood icing in place.
- Flood the center. Fill the outlined area with flood-consistency icing. Use a toothpick or scribe tool to nudge the icing into corners and pop any bubbles.
- Add details. For wet-on-wet designs (like hearts or dots that settle in), add them immediately while the flooded base is still wet. For crisp details, wait 20–30 minutes for the base to crust over.
- Dry properly. Let cookies dry at room temperature, uncovered, for at least 6–8 hours, or overnight for fully set icing.Avoid humidity and direct heat.
- Store or serve. Once dry, the icing will be firm to the touch but not rock hard. Cookies can be stacked with parchment between layers.