Ezekiel bread with sprouted grains is the holy grail of nutritious baking, offering a complete protein profile by combining specific legumes and grains without relying on processed commercial flours. After extensive experience of testing recipes in my kitchen and analyzing how different sprouting times affect enzymatic breakdown in dough, I can tell you that mastering this ancient technique at home is entirely achievable, provided you respect the precise timing of the sprouting process.
The first time I attempted a flourless sprouted bread recipe, I completely misunderstood the sprouting window. I let the wheat berries sprout for four days until they had long green shoots, which entirely degraded the structural integrity of the dough and left me with a flat, gummy brick. After countless rounds of testing throughout my professional career at Chef Luna, I discovered the secret: you must grind the grains the exact moment the sprouts are just a fraction of an inch long—often called the “little tail” stage to preserve enough gluten-forming proteins to support the loaf.
What separates this homemade sprouted wheat bread from the rest is our precise food processor methodology. Instead of drying the sprouts and milling them into flour which requires expensive equipment and adds days to the process we process the wet, living sprouts directly into a cohesive, sticky dough. This technique yields an incredibly fresh, high protein homemade bread that retains maximum moisture, vitamins, and a deeply complex, earthy flavor profile that grocery store versions simply cannot replicate.
This organic lentil and grain loaf will not disappoint. Whether you are aiming to improve your digestive health or simply want a dense, satisfying slice for your morning avocado toast, this foolproof method will guide you through every step. Let’s get started.
Table of Contents
The Science of Sprouting Grains flourless sprouted bread recipe
Before you dive into the recipe, it is vital to understand what happens when you sprout a grain. A dormant seed contains enzyme inhibitors and phytic acid, which lock away nutrients and make them harder for the human body to absorb.
When you soak and rinse these grains, you trigger germination. This process neutralizes phytic acid, breaking down complex starches into simpler sugars, and making vitamins (like Vitamin C and B vitamins) highly bioavailable. For bread baking, sprouting also softens the grains just enough so they can be processed into a wet dough without ever seeing a flour mill.
The Essential Ezekiel Blend
The traditional Ezekiel ratio is inspired by ancient texts and is scientifically sound for creating a complete amino acid profile. You cannot simply use one type of grain. The magic happens through this specific combination:
- Wheat Berries (Hard Red or White): Provides the foundational gluten structure.
- Spelt Berries: Adds a nutty, sweet flavor and highly digestible proteins.
- Barley (Hulled, not Pearl): Retains the bran and germ necessary for sprouting.
- Lentils (Green or Brown): Contributes vital amino acids (like lysine) that grains lack.
- Soybeans or Great Northern Beans: Completes the protein puzzle.
- Millet: A gluten-free ancient grain that adds a beautiful textural contrast.
Essential Equipment For Ezekiel bread with sprouted grains
To execute this flourless sprouted bread recipe successfully, you need a few specific tools. You are not dealing with standard flour, so standard bread-making equipment like stand mixers won’t work perfectly here.
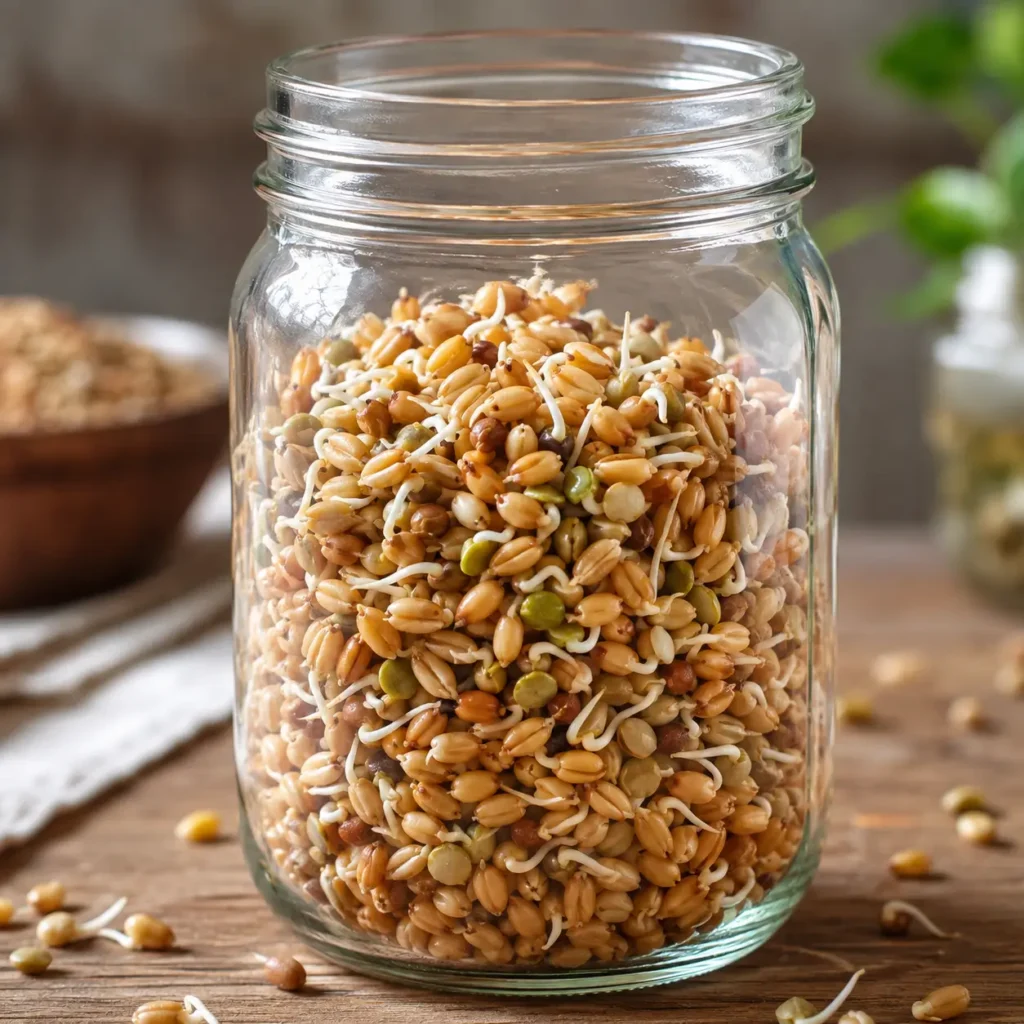
- Large Mason Jars (with sprouting lids or cheesecloth): Essential for maintaining airflow while keeping the grains drained.
- Heavy-Duty Food Processor: A blender will not work. You need the wide base and sharp blades of a 12-cup (or larger) food processor to turn wet grains into dough.
- Standard 9×5 Loaf Pan: Metal is preferred over glass for better heat conduction and a sturdier crust.
- Parchment Paper: Because this dough is exceptionally sticky, greasing is not enough. You must line the pan.
- Digital Thermometer: Crucial for ensuring the center of this dense loaf reaches at least 200°F (93°C).
Step-by-Step Sprouting Guide For high protein homemade bread
Sprouting is an active process that takes 2 to 3 days. Do not rush this, but more importantly, do not overdo it.
Day 1: The Soak
Combine all your grains and legumes in a very large bowl or divide them among two large mason jars. Cover them with at least 3 inches of filtered, room-temperature water. Let them soak for 12 to 18 hours. They will expand significantly.
Day 2: The Rinse and Drain
Drain the water completely. Rinse the grains with fresh water and drain again. If using jars, invert them at an angle in a bowl so excess water can drip out while air circulates. Place them out of direct sunlight. Rinse and drain them every 8 to 12 hours.
Day 3: The “Tail” Stage
Keep checking the grains. You are looking for a tiny white sprout (the “tail”) emerging from the seeds. It should only be about 1/16 to 1/8 of an inch long. Expert Warning: If you let the sprouts grow longer than the length of the grain itself, the enzymatic activity will destroy the gluten structure, resulting in a gummy, collapsed loaf. The moment you see these little tails, they are ready to process.
Making the Wet Dough Ezekiel bread with sprouted grains
Since we are not drying and milling these sprouts into flour, the dough creation happens entirely in the food processor.
- Drain Thoroughly: Ensure your sprouts are as dry as possible on the outside. Excess water will make the dough soupy.
- Process in Batches: Depending on the size of your food processor, divide the sprouts into two batches.
- The Grind: Pulse the sprouts until they break down, then run the processor continuously. You are looking for a cohesive, sticky, dough-like mass. It will take 3 to 5 minutes of processing. The friction will warm the dough slightly.
- Add Yeast and Flavor: Dissolve active dry yeast in a tiny amount of warm water (only about 1/4 cup) with a teaspoon of honey or maple syrup to feed the yeast. Add this, along with vital wheat gluten (optional but highly recommended for a better rise) and salt, into the food processor for the final minute of blending.
Baking and Curing the Loaf Ezekiel Blend
This is a very heavy, wet dough. It does not behave like traditional sandwich bread.
- The Proof: Scoop the sticky dough into your parchment-lined loaf pan. Smooth the top with wet fingers. Cover loosely with a damp towel and let it rise in a warm place. It will only rise about 20% to 30% in volume. Do not wait for it to double, or it will exhaust the yeast and collapse in the oven.
- The Bake: Bake at 350°F (175°C) for a long time—usually 75 to 90 minutes. Because of the high moisture content, a digital thermometer is non-negotiable. The core must reach 200°F (93°C) to ensure it is not raw in the middle.
- The Cure: You must let this bread cool completely (at least 4 hours, preferably overnight) before slicing. Slicing it while warm will result in a mushy texture.
Professional Variations and Flavor Enhancements
Through extensive testing, I have found that you can customize the flavor profile of your homemade sprouted wheat bread without compromising its structural integrity.
- Seed and Nut Variation: Fold in 1/2 cup of roughly chopped walnuts and 1/4 cup of pumpkin seeds into the processor at the very end. The nuts add healthy fats which slightly tenderize the crumb and provide an excellent textural crunch.
- Cinnamon Raisin: Add 1 tablespoon of high-quality ground cinnamon and fold in 3/4 cup of soaked and drained raisins. This makes an exceptional base for French toast.
- Savory Herb: Add 2 tablespoons of dried rosemary, 1 teaspoon of garlic powder, and an extra pinch of coarse sea salt.
Storage and Freezing Instructions Ezekiel bread with sprouted grains
Because Ezekiel bread with sprouted grains contains zero commercial preservatives, its shelf life at room temperature is extremely short.
- Countertop: Do not leave it on the counter for more than 48 hours. The high moisture content makes it highly susceptible to mold.
- Refrigerator: You can store the loaf in an airtight container in the fridge for up to 7 days, though this can dry it out slightly.
- Freezer (Highly Recommended): The absolute best way to store this bread is to slice the entire cooled loaf, place small pieces of parchment paper between the slices (so they don’t stick), and store them in a heavy-duty freezer bag. They will keep for up to 6 months. You can pull individual slices out and drop them straight into the toaster.
Frequently Asked Questions (FAQ)
Can I use pearl barley instead of hulled barley?
No. Pearl barley has had its bran and germ removed through polishing. A seed without its germ is dead and cannot sprout. You must source whole, hulled barley.
Why did my sprouted bread turn out gummy inside?
This is the most common failure. It happens for three reasons: 1) You let the sprouts grow too long, degrading the proteins. 2) The sprouts were too wet when you put them in the food processor. 3) You didn’t bake the loaf long enough (it must hit 200°F internally).
Do I have to use vital wheat gluten?
Technically, no. However, because processing wet sprouts doesn’t develop gluten the same way kneading dry flour does, adding a few tablespoons of vital wheat gluten acts as an insurance policy. It gives the bread a much better chew and prevents it from crumbling.
Is Ezekiel bread gluten-free?
No. Wheat, spelt, and barley all contain gluten. While the sprouting process breaks down some of the gluten proteins and makes them easier to digest for people with mild sensitivities, it is absolutely not safe for individuals with Celiac disease.
Final Thoughts from the Kitchen
Baking Ezekiel bread with sprouted grains at home is a rewarding journey into the mechanics of living foods. It requires patience during the sprouting phase, but the result is an incredibly nourishing, earthy loaf that provides a perfect plant-based protein source. Take your time, monitor those little “tails” closely, and enjoy the dense, satisfying texture of true, flourless bread.
Happy baking!
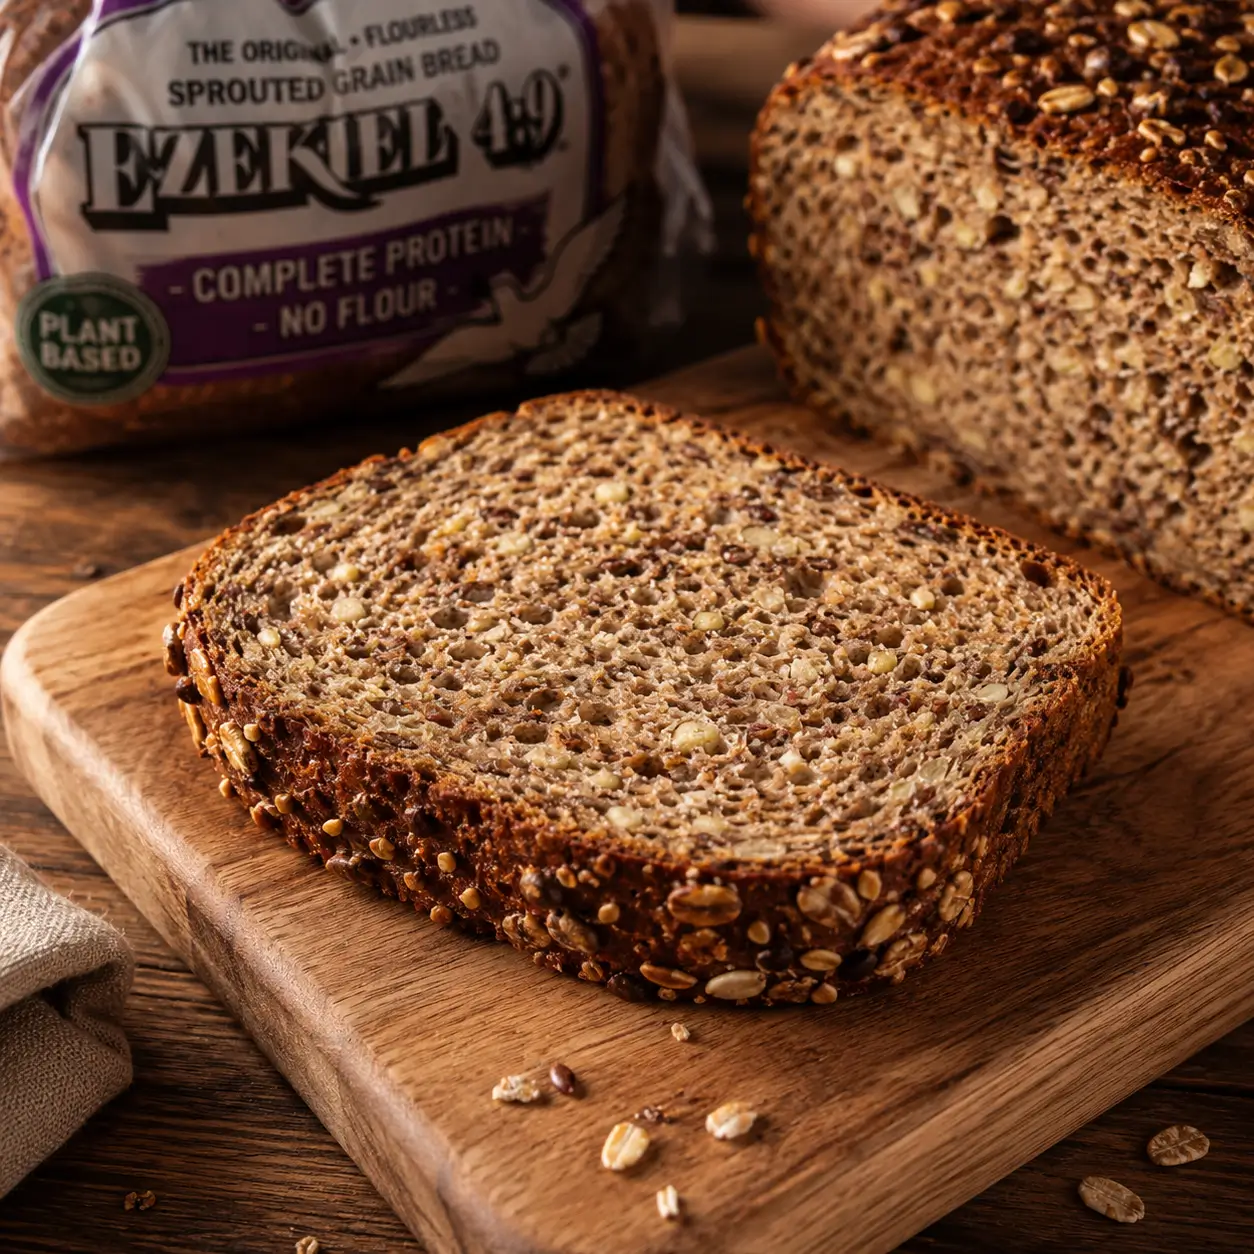
Ezekiel Bread with Sprouted Grains
Ingredients
Method
- Day 1 (Soaking): Rinse all the grains and legumes thoroughly. Place them in a large glass bowl or two large mason jars. Cover with at least 3 inches of filtered, room-temperature water. Soak for 12 to 18 hours.
- Day 2-3 (Sprouting): Drain the water completely. Rinse the grains well and drain again. Invert the jars at an angle to allow airflow and drainage. Rinse and drain every 8-12 hours until a tiny white ‘tail’ (1/16 to 1/8 inch long) appears on the grains. Do not let them over-sprout.
- Prep for Baking: Once sprouted, drain them extremely well. Line a 9×5 inch metal loaf pan with parchment paper.
- Activate Yeast: In a small bowl, whisk together the 1/4 cup warm water, honey, and active dry yeast. Let sit for 5-10 minutes until foamy.
- Process Dough: Divide the well-drained sprouts into two batches. Place the first batch in a heavy-duty food processor. Pulse, then process continuously until it forms a sticky paste. Remove and repeat with the second batch. Combine both batches back in the processor (or a large bowl).
- Combine: Add the activated yeast mixture, vital wheat gluten, and salt to the processed sprouts. Run the food processor until everything is fully incorporated into a thick, wet dough.
- Proofing: Scoop the heavy dough into the prepared loaf pan. Wet your fingers with water and smooth the top. Cover loosely with a damp towel and let rise in a warm spot for about 45-60 minutes. It will only rise slightly (about 20-30%).
- Baking: Preheat your oven to 350°F (175°C). Bake the loaf on the center rack for 75 to 90 minutes. Use a digital thermometer to check the center of the loaf; it must read at least 200°F (93°C) to ensure it is baked through.
- Cooling: Remove from the oven and carefully lift the bread out of the pan using the parchment paper overhang. Place on a wire rack and let cool COMPLETELY (at least 4 hours) before slicing, or it will be gummy.