Tested by Chef Luna, professional pastry instructor and recipe developer.
Sugar Free Cakes are often misunderstood as being dry, dense, or lacking in that classic bakery-style flavor. After extensive experience of testing recipes in my kitchen, I can tell you that removing sugar does not mean removing the joy from dessert. Sugar plays a structural role in baking, locking in moisture and creating a tender crumb, but by leveraging the right techniques and ingredient ratios, you can achieve a masterpiece that rivals any traditional bakery confection.
The first time I made diabetic friendly desserts, I struggled with flat, gummy textures that lacked that essential springy crumb. After countless rounds of testing throughout my career, I discovered that the secret lies in blending specific flour alternatives and managing the moisture content meticulously. You cannot simply swap traditional white sugar for a substitute and expect the same chemical reaction; you have to reconstruct the cake’s structural matrix from the ground up.
What separates this keto baking method from the rest is our precise use of a sweetener blend combined with elevated fat ratios. While most recipes rely entirely on single sweeteners that crystallize when cooled, this carefully developed formula utilizes a synergistic blend that mimics the hygroscopic (water-retaining) properties of real sugar. This ensures your dessert stays incredibly moist on day two and day three, avoiding the dreaded “cooling effect” so commonly found in alternative baking.
This Sugar Free Cakes guide will not disappoint. Let’s get started on your journey to creating the most delectable, guilt-free centerpiece your dining table has ever seen.
Table of Contents
The Science of Baking Without Sugar Free Cakes
To master sugar-free baking, we must first understand what sugar actually does in a traditional recipe. It is not just about sweetness. Traditional cane sugar physically interacts with water, preventing the flour’s proteins from forming too much gluten. This is what keeps a crumb tender. Furthermore, sugar caramelizes under heat, providing that beautiful golden-brown crust, and it holds onto moisture so the dessert stays fresh for days.
When we remove it, we face three massive hurdles:
- Loss of Moisture: The crumb dries out rapidly.
- Dense Structure: Without sugar crystals to punch tiny air pockets into the butter during the creaming process, the batter lacks lift.
- Lack of Browning: Most substitutes do not undergo the Maillard reaction.
To combat these issues, we implement professional culinary workarounds. We introduce extra binding agents, utilize sour cream or buttermilk for acid-tenderization, and mix our sugar substitutes for baking.
Choosing the Right Sweetener Blend
Throughout my years of professional practice, I’ve learned that no single alternative acts exactly like sucrose. You need a blend.
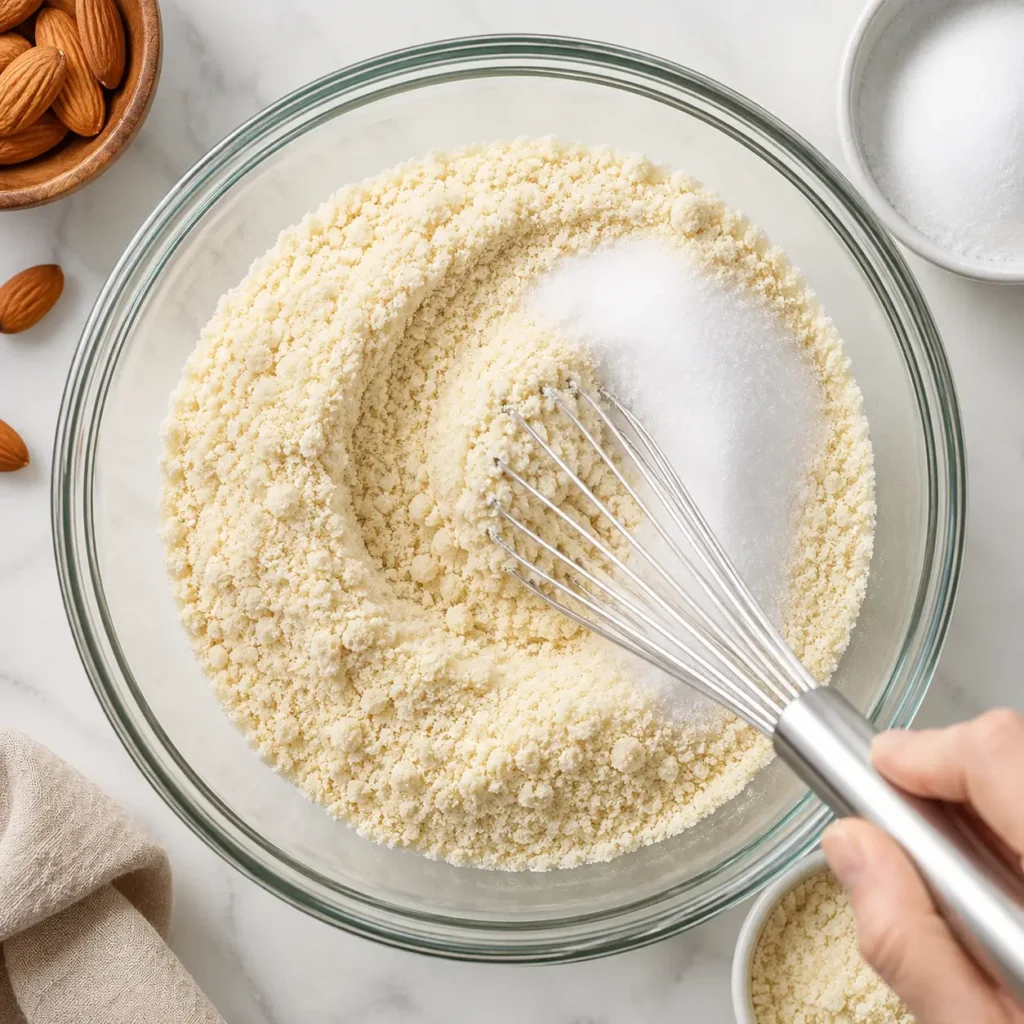
- Allulose: This is my absolute favorite secret weapon. Allulose browns beautifully in the oven and doesn’t crystallize when it cools. It provides a soft, tender crumb.
- Monk Fruit & Erythritol Blends: These provide the bulk and the punch of sweetness needed. However, using 100% erythritol will result in a gritty texture once the crumb cools.
By using a 50/50 blend of Allulose and a Monk Fruit/Erythritol mix, we achieve the perfect golden crust, a soft interior, and absolutely no minty aftertaste.
Essential Ingredients for the Perfect Crumb Sugar Free Cakes
For this recipe, we are using a meticulously tested combination of ingredients to guarantee a fluffy, tender result.
- Almond Flour (Super Fine): Provides a rich, buttery crumb and healthy fats that compensate for the lack of traditional sugar-syrup structure.
- Coconut Flour: We use just a touch. Coconut flour is highly absorbent. It holds onto the liquid ingredients, ensuring the final product isn’t wet or heavy.
- Room Temperature Eggs: Cold eggs will shock your melted fats and cause your batter to split. Always use room temperature eggs to create a smooth, emulsified batter.
- Full-Fat Sour Cream: The acidity in the sour cream activates the baking soda, giving us the lift we desperately need, while the fat coats the almond flour to prevent a grainy mouthfeel.
Step-by-Step Instructions for Success Sugar Free Cakes
Step 1: The Dry Whisk
Begin by sifting your almond flour, coconut flour, baking powder, baking soda, and salt. Sifting is non-negotiable here. Almond flour tends to clump, and without the sharp crystals of standard sugar to break up those clumps later, you will end up with unmixed pockets of flour in your finished dessert.
Step 2: The Creaming Process
In a stand mixer, beat your softened butter with your chosen sweetener blend. You must beat this for at least 4 to 5 minutes. You are looking for a pale, fluffy mixture. This step forces microscopic air bubbles into the fat, which will expand in the oven and give the sponge its height.
Step 3: Emulsifying the Wet Ingredients
Add your room-temperature eggs one at a time. Wait until the first egg is completely incorporated before adding the next. If your batter begins to look curdled, your eggs were too cold. Finally, beat in your high-quality vanilla extract.
Step 4: The Alternating Fold
Gently fold in your dry ingredients, alternating with your full-fat sour cream. Start and end with the dry ingredients. Overmixing at this stage can knock out the precious air you whipped into the butter, so fold gently with a silicone spatula just until no dry streaks remain.
Step 5: The Bake
Bake in parchment-lined pans. Because we are using alternative sweeteners (especially allulose), the top will brown faster than a traditional recipe. Keep a close eye on the oven, and if the top gets too dark before the center is set, tent it loosely with aluminum foil.
Expert Tips and Failure Warnings For low carb cake recipes
As a culinary developer, I’ve seen every mistake in the book. Here are the pitfalls you must avoid:
- The Erythritol Trap: If you use 100% erythritol without adding a liquid binder or mixing it with allulose, your sponge will turn rock-hard and crystallize after spending a night in the refrigerator. Always blend your sweeteners!
- Oven Calibration: Alternative flours are highly sensitive to temperature fluctuations. An oven running just 15 degrees too hot will scorch the almond flour, resulting in a bitter, burnt taste. Use an independent oven thermometer.
- The Cooling Process: Do not rush the cooling. Standard desserts have a sturdy sugar web holding them together. These do not. If you attempt to invert the pan while it is still hot, the entire structure will collapse into a crumbly mess. Let it sit in the pan for a full 20 minutes before turning it out onto a wire rack.
Pairing with the Perfect Frosting sugar substitutes for baking
A great sponge is nothing without the perfect topping. Creating a zero sugar frosting requires avoiding standard powdered sugar, which provides the structural bulk in traditional American buttercream.
Instead, I recommend a whipped cream cheese frosting. Beat together full-fat block cream cheese, heavy whipping cream, vanilla bean paste, and powdered monk fruit sweetener (you must blend your granular sweetener in a blender until powdery to avoid grit). This yields a tangy, luscious, and silky-smooth frosting that complements the rich vanilla sponge perfectly.
Flavor Variations keto baking
Once you master this base vanilla recipe, the culinary possibilities are endless. Throughout my testing, these two variations proved to be absolute crowd-pleasers:
- Lemon Almond Cloud: Add two tablespoons of fresh lemon zest to the butter during the creaming stage. Replace the sour cream with full-fat Greek yogurt and add 1 teaspoon of lemon extract. The acidity brightens the almond flour beautifully.
- Double Chocolate Fudge: Remove 1/4 cup of the almond flour and replace it with high-quality Dutch-processed cocoa powder. Add a teaspoon of espresso powder to the dry ingredients to dramatically enhance the chocolate flavor profile.
Proper Storage Techniques
Because we lack the preservative qualities of standard sucrose, storage requires a bit more care.
- Room Temperature: You can store this in an airtight cake dome at room temperature for up to 24 hours. Any longer, and the dairy in the frosting requires refrigeration.
- Refrigeration: Store sliced pieces in an airtight container in the fridge for up to 5 days. Crucial note: Always let a refrigerated slice sit at room temperature for 30 minutes before eating. Cold butter and alternative sweeteners firm up dramatically in the fridge; letting it warm up brings back the plush, tender texture.
- Freezing: This crumb freezes exceptionally well! Wrap un-frosted layers tightly in plastic wrap, then a layer of aluminum foil. Freeze for up to 3 months. Thaw overnight in the refrigerator before decorating.
Frequently Asked Questions (FAQ)
Why did my dessert sink in the middle?
Sinking is usually caused by opening the oven door too early, which causes a sudden drop in temperature before the center structure has set. It can also happen if your baking powder is expired.
Can I substitute coconut flour for almond flour 1:1?
Absolutely not. Coconut flour absorbs up to four times as much liquid as almond flour. If you swap them 1:1, you will pull a brick out of your oven. Stick to the precise ratios listed below.
Is this recipe suitable for Type 1 and Type 2 Diabetics?
Yes, this recipe utilizes low-glycemic ingredients (almond flour, monk fruit, allulose) that do not cause rapid spikes in blood glucose levels. However, as always, individuals should monitor their own unique metabolic responses.
Conclusion
Baking without traditional ingredients doesn’t have to be a compromise. By approaching the chemistry of baking with respect and using high-quality substitutions, you can create a centerpiece that is moist, fluffy, and completely devoid of refined sugars. Grab your whisk, trust the process, and enjoy the ultimate guilt-free indulgence.
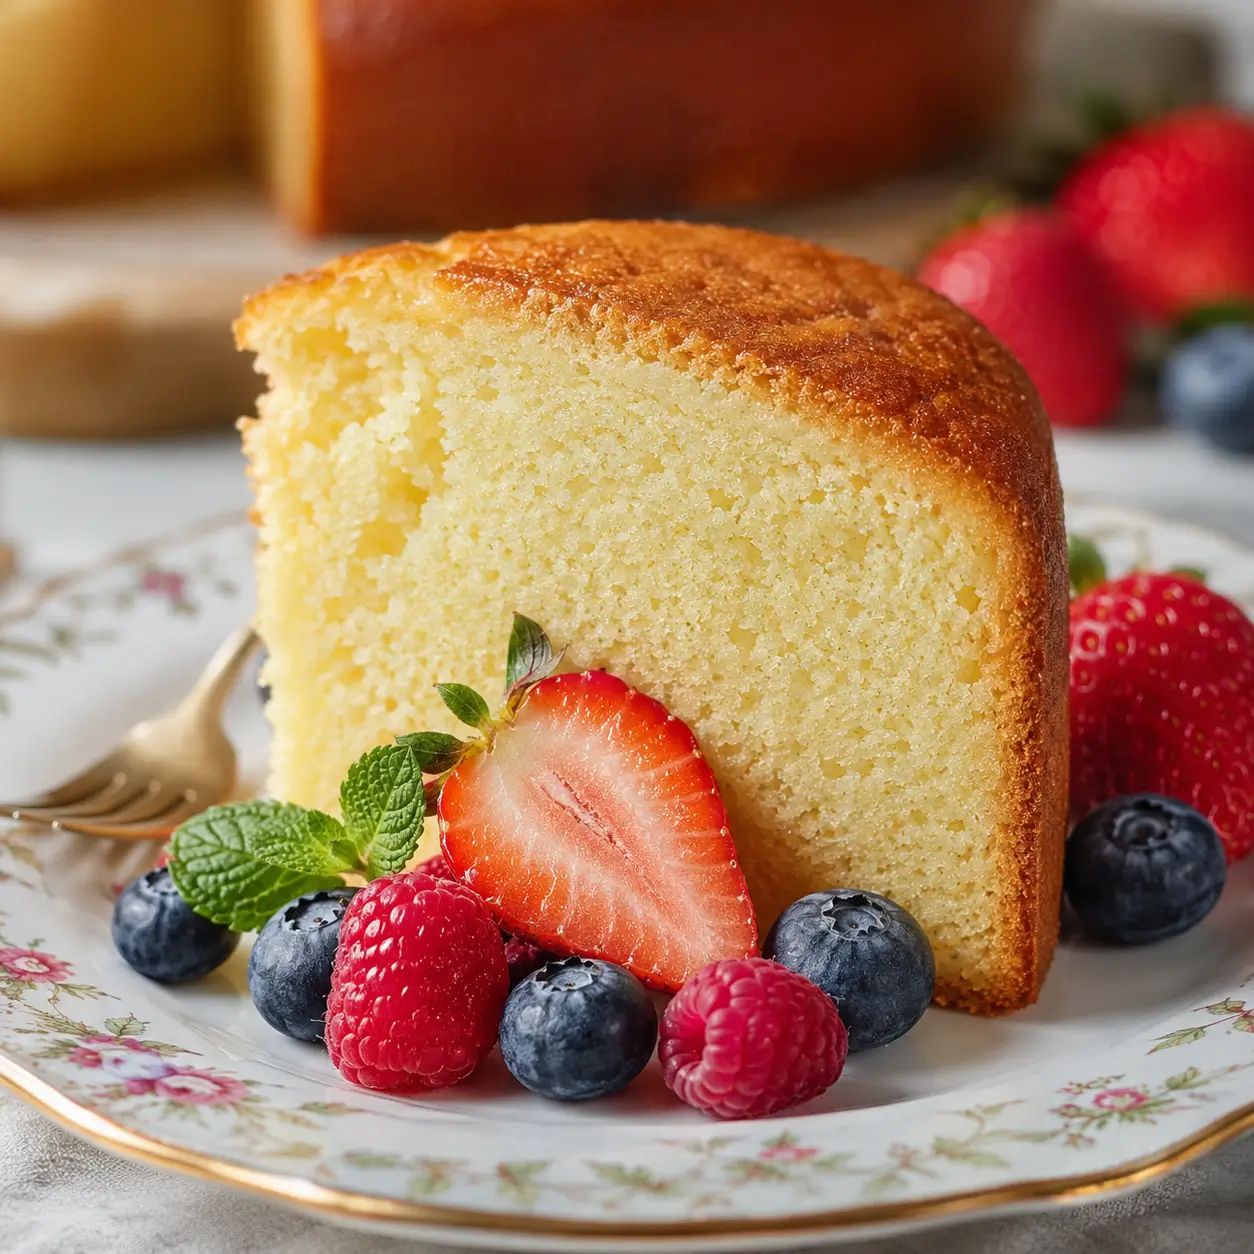
The Ultimate Moist Sugar Free Vanilla Cake
Ingredients
Method
- Preheat your oven to 325°F (163°C). Grease two 8-inch round pans and line the bottoms with parchment paper.
- In a medium bowl, whisk together the sifted almond flour, coconut flour, baking powder, baking soda, and salt until completely combined. Set aside.
- In the bowl of a stand mixer fitted with the paddle attachment, beat the softened butter and allulose on medium-high speed for 4 to 5 minutes until pale and fluffy.
- Reduce the mixer speed to low and add the room temperature eggs one at a time, mixing well after each addition. Scrape down the sides of the bowl. Beat in the vanilla extract.
- With the mixer on low, add one-third of the dry ingredients, followed by half of the sour cream. Repeat, ending with the final third of the dry ingredients. Mix just until combined. If the batter is too thick, gently fold in the almond milk.
- Divide the batter evenly between the prepared pans. Smooth the tops with a spatula.
- Bake for 30-35 minutes, or until a toothpick inserted into the center comes out clean and the edges pull away slightly from the pan. If the tops brown too quickly, tent loosely with foil at the 25-minute mark.
- Allow to cool in the pans for at least 20 minutes before carefully turning them out onto wire racks to cool completely before frosting.